Indoor photography techniques for amateur photographers
Disclaimer: This post has been generously sponsored and was not written by me, which means I might finally afford that gold-plated Leica I've been eyeing.
It can be a daunting task to shoot indoors. Many photographers who shoot indoors face challenges such as poor lighting, tinted images, and hazy outputs. Also, it is difficult to be creative when one has to shoot within the confinement of four walls.
Mastering indoor photography techniques is crucial for amateur photographers because there is insufficient natural light in rooms. One must practice with different light setups to get the desirable output. The weather can be a limiting factor for shooting outdoors; therefore, efficiency in indoor photography is crucial so that you can photograph in every condition regardless of unfavorable weather.
Even though there are a few limitations to taking pictures indoors, you can improve your indoor photography skills with the tips and tricks listed in this post. These tips are easy to apply and quickly enhance the overall look of your indoor photographs.
Understanding Lighting in Indoor Environments
Different types of indoor lighting sources
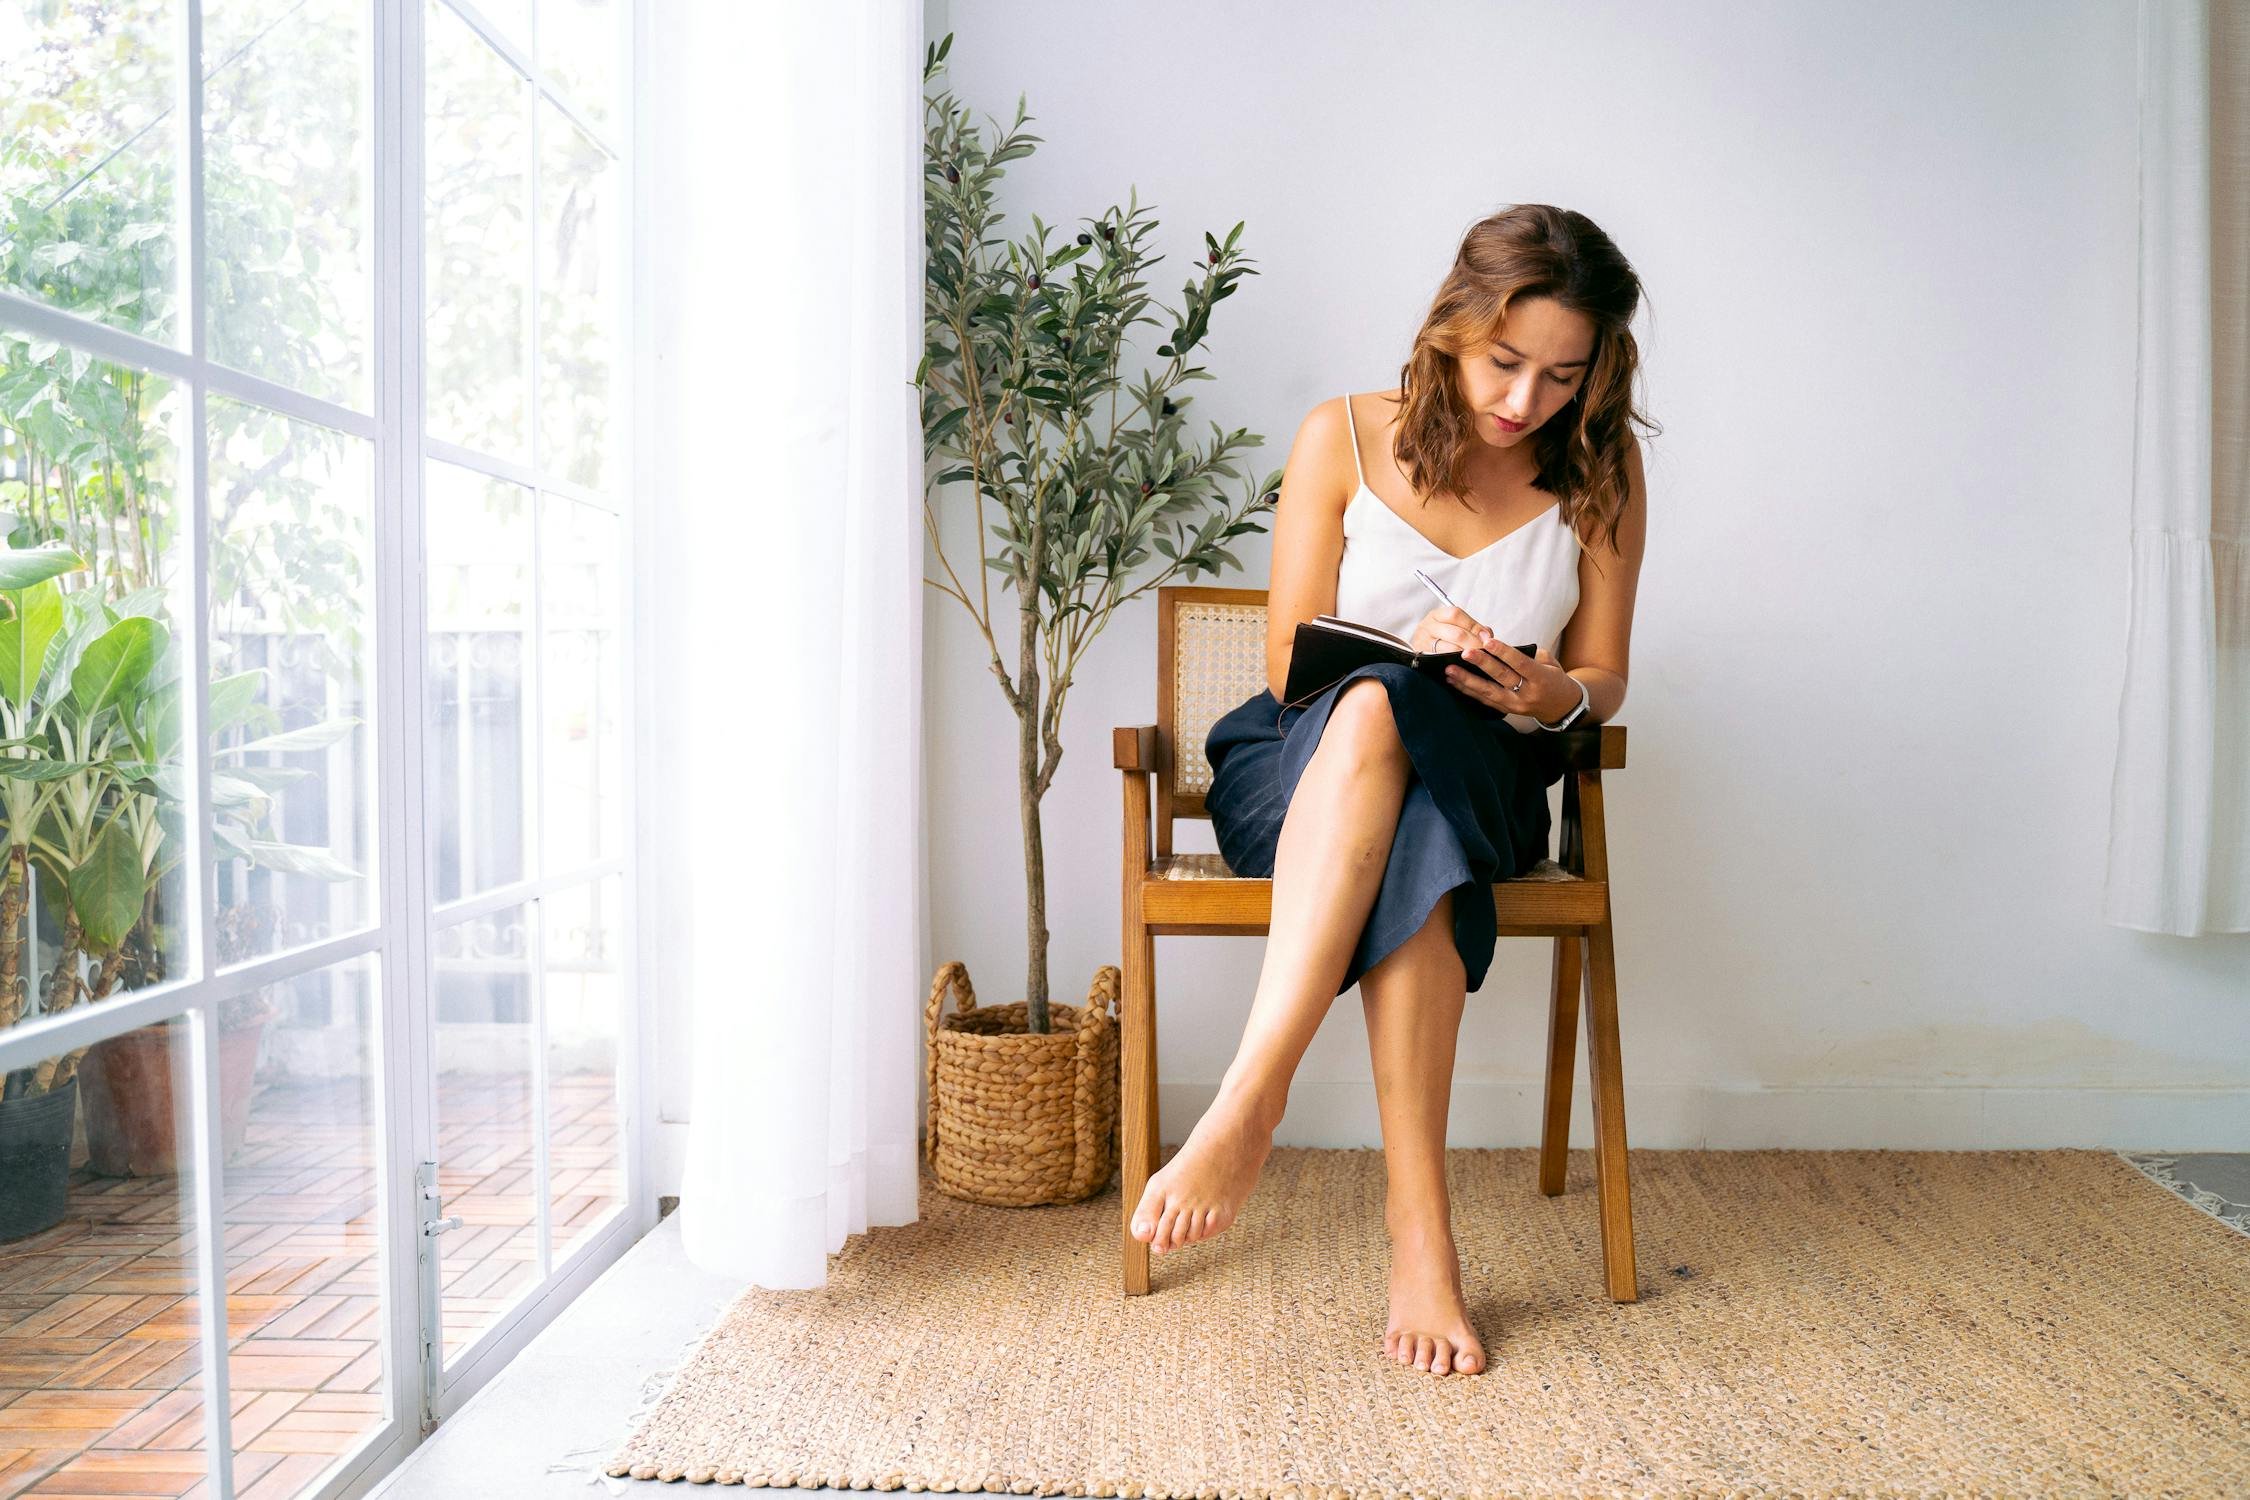
Natural light: When you are shooting indoors, look for the primary source of natural light. This is mainly your window area, where sunrays penetrate through. You can place your subject near the windows or doors to enhance the light quality. If you want diffused light, you can use curtains, as they will produce soft rays and eliminate the appearance of harsh shadows in pictures.
Artificial light: You can use artificial sources of lighting such as incandescent bulbs and fluorescent lights. Your household lamps give off a warm, yellow hue. Fluorescent lights are found in offices and emit a cool, blue hue.
Most indoor photographers make use of artificial LED lights that are available in numerous colors. Halogens, on the other hand, are particularly used when there is a need for bright white light.
Mixed light: Mixed light: Mixed light refers to the use of both natural and artificial light. Several indoor shoots require the smart use of both sources of light to achieve the desirable outputs.
Explanation of how light quality and direction impact indoor photography
The quality of light means its softness and hardness. Amateur photographers should know how to control these characteristics of light to create a certain mood and brightness in their photographs.
Soft light: When we use soft and diffuse light, it evokes even shadows and a smooth look. Photographers frequently use this light quality for still life and portraits.
Hard light: When using hard light, well-defined shadows are formed in the picture with high contrast. This lighting quality often emphasizes the details of any structure or creative composition.
Diffused light: Diffused lights work to eliminate hard shadows and reduce reflections.
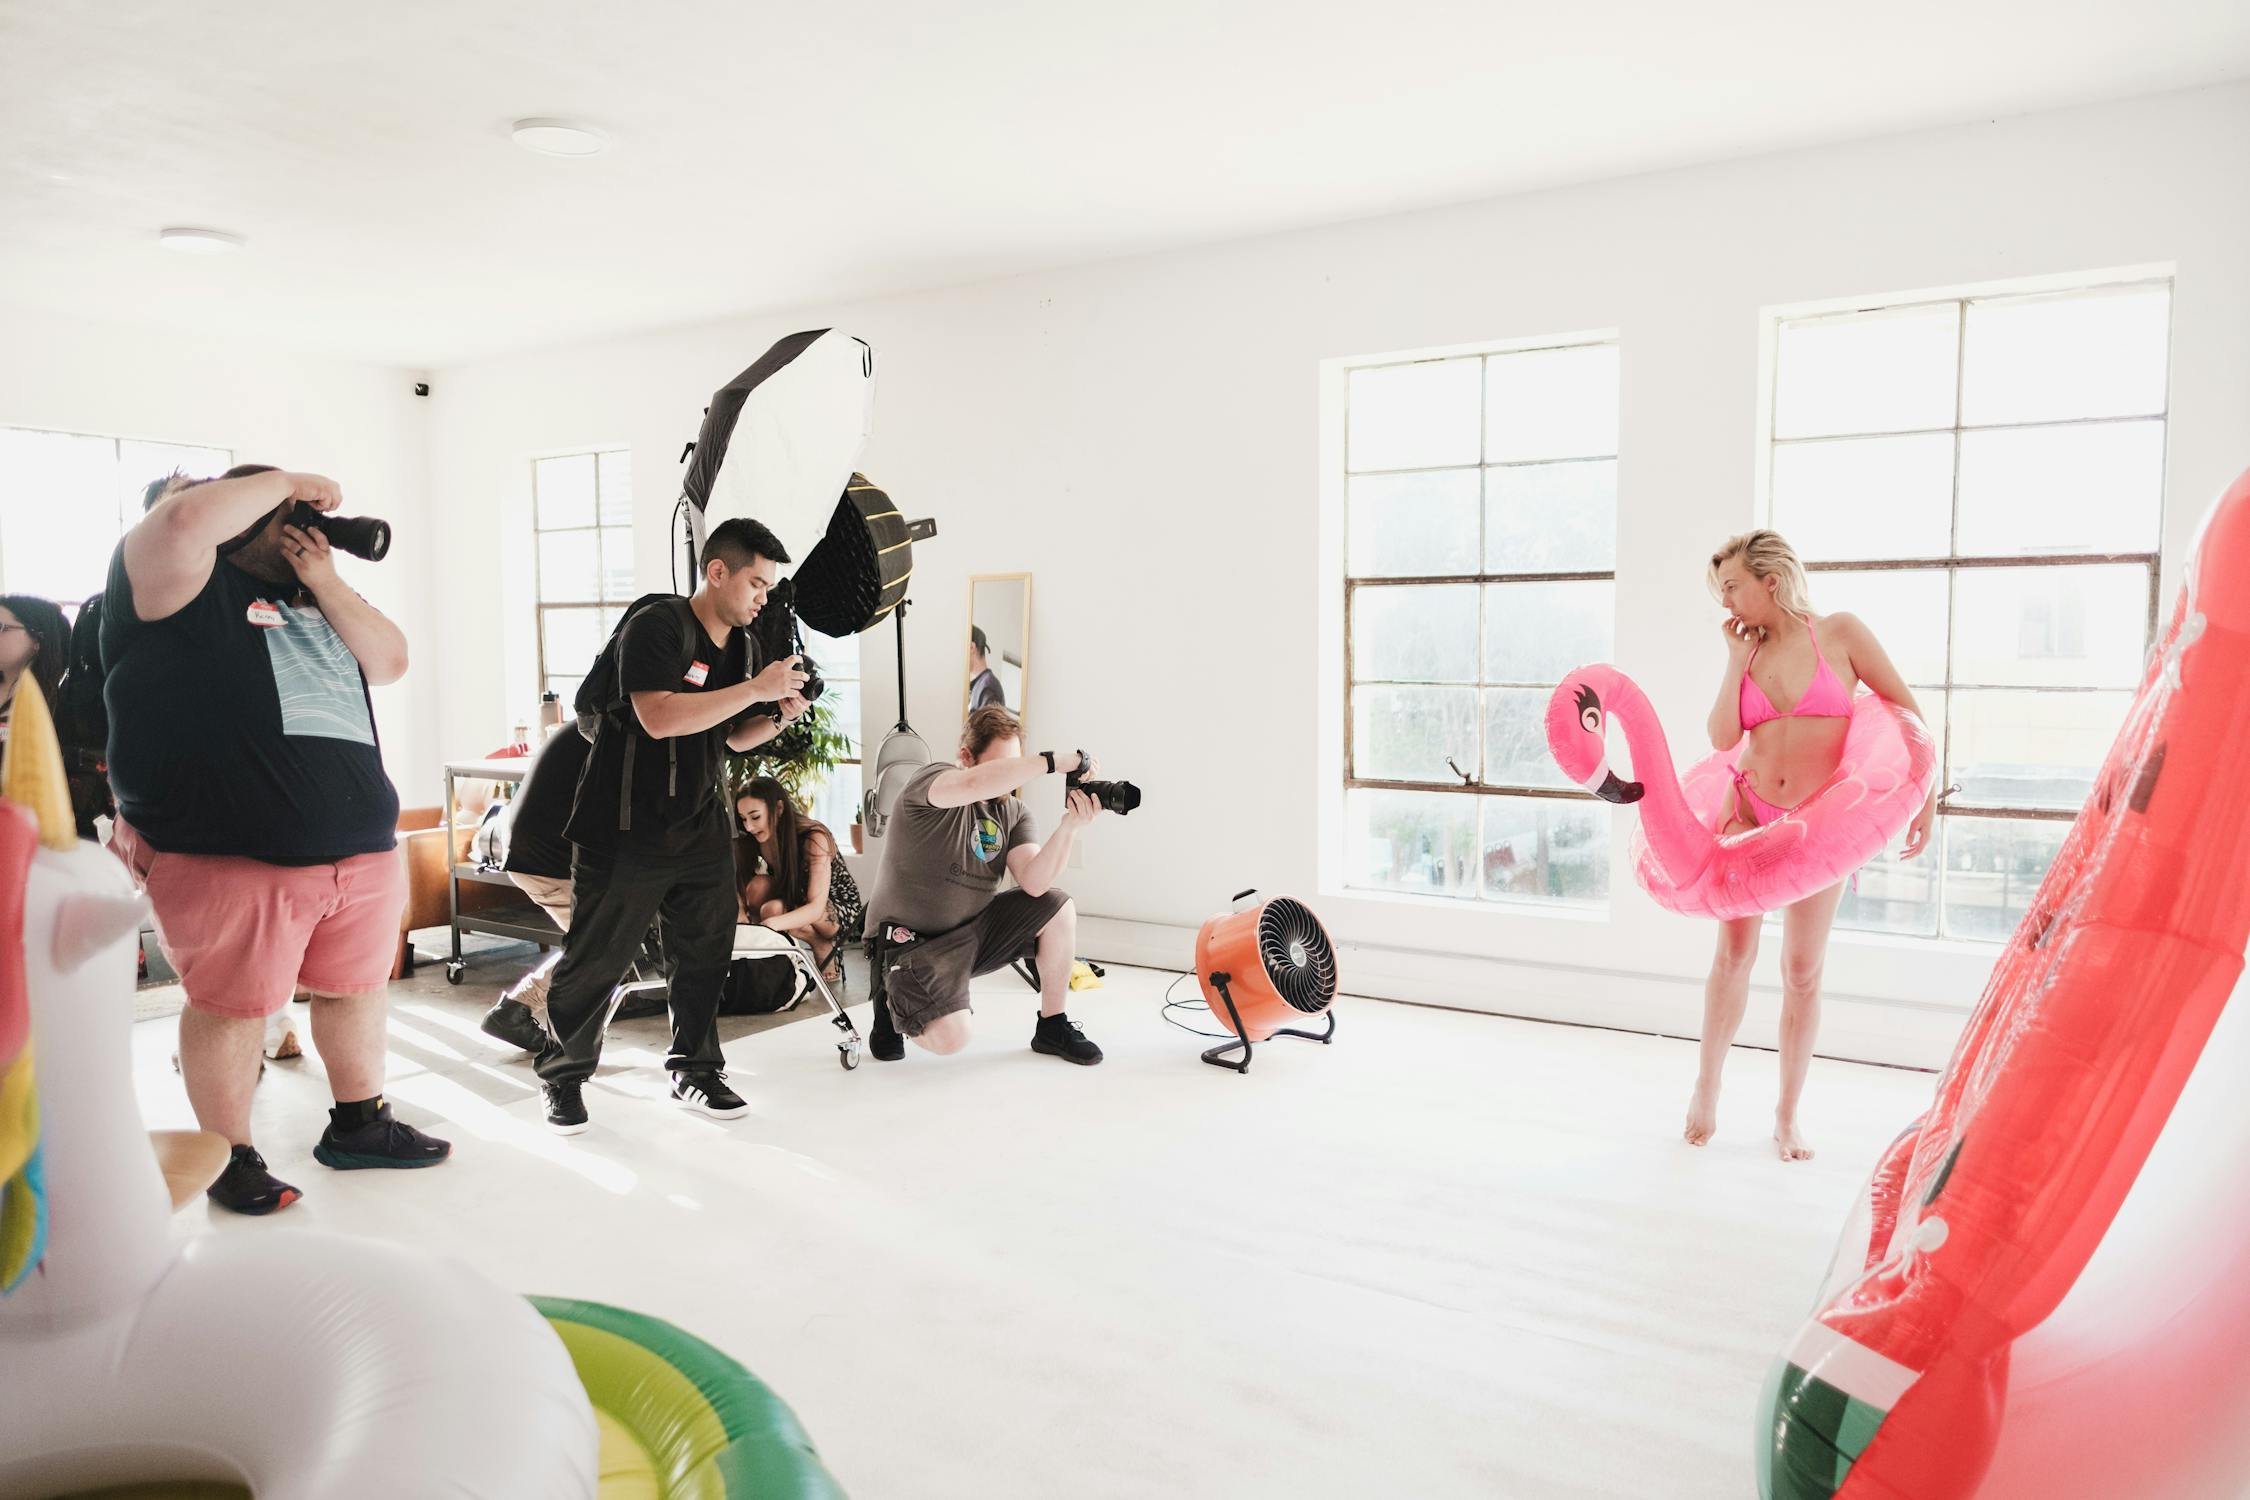
Tips for identifying and utilizing available light sources effectively
When shooting indoors, photographers must spend some time examining the entire area to identify sources of natural light. Also, it is crucial to check the quality of light and the available light sources.
If you want natural light, make the best use of windows and doors. Check for different angles from which you can place your subject for the best result. When using an artificial source of light, you can choose different modifiers to calm down the harsh shadows.
Optimizing Camera Settings for Indoor Photography
We have already discussed the importance of lighting in indoor photography. If you want to take perfect pictures in confined places, you must also set your camera appropriately.
Set your camera to a higher ISO level of around 800 for indoor photography where the light condition is poor. You must learn what ISO stands for in photography if you are new to this term.
Keep in mind that when you click photos at higher ISO values, the resulting picture may have grains. In that case, you must balance the ISO settings to achieve the best light exposure while minimizing noise.
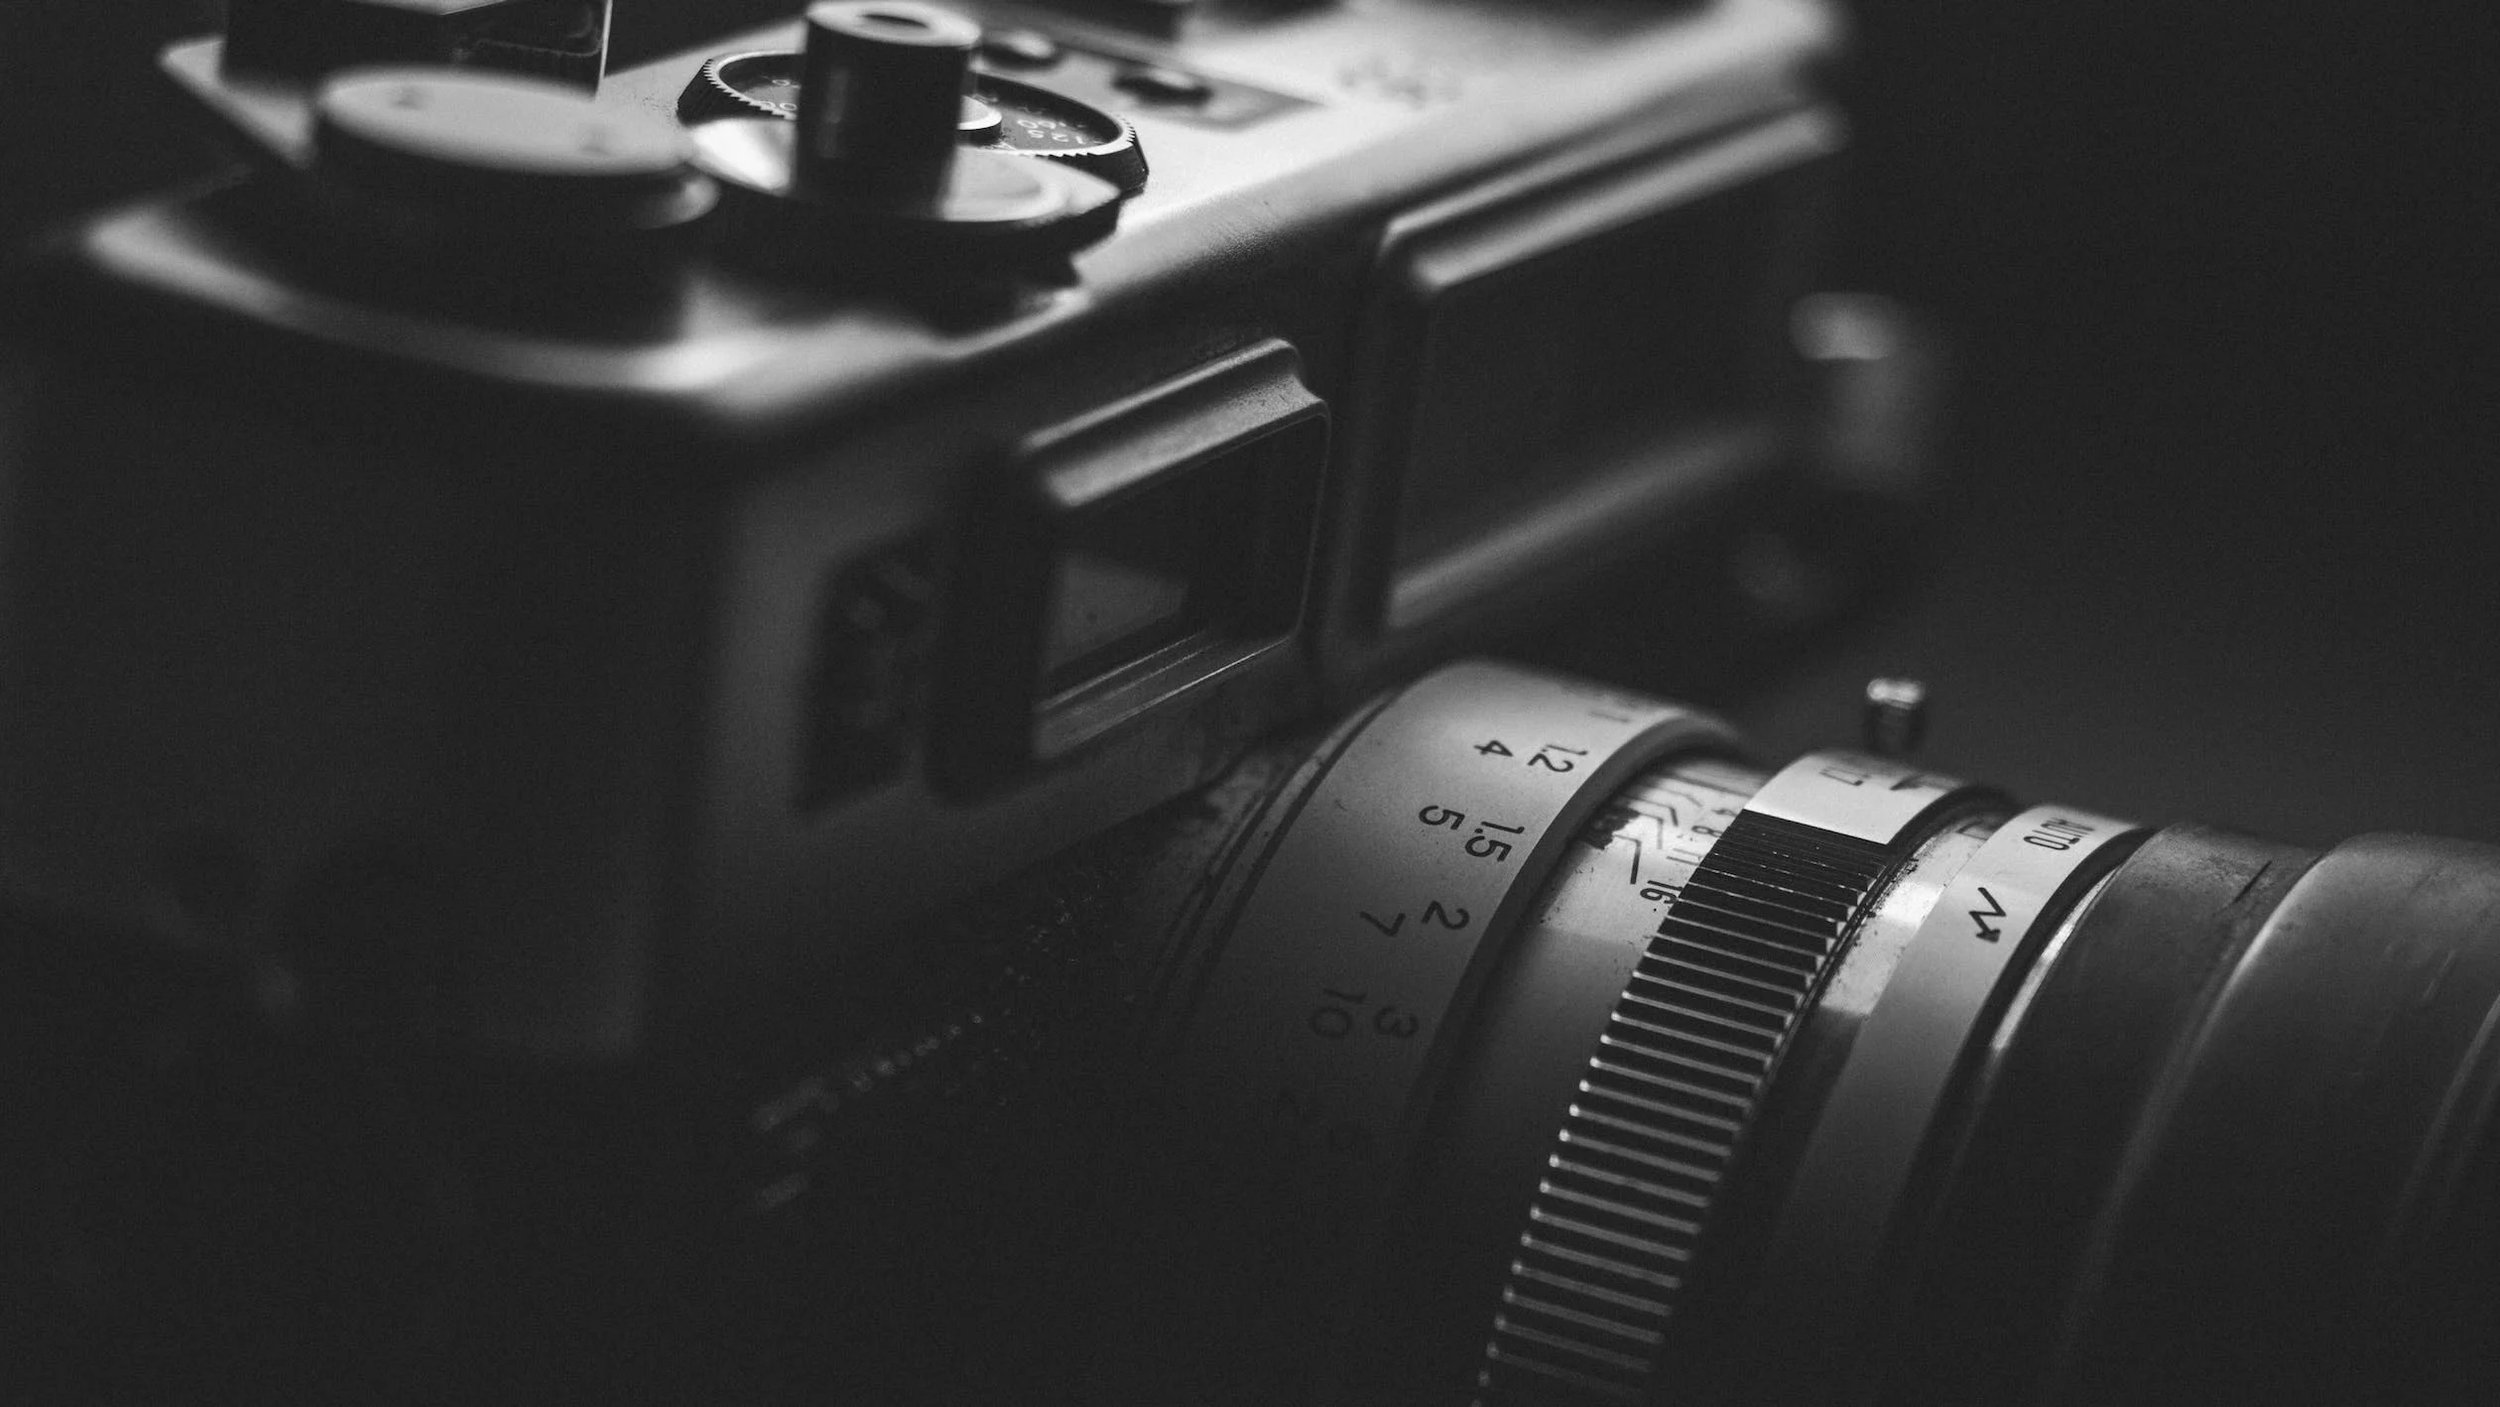
If you are taking wide shots, set the aperture value to f/11. For portraits, the settings must be f/4. A wide aperture will allow more light to enter the sensor, making it best for taking indoor shots. You can tailor the settings for certain lighting conditions, or you can choose the white balance preset.
A tripod stand will keep your camera stable, allowing you to compensate for low light conditions with a lower ISO and a longer shutter speed. If you are not using a tripod, the shutter speed should be a minimum of 1/100. This setting will not blur the final picture. Remember that slow shutter speed can increase camera shake and result in blurry pictures.
Composition and Framing Techniques for Indoor Shots
Photographers who make use of suitable composition techniques can convert a simple indoor shot into an aesthetically appealing image.
You can use the rule of thirds, where you divide the image into several sections and place the subject along the intersections and lines to create a balanced result that helps attract the attention of viewers.
Framing in photography is a technique wherein you use elements in your picture to create a frame around the main subject to give it a more creative feel. You can use anything to create a frame, such as curtains, shadows, lamps, or anything that you find interesting. Be observant of the backdrop when framing indoor pictures. It should go well with the subject, and not clutter the picture.
You can make use of leading lines within the rooms, such as stairs, corridors, or furniture. Such leading lines work by leading the viewer’s attention toward the primary subject while also making the image more depthful and visually appealing.
Utilizing Indoor Photography Equipment and Accessories
Photographers who want to shoot indoors should ensure that they have all the necessary gear to enhance the quality of indoor shooting.
Tripods: You would want to invest in a good tripod stand to give support to your camera. During indoor shoots, lighting is low, so longer exposure times are needed to capture a well-lit image. Since you will need to carry the tripod and set it yourself in indoor settings, you should get a lightweight and portable one. If you don't want to invest in a tripod, you can consider using shelves, tables, or other hard substances to keep your camera stable while shooting.
Reflectors: These work great to soften the harsh shadows and redirect light into the subject. You can use silver or gold reflectors if you want a cool or warm light, respectively. You can also use DIY reflectors such as white sheets, foam, and foil.
Diffusers: If you want to diffuse and tone down the harsh rays of the sun and artificial light sources, you can use diffusers to create a natural and even look. For indoor shoots, invest in collapsible diffusers that are easy to carry. Diffusers can also be made from low-cost materials like bedsheets and light curtains.
Creative Indoor Photography Ideas and Projects
If you are new to indoor photography, you will need to look for creative ideas to enhance your projects.
You can start by taking pictures of your objects in your home, focusing on minor details to capture aesthetic pictures.
A macro lens allows you to focus on the small details of any object or showpiece in your home that would otherwise go unnoticed. You can try experimenting with different postures and expressions to create a picture that conveys the perfect emotions.
If you are into food photography, your kitchen will offer you several options to get the right shot. Try taking shots under different lighting conditions and at angles to increase the texture and hue of the subject.
Consider incorporating different backdrops and props into your picture. This will add a new element and make your picture interesting.
An indoor photographer can capture candid moments between family members, capturing their genuine expressions, twinkling eyes, and natural grins.
Dealing with Challenges in Indoor Photography
When shooting indoors, you face several challenges due to the limited lighting, landscapes, and backdrops available.
Low Lights: The amount of sunlight required to take a perfect shot is not sufficient in a room, especially during the evening. Photographers can place their subjects near sources of light, such as windows and doors, to achieve the desired brightness. Alternatively, they can use artificial sources such as LEDs and lamps to provide sufficient light to the subject. Another option is to set your camera with a wide aperture to let more light reach the camera sensor.
Cluttered Backgrounds: You won’t be able to find a clear space as indoor areas are often cluttered with pieces of furniture. This can hamper the overall look of the photograph, as the main subject doesn't appear to be the primary focus.
You can choose a clean space to make your subject appealing. If it is possible, you can move a few pieces of furniture to create a large area. Alternatively, use a setting with a wide aperture to keep the main focus on the subject while blurring out the background.
Limited Space: Since indoors offer limited space, you can experiment with different camera settings to get a better picture. You may work with techniques such as framing and leading lines to attract the attention of the viewers to the photograph. Also, you can click shots from both vertical and horizontal angles to find what suits you best.
Conclusion
Indoor photography is an enjoyable activity for photographers as it offers them numerous opportunities to create a beautiful picture. However, there are a few obstacles and limitations that amateur photographers can face in the beginning.
Proper lighting can dramatically enhance the overall look of your final shots. When the light hits the subject, it converts the simple picture into a mesmerizing art piece. Knowing more about the different types of lights that you can use when shooting indoors is the easiest way to elevate your skills. Light can enhance all the emotions in an image and give it a candid look.
Other techniques to elevate your indoor photography sessions are knowing about the camera settings, incorporating creative techniques, and understanding the right use of equipment. Know that indoor photography can capture some amazing moments that you will cherish for your lifetime. So, get your device and let your imagination run high. Your next great shot can be right under your window sill!
Disclaimer: This post has been generously sponsored and was not written by me, which means I might finally afford that gold-plated Leica I've been eyeing.