iPhone 12 vs Ricoh GR III for Street Photography - Which One Should You Pick?
Today I am going to challenge the Ricoh GR III which is I think the king of street photography with the newest iPhone 12.
Hello photography fans. Today I am going to challenge the Ricoh GR III which is I think the king of street photography with the newest iPhone 12. I want to take a look at if the new iPhone will be able to replace at least to a certain degree your camera and if it still makes sense to buy a compact camera if the street photography is the main genre you want to use it for.
I think this comparison kind of makes sense when we take a look at the form factor of both "cameras" and the price point. Now just to be clear the iPhone is probably going to beat the Ricoh as better overall camera. It is definitely more versatile with those 2 cameras and very good video specifications. However, when you buy Ricoh GR III you don't buy it to film videos with it or for the zoom lens - which it doesn't have. We Ricoh GR users use legs to zoom in and out. I dare to say the majority of users is going to use this camera for one and one specific purpose only which is street photography. It is a compact camera and it fits in your pocket so you can actually take it with you in almost any situations. Now, that is where I see the iPhone as a close competitor.
Ricoh GR III was released earlier in 2019. It has 24 MP APS-C sensor with 18mm lens F 2.8 which is 28mm equivalent. It has 3-axis in-body stabilisations system. Touch LCD screen and it can be charged with USB type C.
The iphone 12 is equipped with 2 cameras, Wide and Ultra Wide. Which translated into english is 13 mm and 26 mm equivalent. It has a new sensor image stabilisation and Apple claims you can take up to 2 seconds handheld exposures. Which is a bold claim, something I am definitely going to test out. There is also a feature called Night mode which helps you to take better pictures at night . Apple PRO Raw and the Lidar scanner is something Apple reserved for the "PRO" version which I will hopefully be able to test out later this month.
So let's talk about controls. Right from the start we can see that Ricoh offers more photography settings because - well all the settings are about photography. However, this can also be a benefit if you just want to shoot full auto and not worry about anything else. What I love about Ricoh is that you can save 3 custom modes which you can adjust to your liking. My most favourite function is the “highlight weighted” metering feature which let's you expose just for the highlights. Something you will need to download an external app for on the iPhone. Another great feature of GR III is the ability to take a photo with a single tap on the LCD screen.
iPhone on the other hand is the king of social media. But not only that. You will appreciate the options to simply share the photographs via iCloud and photo streams not only for your family events. iPhone also has this beautiful OLED screen which is twice as big as on Ricoh. With the iCloud plans you can basically take infinite number of photographs. With Ricoh you have the option of 2 GB of internal storage and memory card slot. Which again can be a benefit depending on what you want. It can also take HDR photographs which for casual shooter can be a plus. But something you might not really want or need if you do street photography. The iPhone is charged with the lightning connector which is annoying considering everything else uses USB type C but you know. What can you do.
For this test I was using the default camera app and I have to say I was pleasantly surprised that it has been improved a lot. Where used to be the black side bars on older iPhones we now have this transparent frame. Apple is probably using the ultra wide lens to show you the surroundings of your frame. Now, I have been saying for a while that LCD screen is a new viewfinder since you can easily see what is included or left out of your frame. With this new feature. Which is limited to new iPhones we are getting once again much closer to that. The ration is still limited to 4 by 3 unlike in any "standard" cameras. But I think in the end it is just a signature of that medium. When you see a square image you usually think of medium format. When you see 4 by 3 you know it was taken with a smartphone.
Now let's talk about the image quality. To be hones I was quite surprised that the iPhone with a much smaller sensor is able to produce photographs with such details. When you check the file size. The RAW photos from the GR are approximately 10 times bigger so they store more data to work with. iPhone on the other hand uses powerful new chip for its smart HDR and computational photography. This can be a plus for casual users and iPhone is going to be a killer for those family vacations. Ricoh on the other hand offers much more creative options. The resolution is approximately twice as big as on the iPhone. You would however have to print actually quite large prints to see the difference.
Even though the iPhone is equipped with F 1.6 aperture it hardly produces any bokeh naturally. I would say it doesn't matter that much for street photography since you know, if you are not Thorsten Overgaard you don't really shoot wide-open all the time. I usually end up shooting F 5 to F 8 with my full frame. That being said iPhone has some kind of artificial bokeh in the portrait mode. I believe the iPhone creates layers in the image and then artificially applies blur to make the background layer out of focus. Interesting thing is it offers you F1.4 simulation even though the lens is only 1.6.
This of-course looks ridiculous but if you play with it you can find a sweet spot when it actually looks fine. I think this one works best with the 5.6 version. Apple also has something called LIDAR scanner to improve the focusing and also portrait mode but they saved it for the iPhone 12 PRO.
The night photography is fine. It uses something called night mode which is a combination of longer exposure and computational photography. It also uses little too much sharpening and contrast for my taste. I think if Apple can get to some kind of compromise when it applies its filters but still keeps the RAW file untouched to work with it would be great.
I played with iPhone 12 for one and half day so those really are my first impressions .
Anyways, for actually photography process the Ricoh beats the iPhone with the grip. Holding the phone is never as good as a tactile camera with "feedback". Unless you are going to use some kind of grip for the iPhone, which honestly you will never use. Also holding a phone while taking photos makes you look like, . . . well someone taking photos with the phone.
So to sum it up I just want to share with you the pros and cons of each device.
The Ricoh GR III is highly specialised tool which will not tick a lot of boxes. You can think about it like about a special knife in the kitchen you will use from time time but when you do it delivers. It offers more settings which can be useful to some and overwhelming to others. As well as controls of shutter speed, aperture and ISO. It offers better image quality but I thought the different would be even greater . It is useful if you want to print larger images but for your standard 15 by 10 cms photographs the higher quality is going to be hardly noticeable. So over all I would say The Ricoh is better for creative photography
The iPhone 12 on the other hand is this Swiss army knife which can do a lot of things and do them very well. The computational photography is perfect for the times you don't want to bother with photo-editing but it also limits your creativity a bit. Maybe the Apple PRO raw and Lidar will change that with iPhone 12 PRO. I would say if you are complete beginner the iPhone and especially iPhone 12 pro offer a great value. You get 2, respectively 3 lenses. It takes great video which you can use for vlogging and it is a perfect camera to have around for family events. The image quality is worse than Ricoh GR but if you are only sharing on social media it is hardly noticeable.
I think it is exciting how much the smartphone photography was able to improve and I wonder what we are going to see next. When I was watching the Apple event I was just wondering what would be possible if Apple produced a full frame camera with such computational power. Well anyway, let me know what you think about it if we should expect the smartphone industry to take over. Do you like the new iPhone lineup for street photography and if you don’t what is that thing that the phones are still missing?
Check out the video for more images and video footage examples.
Is Leica D-lux (Typ109) worth it in 2020? Four Years With The Camera - Gear Review
Today I am going to talk about Leica D-Lux 109. I am going to tell you what is my experience with the camera what are the alternatives and if it still worth to buy it.
Hello, photography fans! Welcome to All About Street photography channel and Today I am going to talk about Leica D-Lux 109. I am going to tell you what is my experience with the camera what are the alternatives and if it still worth to buy it.
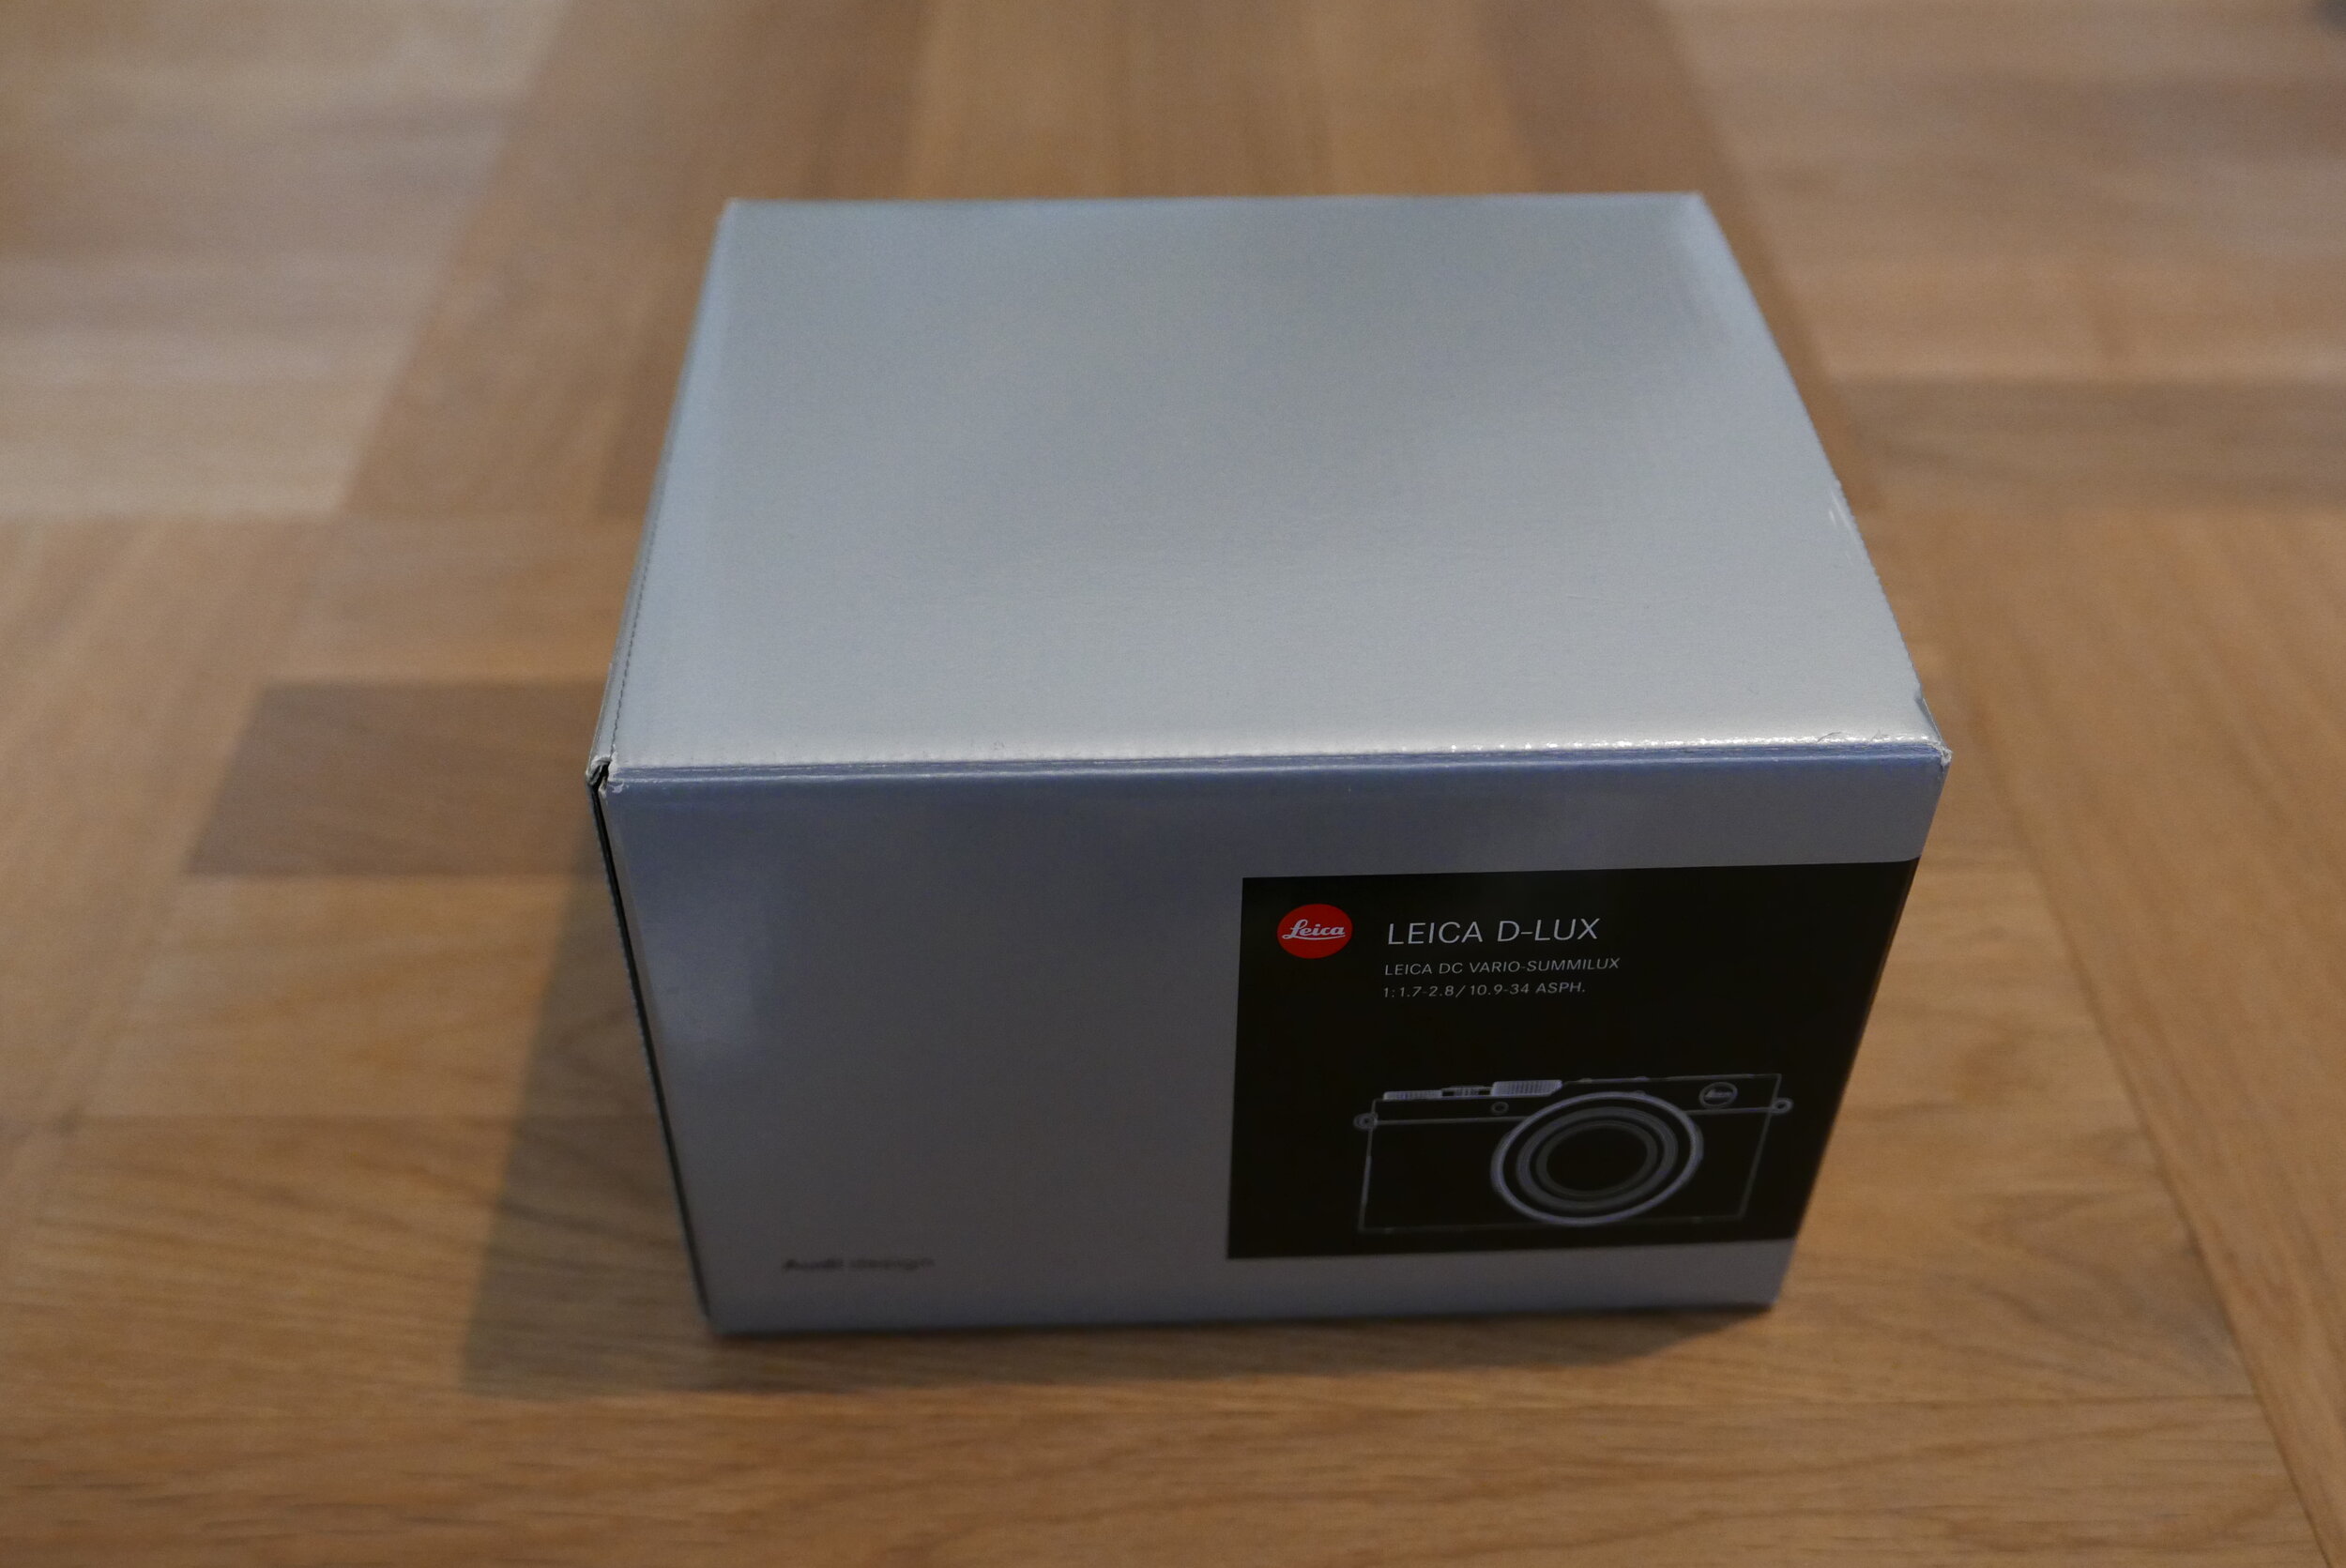
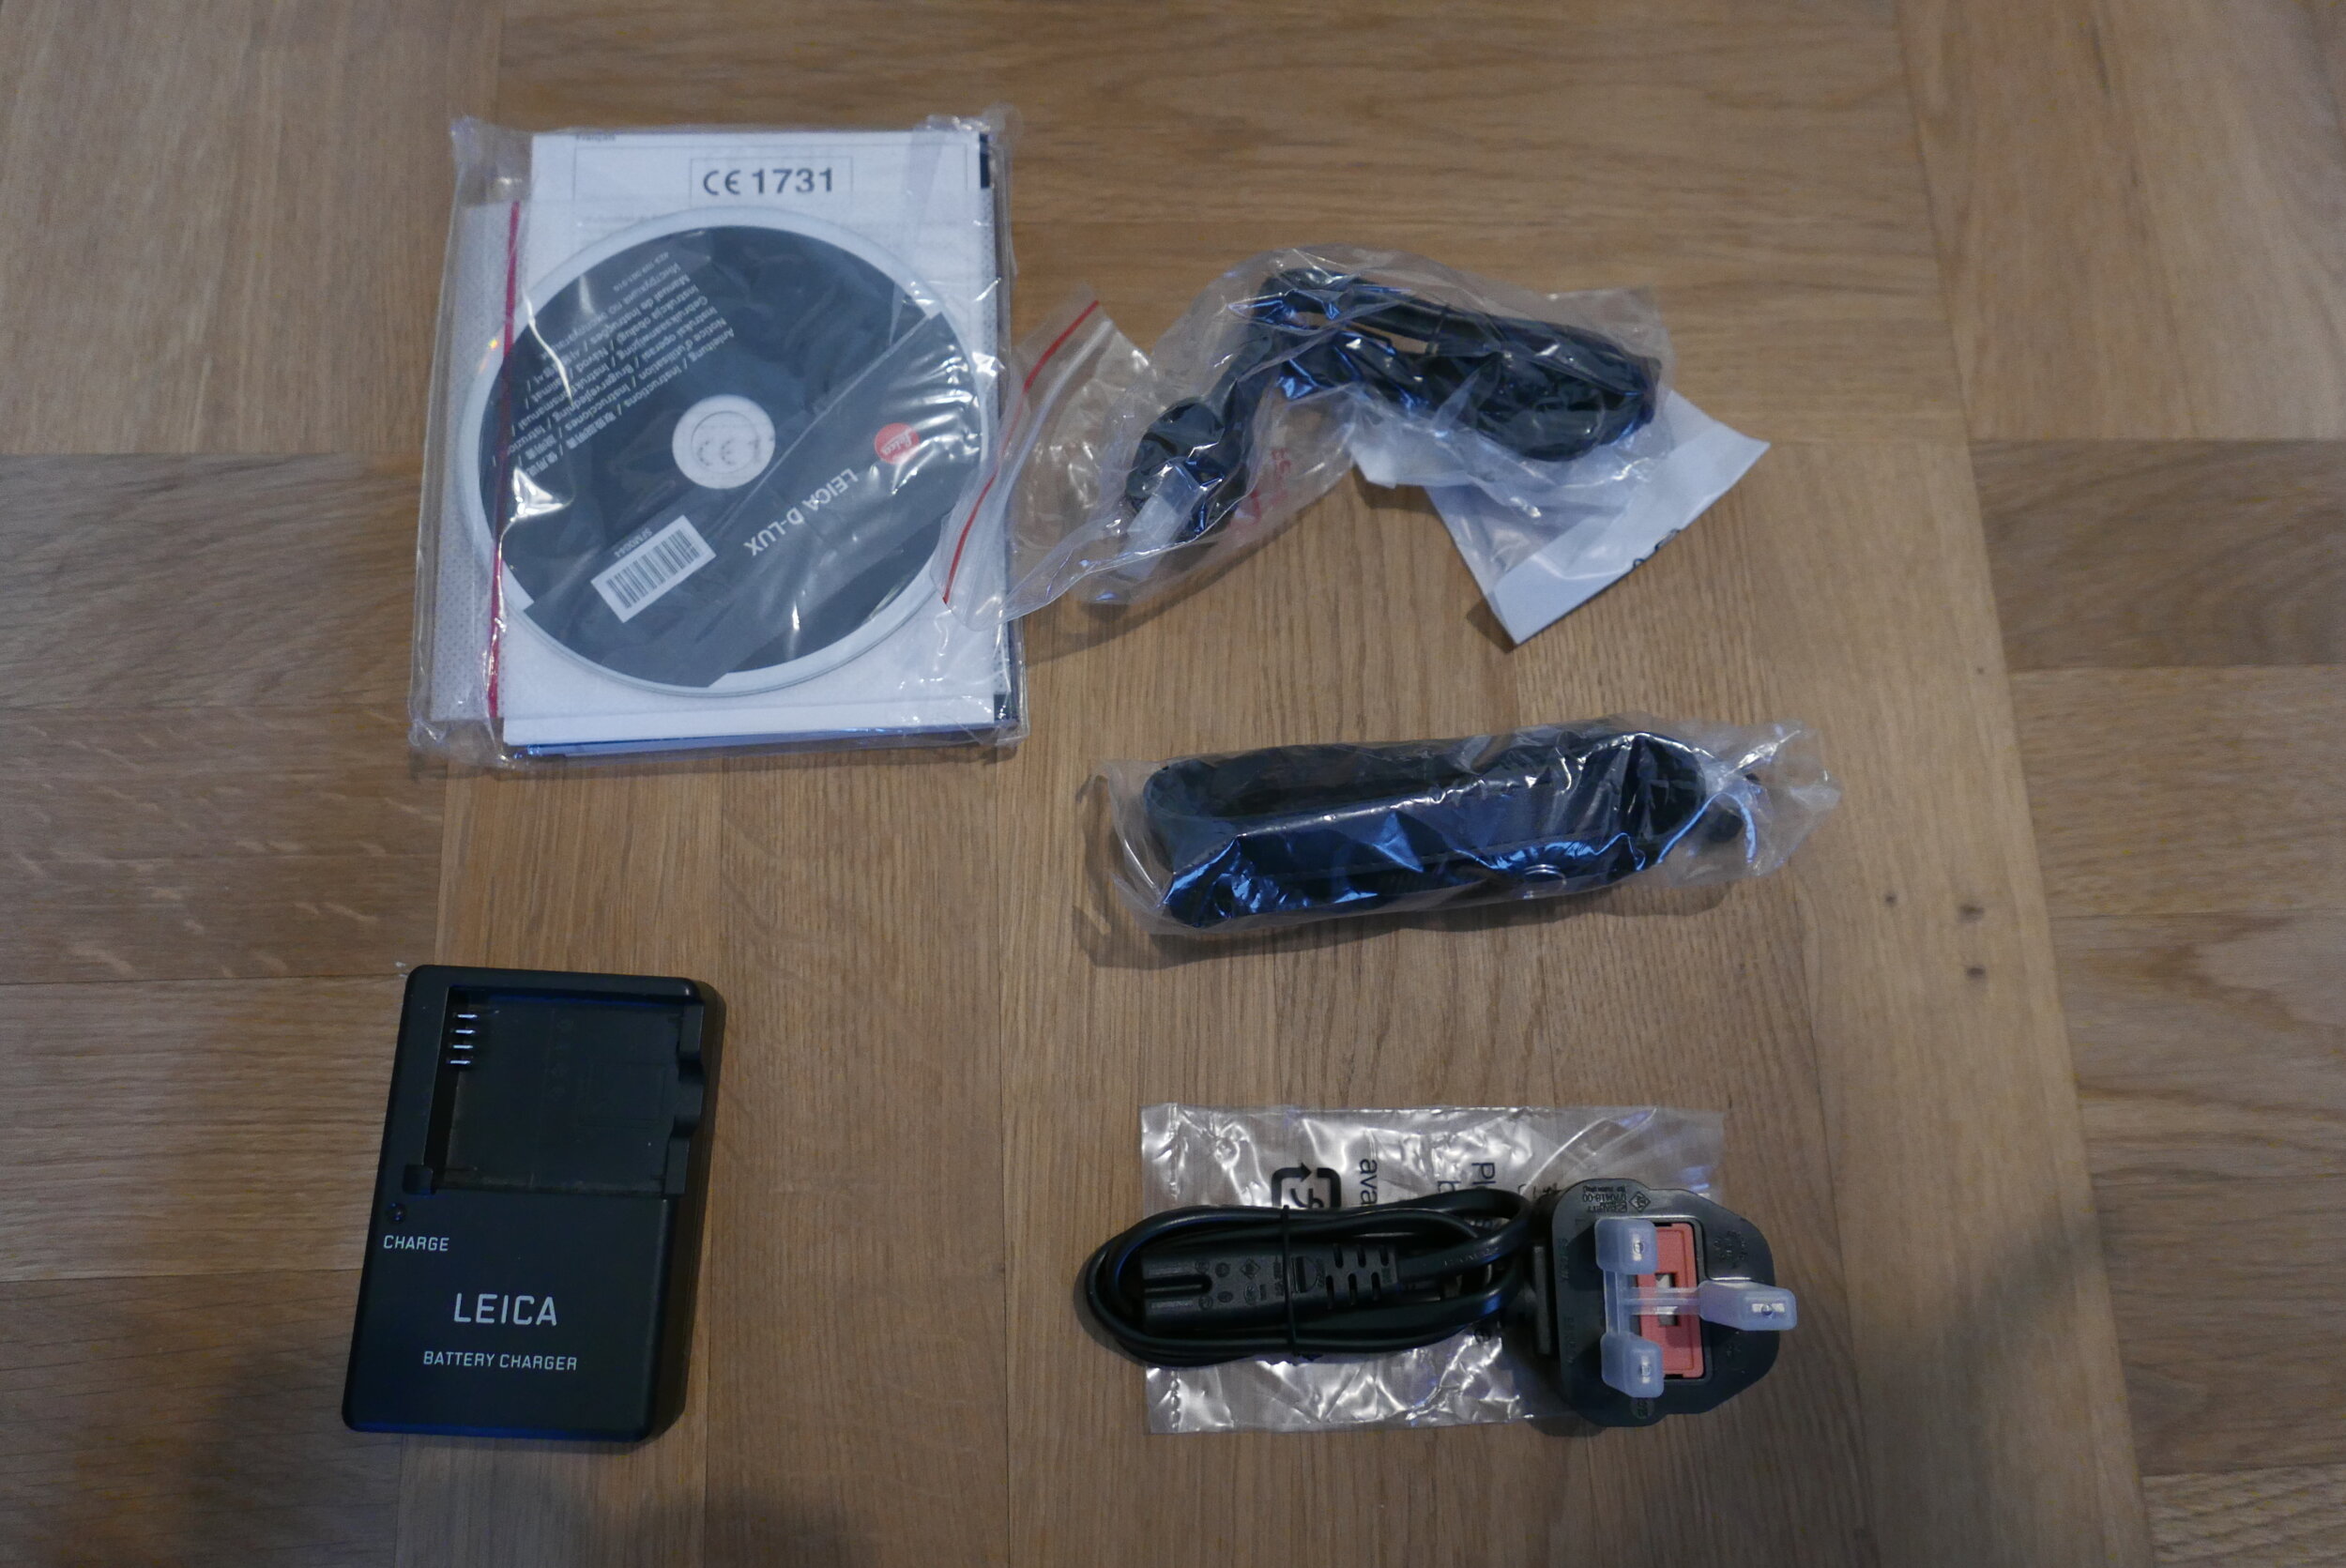
So when you first buy this Leica you are gonna get it in this medium size box together with charger, neck strap, battery, USB cable, small flash and actually a CD with manual. Yes, it is so much 2014.
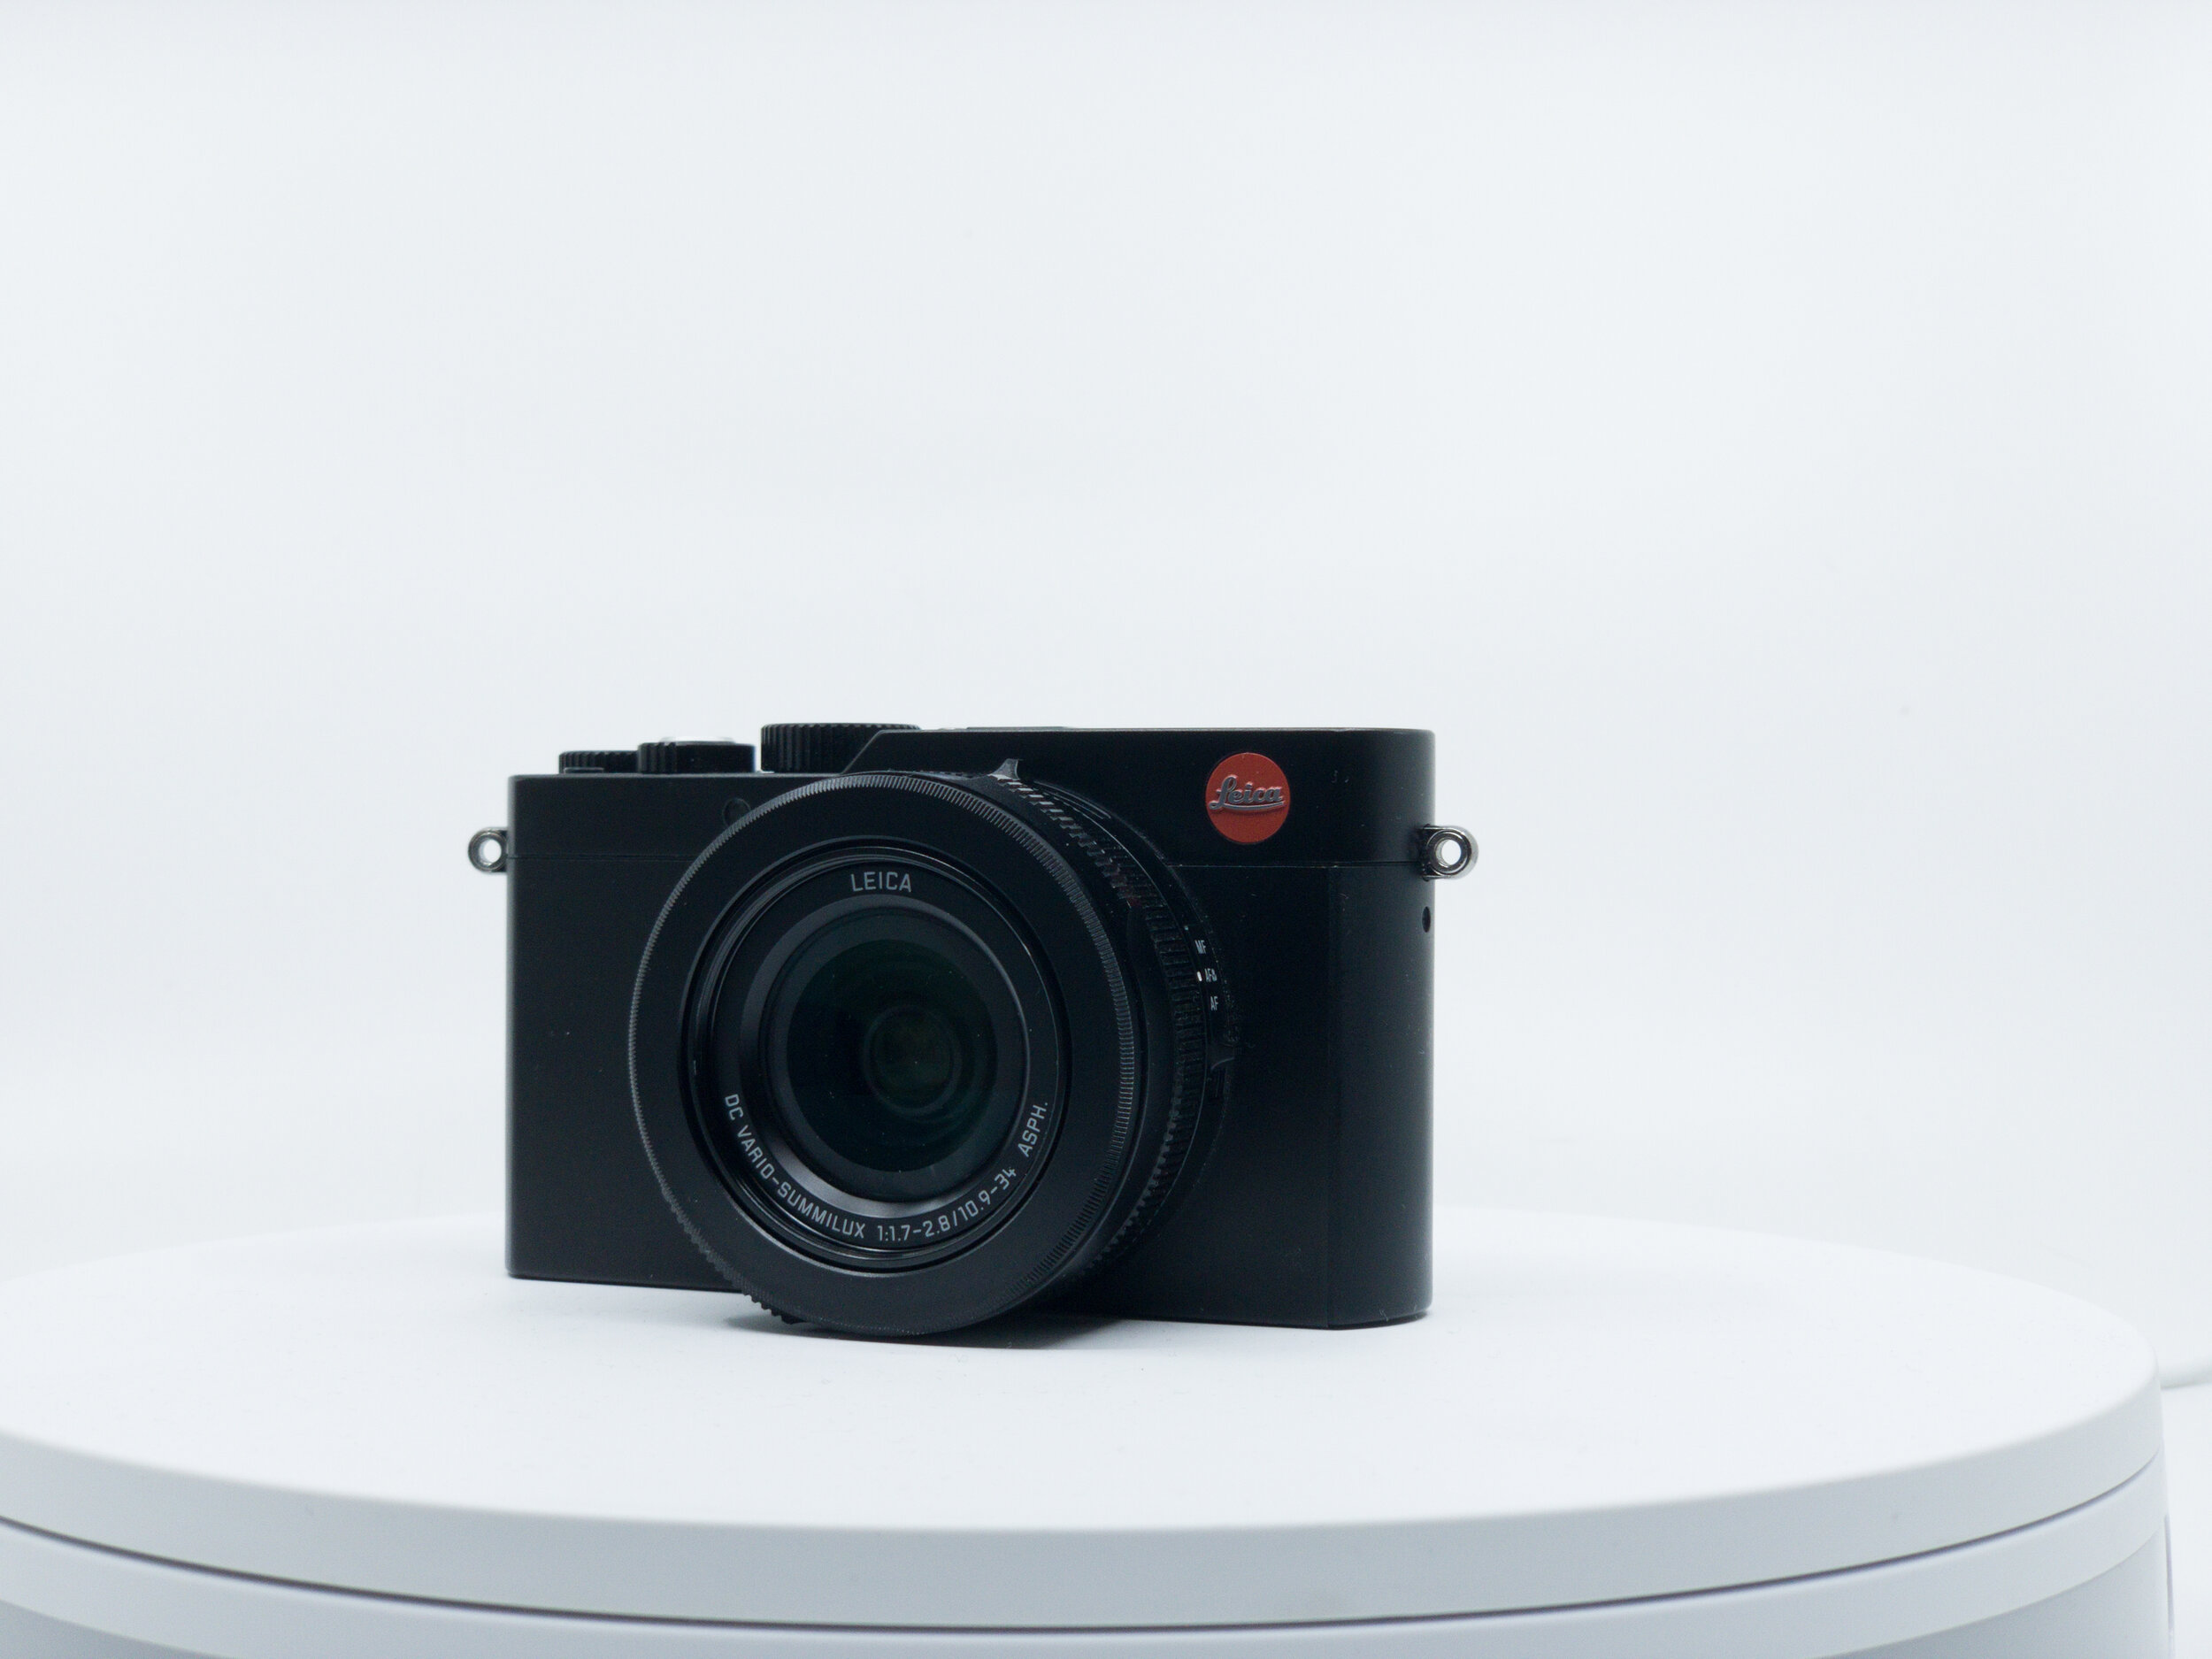
Leica D-Lux 109 is Leica’s compact point and shoot camera that was announced back in 2014. It is an equivalent to Lumix LX100. Both cameras are basically same with Lumix being cheaper. You might be wondering why I am talking about this camera when it has been almost 6 years after it was released. To be honest I dont have any particular reason except I have been using this camere quite often lately. Mostly for filming my youtube videos which I was first filming on my iPhone. I am going to adress the video funkcionality later in this video.
So as I said 109 is Leica’s compact point and shoot camera. Over all it is more in the premium category pricewise. However when we talk about Leica’s premium compact cameras we usualy talk about the Q series. As I said in my M 240 review I have started with leica D-lux 109 since I really liked the desing AND it came together with a free copy of ligthroom. The lightroom does not justify the alone, even though I am still using it to this day and since I don’t own more cameras I didn’t need to upgrade from Lightroom 6 which still saves me like 10 dollars every months. As I said in my review of Summilux M I think the best camera in my opinion is the one you enjoy shooting with and that is why I value the design of the camera a lot when you spend so much time or when you WANT to spend so much time with a camera.
So let’s lets take a look from the outside. This Leica is equiped with fast f/1.7-2.8 DC Vario-Summilux 24-75mm equivalent lens. Which is a zoom lens which comes out when you turn on the camera. Its has 1 ring with aperture and one multifunctional ring that you can set in the menu for multiple things such as focusing, zoom or ISO. On the left side of the ring you can set your focus to auto, macro or manual (which to be honest, you are probably never going to to use since the autofocus is pretty good). On the top you can set your aspect ratio to 3 by 2, 16 by 9, 4 by 3 or square ratio for photography. You can record video only in 16:9 format.
On the top of the place you have a hot shoe where you can connect your flash or remote for external flash. Other than that there is a dial for a shutter speed with an ON/OFF button, exposure compenstion and zoom together with the shutter button. I have to actually look into the manual since I had no idea what the other two buttons are for. It turns out the F button is there for filters and can not be reprogrammed. The A button is for “snapshot mode.” Holding the button down will cancel any manual settings and turns the camera into fully automatic no matter what your shutter speed or aperture is.
So what you notice is that things like shutter speed and aperture are located outside and need to be set manually. But that does not mean you can not be complete beginner since the camera offers automatic options for both settings.
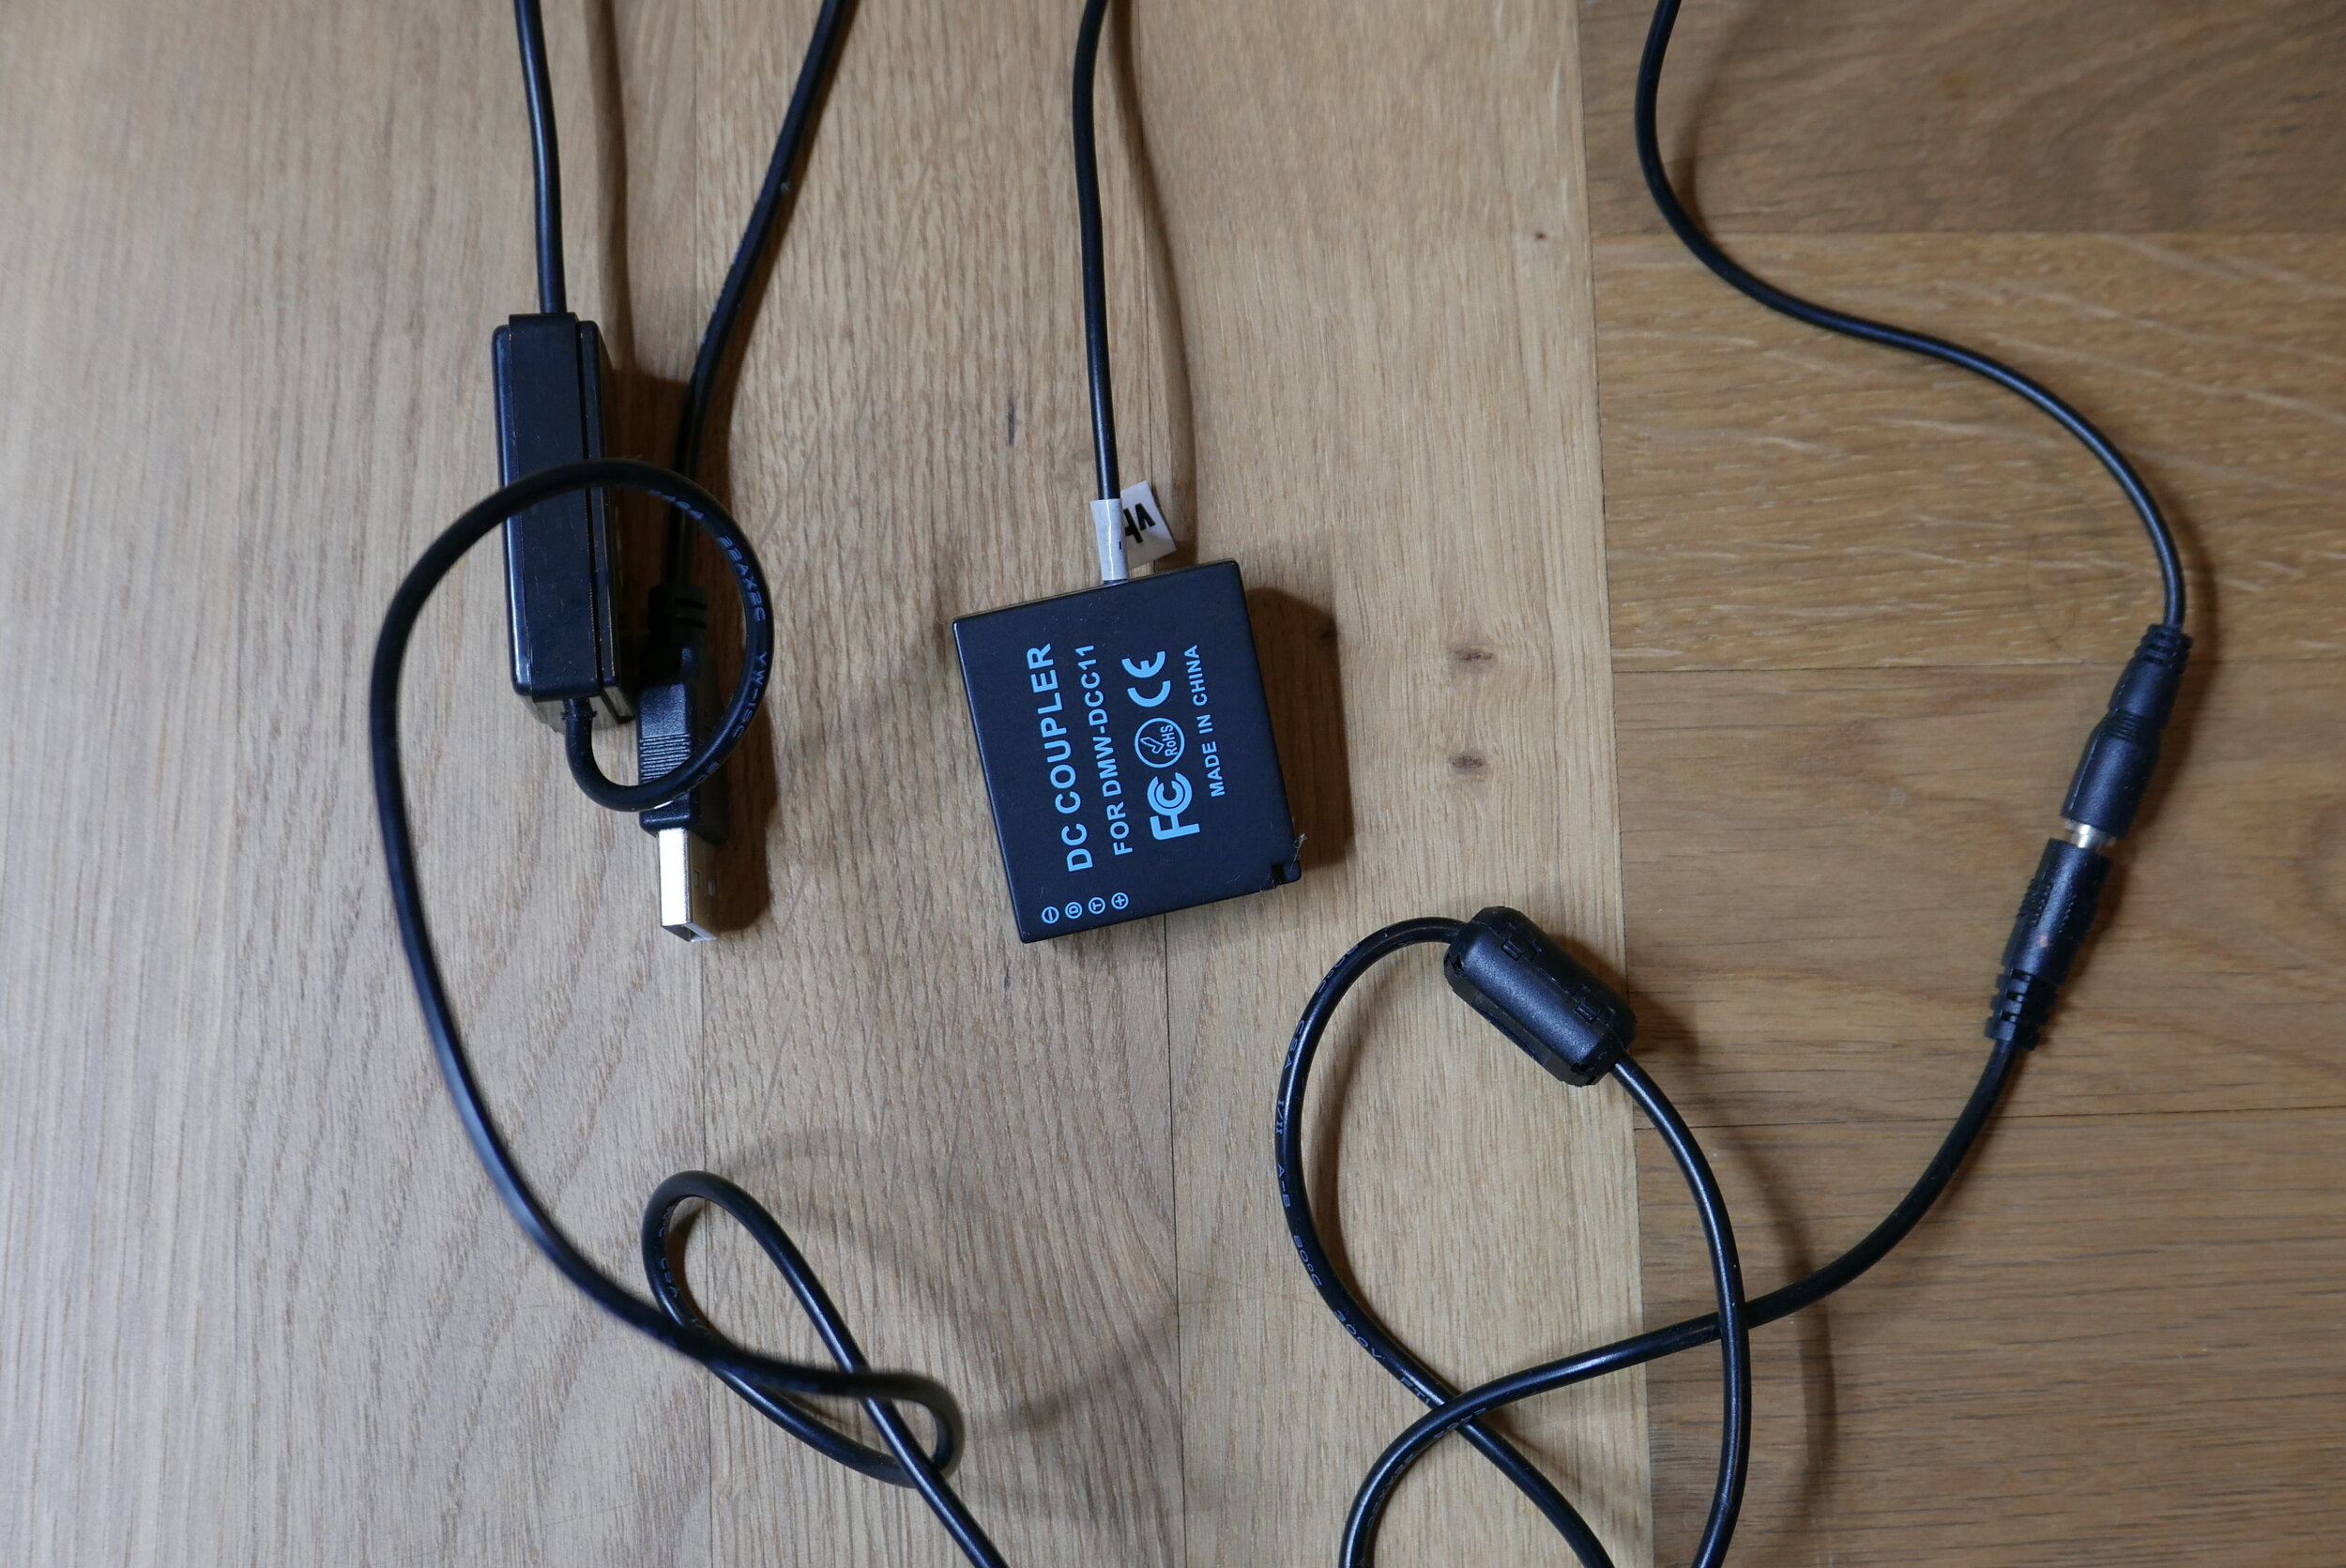
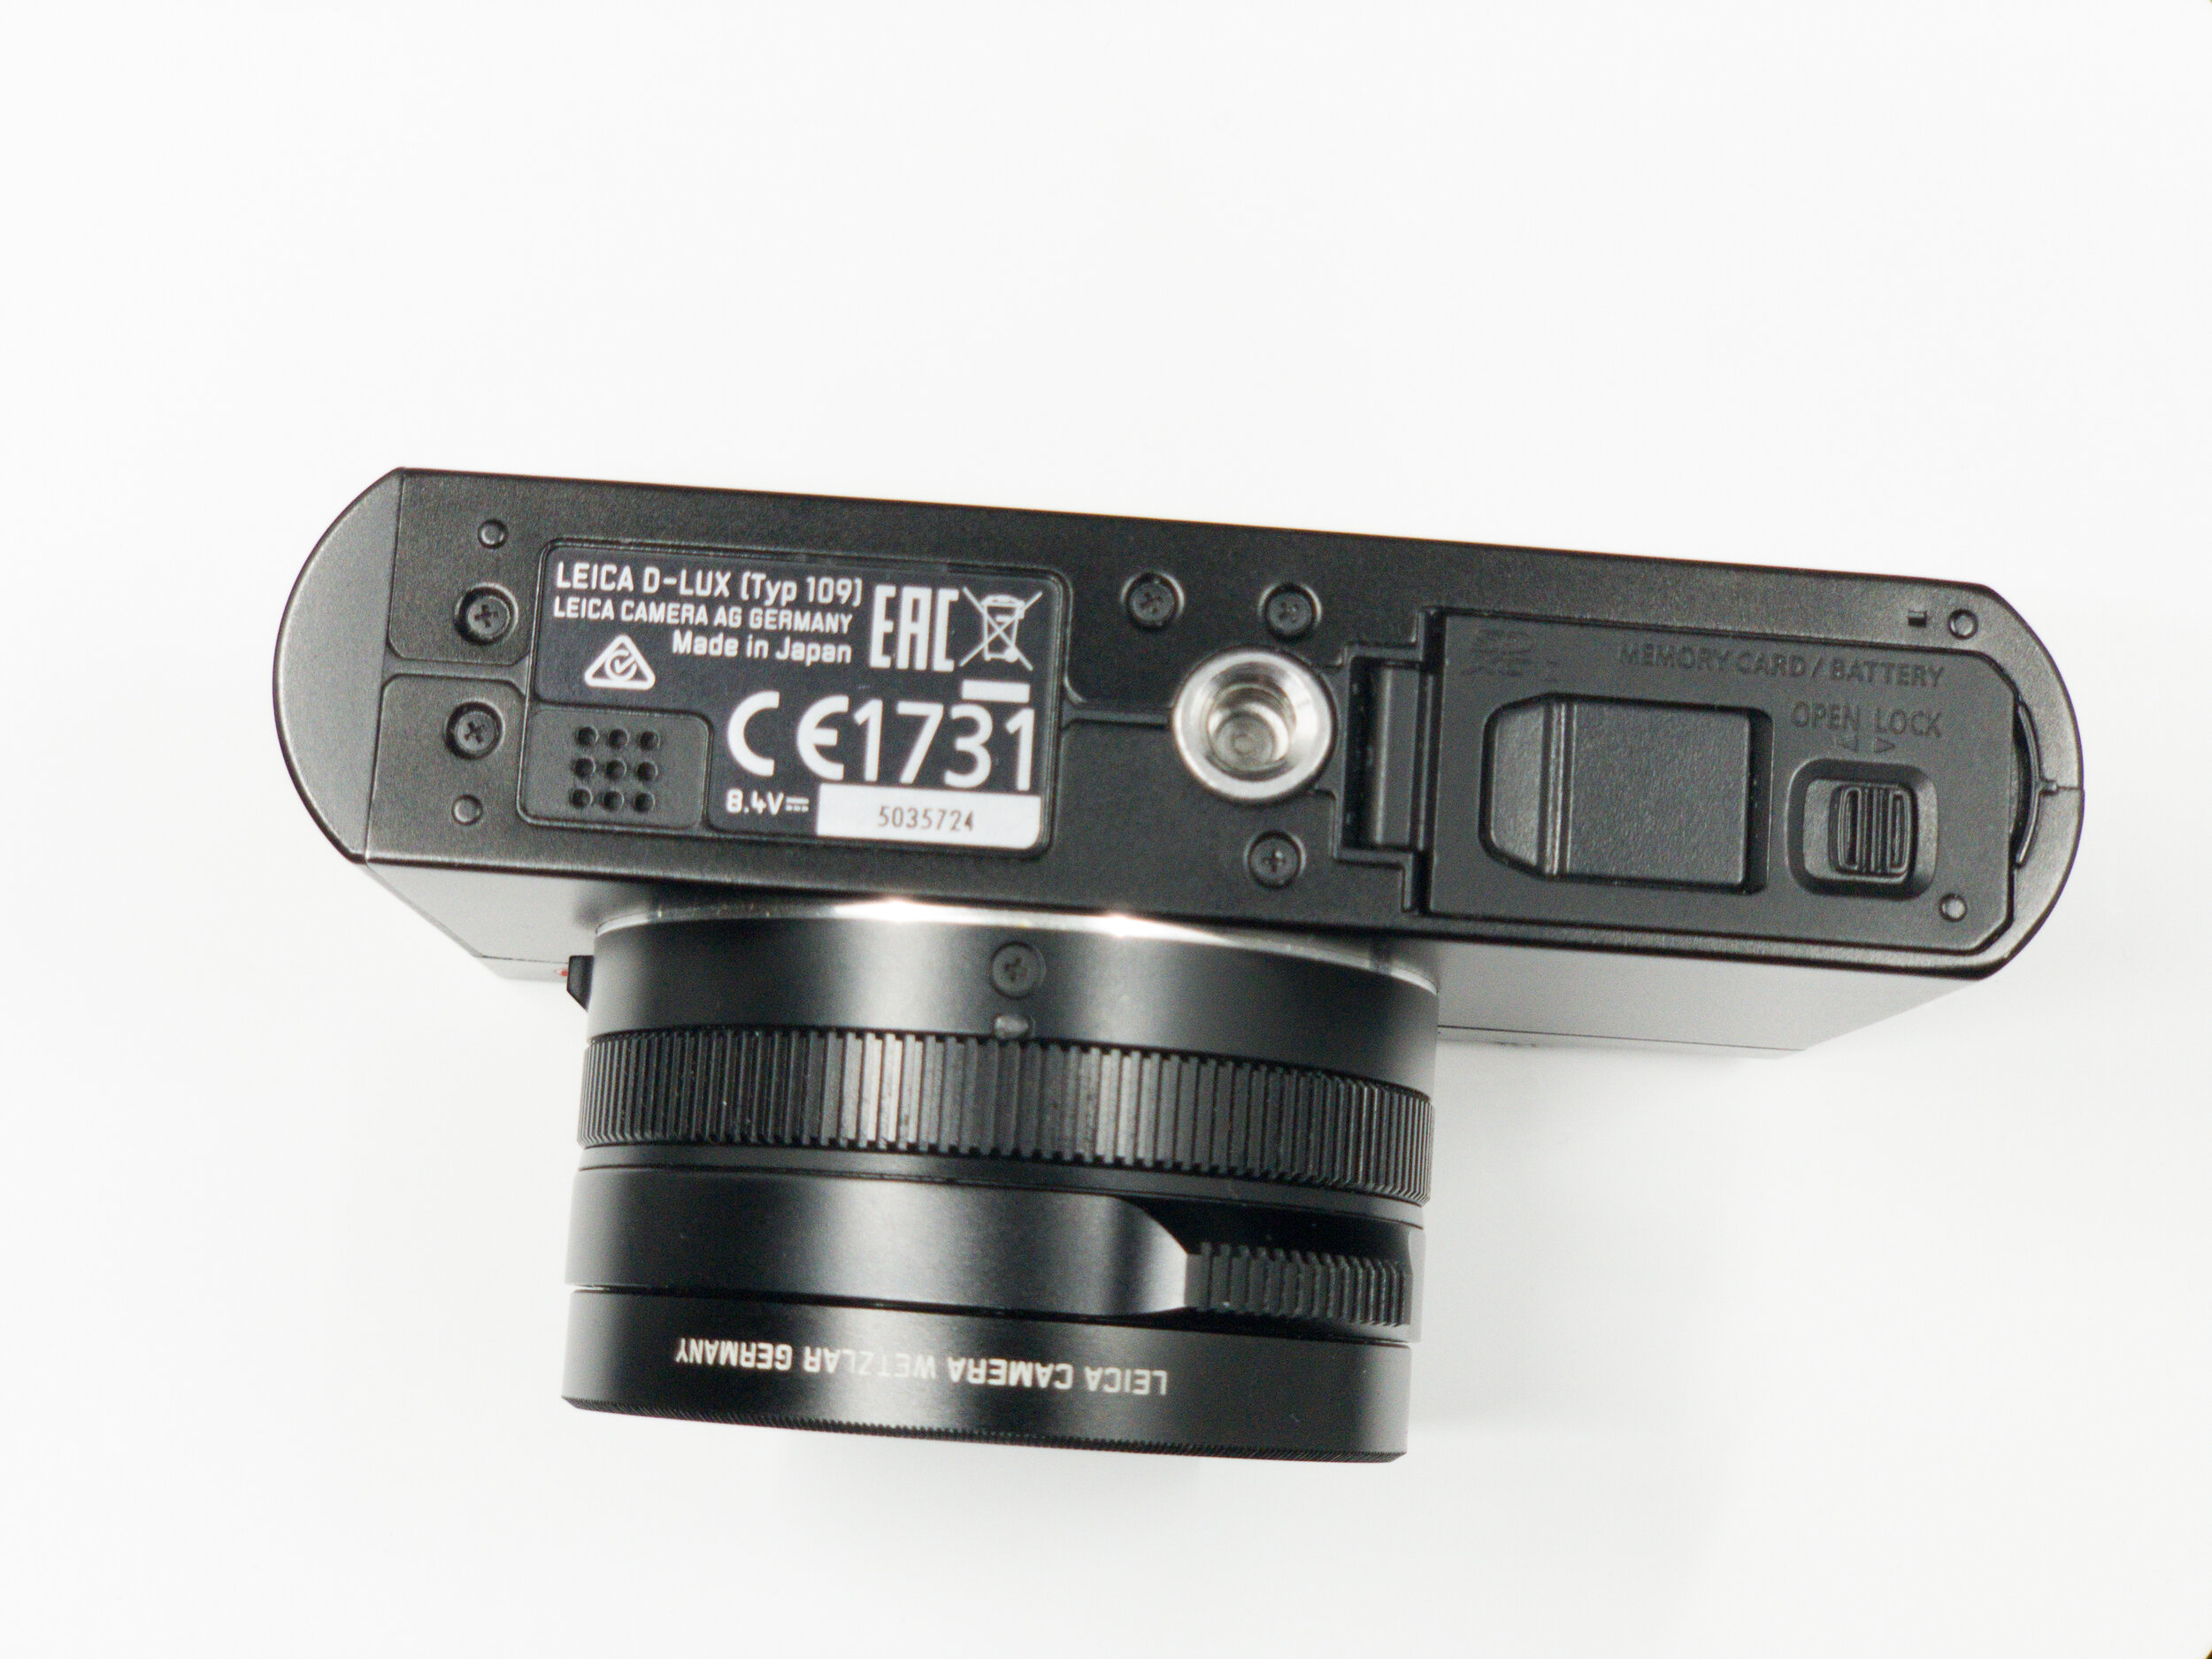
On the bottom plate you can find speaker for playback sound, standard tripod screw and battery door. The battery door actually has a small opening which can be used for example for the battery with external charging. The only reason this can be usefull I could think of was when shooting time lapses at night when you might be afraid of running out of battery and want to use external battery source.
HDMI socket on the right side lets you playback the photos or video on your TV. Saddly you can not use it for charging or exporting the data.
On the back side you can find the EVF as well as the 3” LCD. with a resolution of 921k dots. The viewfinder has a resolution of 2,760k dots. You can switch between EVF and display automatically or with a button. The qiuck menu button lets you set the things like file size or metering mode.
There are four dedicated button for ISO, White balance, burst mode and focusing. In the middle is menu button which you control with the control dial.
I will not go through all the settings options just the ones that are more important for me. If you have any questions about my settings let me know in the comments.
At first the setting looks little overhelming. But it all comes down to two categories. Pictures and videos. Whats great about the custom setting is that it lets you save 3 custom profile which seems to be the right amount for me. My Custom setting for photography is pretty simple. I do use constant preview and sometimes also monochrome live View which sometimes help with composing. I have the zoom resume function turned off since I prefer to start with the largest view possible every time I turn ON the camera. What is different for my video setting is that the live view is already cropped to 16 by 9 so I can frame precisely. What I don’t about the video is that this camera only allows you to film 15 minutes and then stops recording. Which is fine if you are only filming short scenes. However when vlogging or recoding videos like this which usualy take 2 or 3 times longer than the video size is little annoying. Especially when you forget about it and find out after you finish your talk.
What I like about the camera is that the camera is actually pretty small and weighs only 365 grams. Which in comparison is about the same weight as 50 mm Summilux which is just few grams heavier.
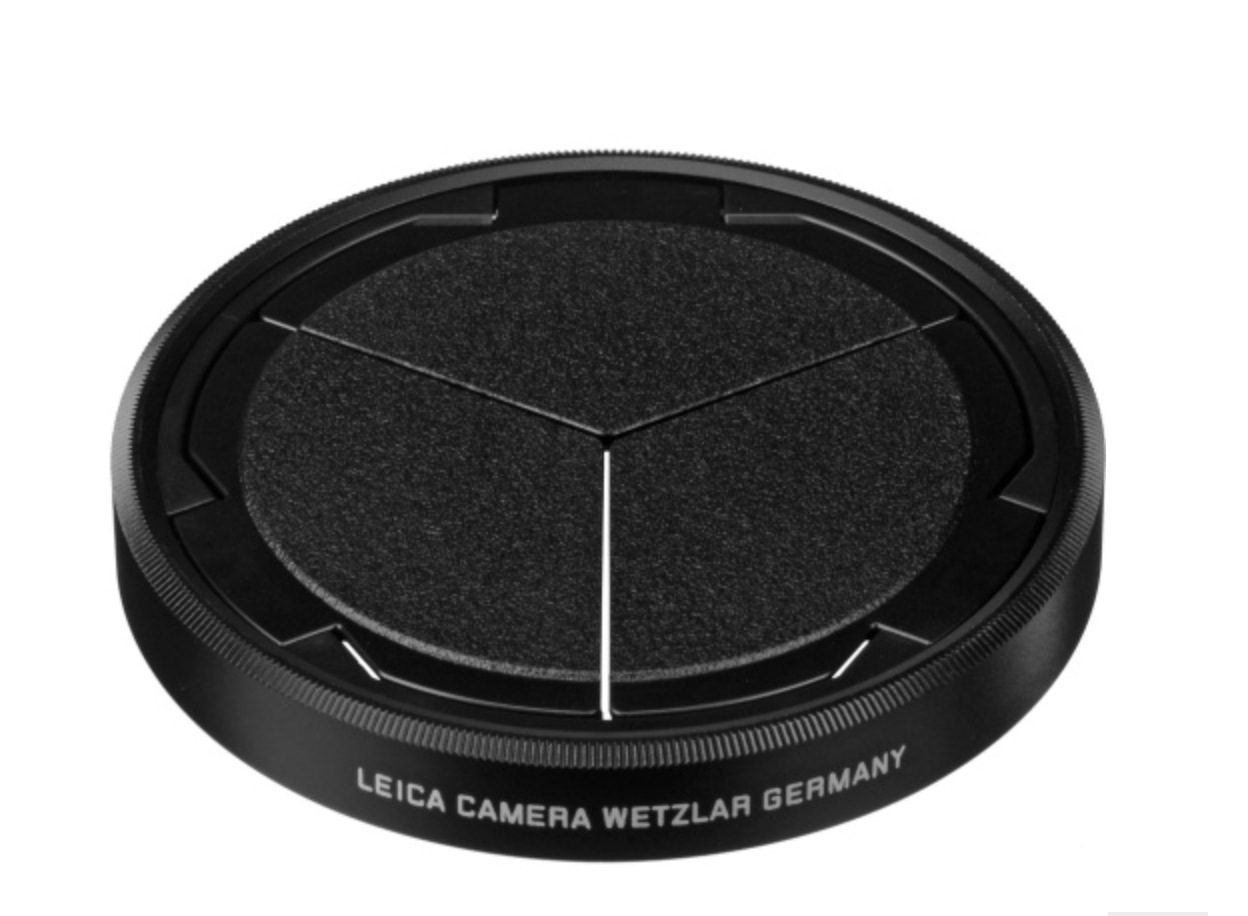
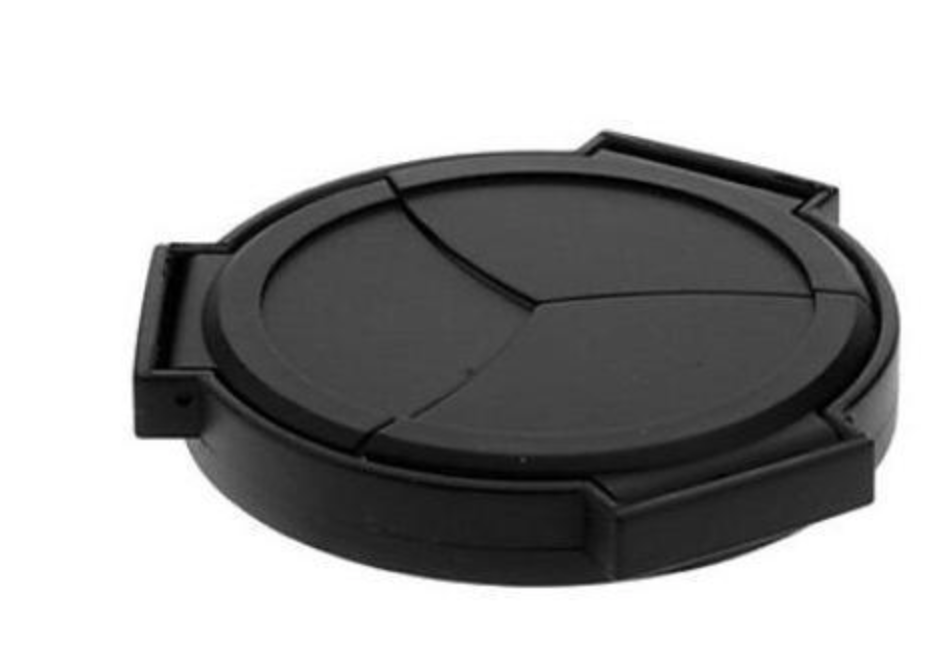
As for the accesories what I think is a “must have” Leica’s auto lens cap. Here you have two options 60 USD for the oreginal, slightly cheaper for Panasonic one or 20 USD for an unofficial one. I got the Leica one used for about 30 and I actually think it is much nicer. Its just a shame it is that much more expensive.
Another thing I use especially for making these videos is Parrot teleprompter which alows you to read your script while looking directly to the camera. I would recommend it to anyone creating videos who is also using scripts. Just make sure you have the right size for the “ring” for the camera as I need to buy an extra one for the 43 mm screw.
Another feature I have been using a lot lately is the wifi function together with the smartphone Image shuttle Leica app. What it allows you to do is shoot pictures or start videos remotely. Which is useful because this camera doesn’t have a flip screen. So in my case when I am filming myself alone what it allows me to do is to frame myself and start the recording and I can be sure I am in focus.
Now, lets look at the price and close competitors. When this camera first arrived it cost around 12 hundred USD with its Panasonic clone being few hundreds cheaper. Or you can say this Leica was a clone of Panasonix LX100. For the extra money you got a copy of Lightroom (which cost around 100 USD at that time) and 3 year Leica warranty. However that was pretty much all. When you compare the D-lux and LX100 , D-lux was more expensive for being a Leica. So you pretty much pay the difference for the design and as I said earlier for some it can be more important than for others.
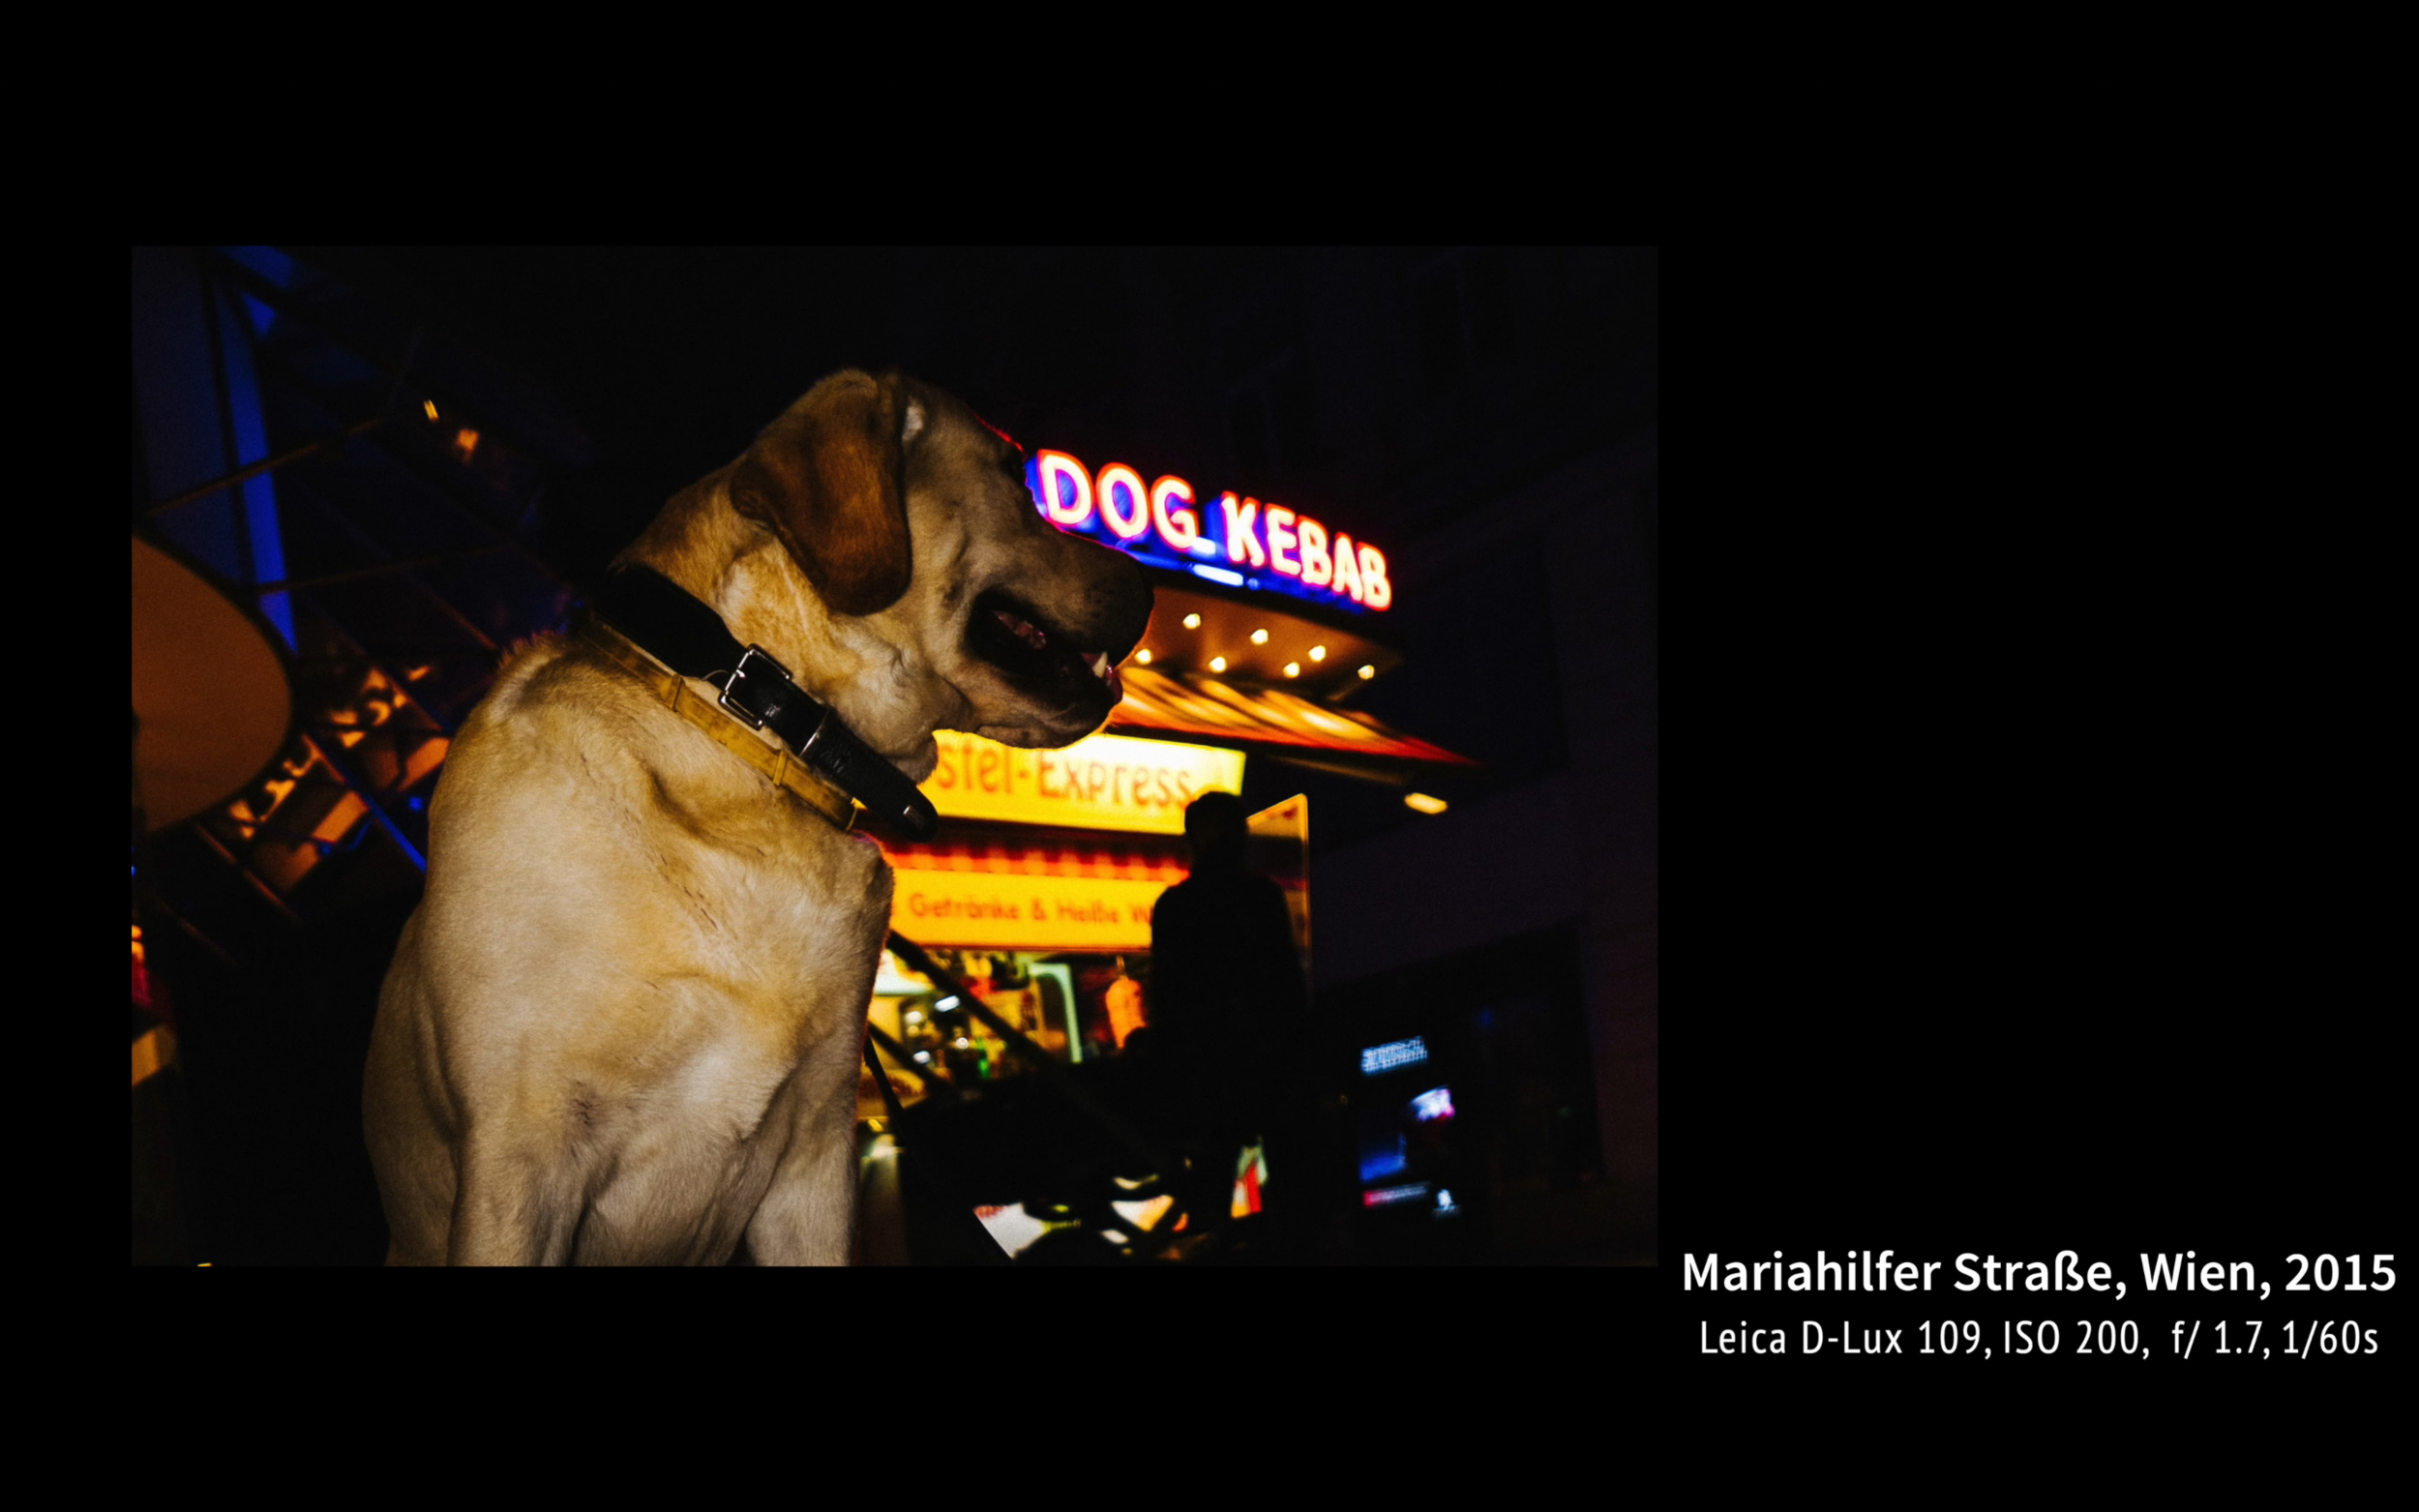
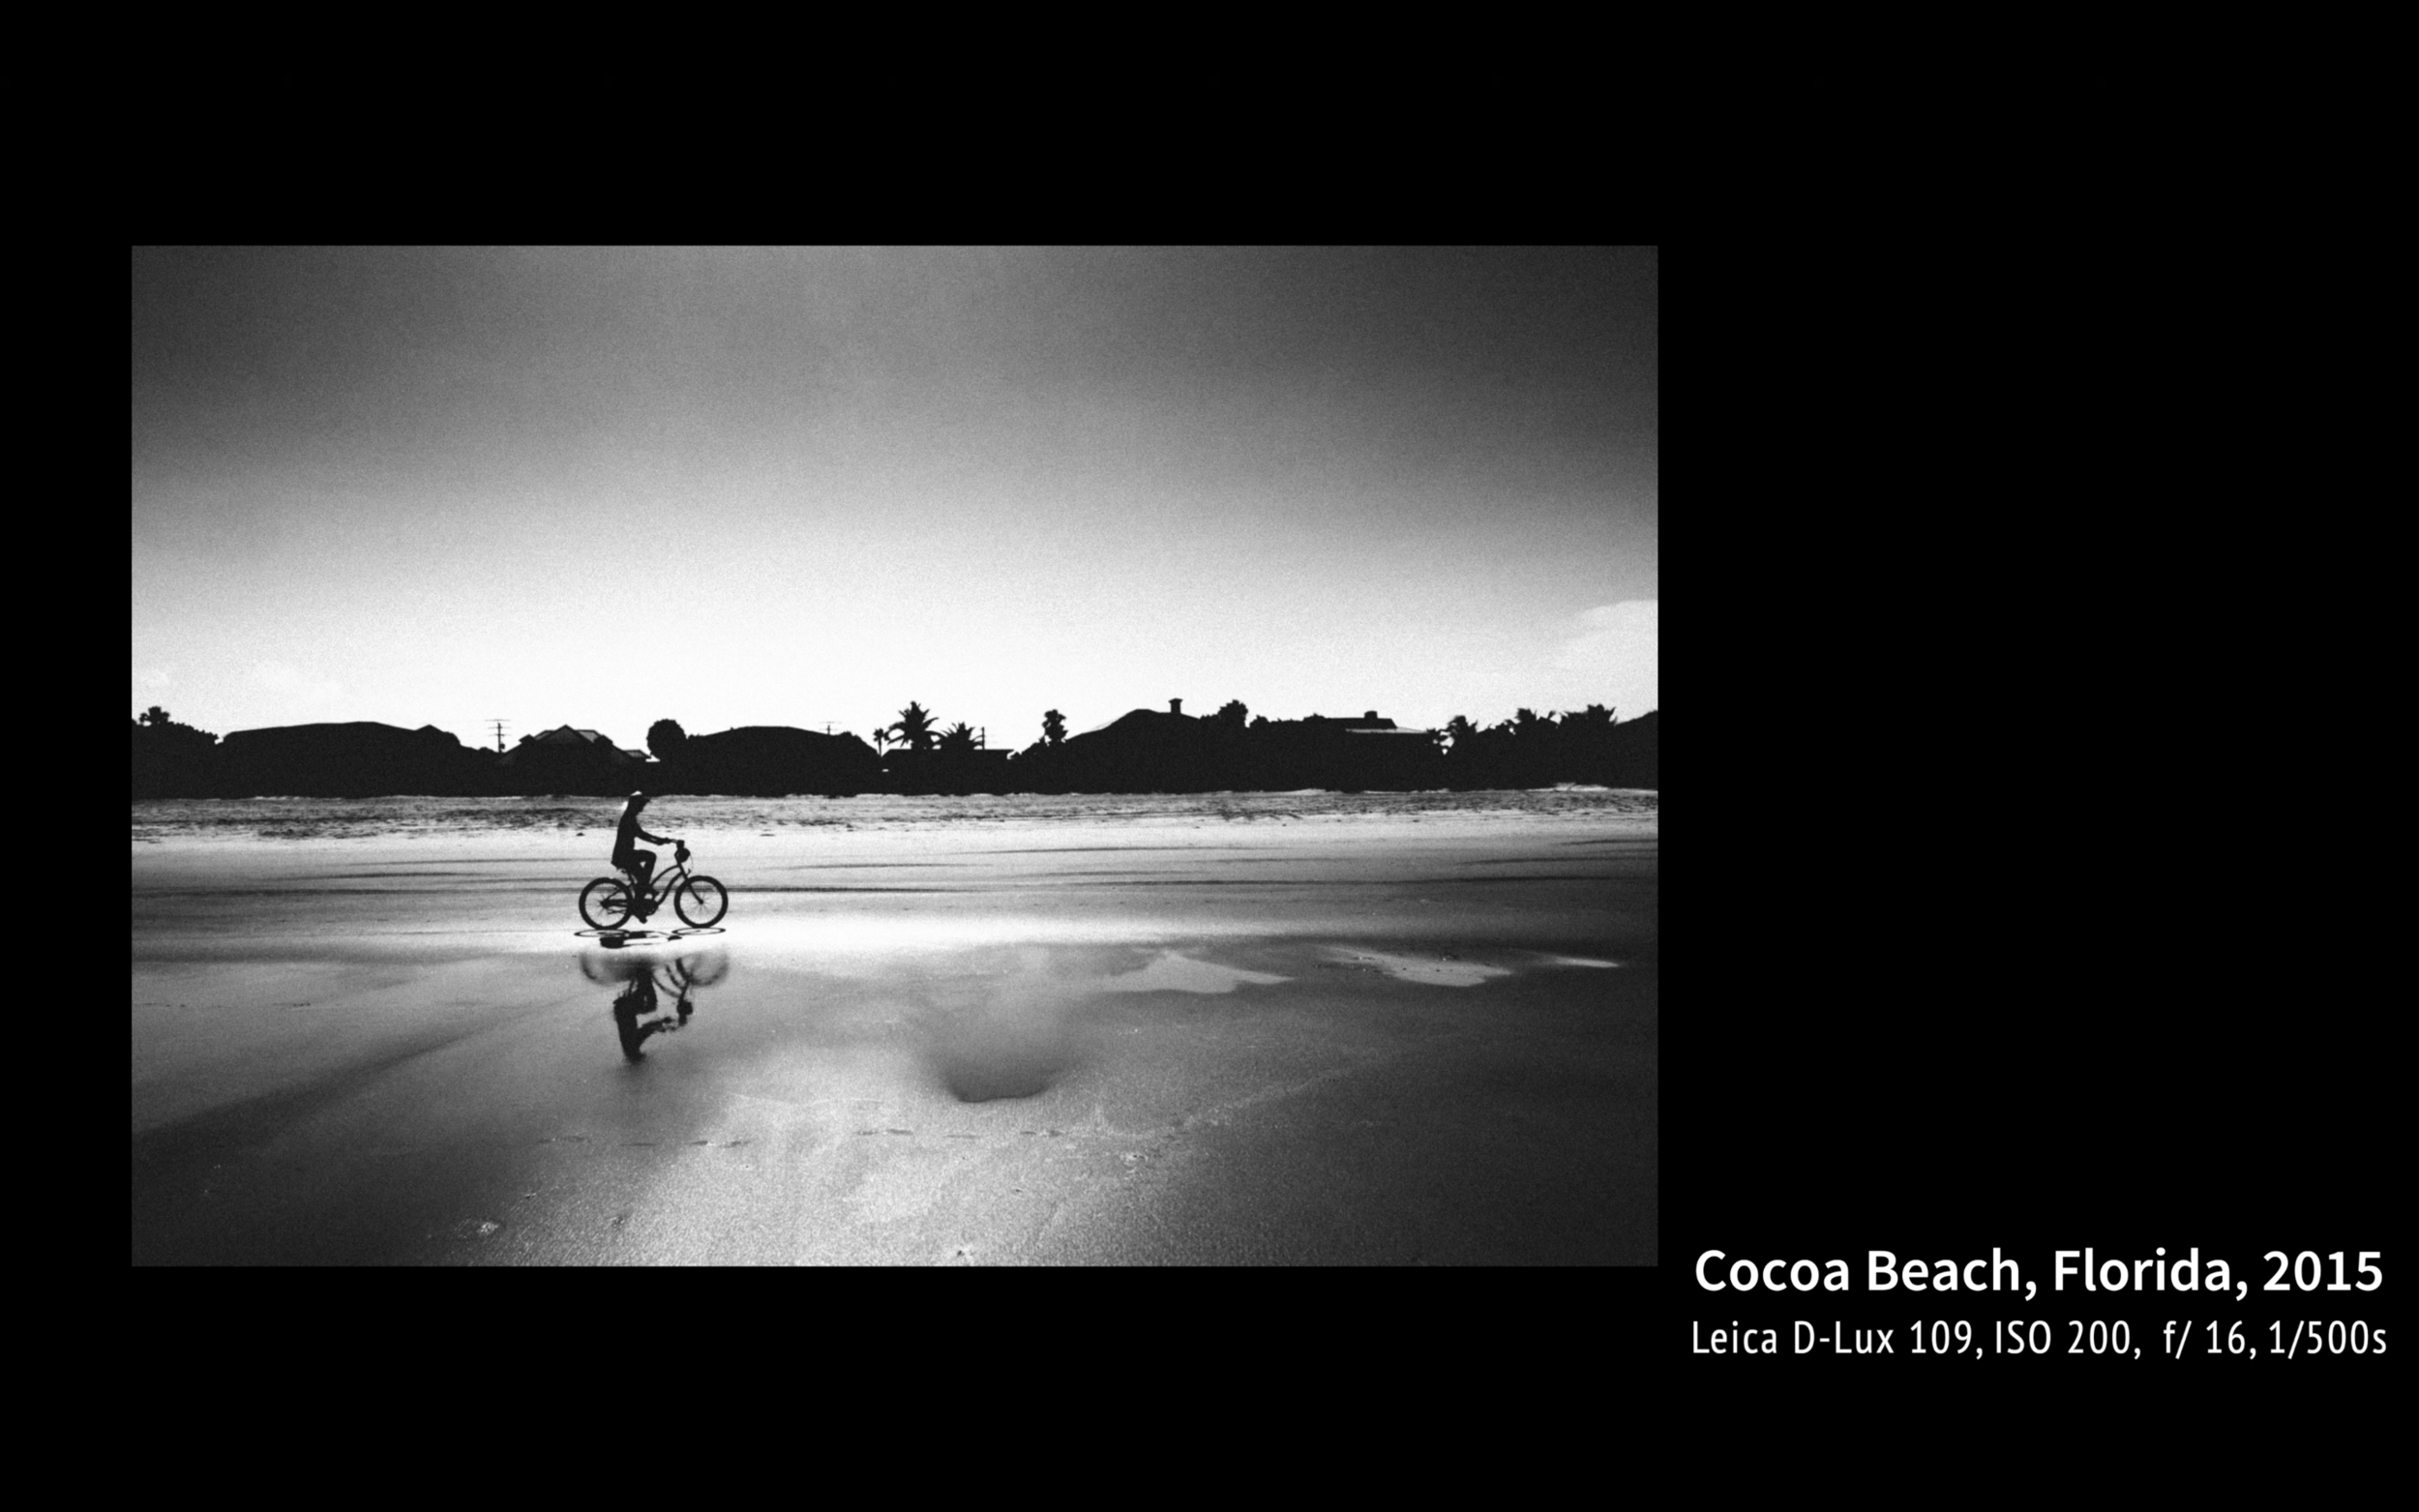
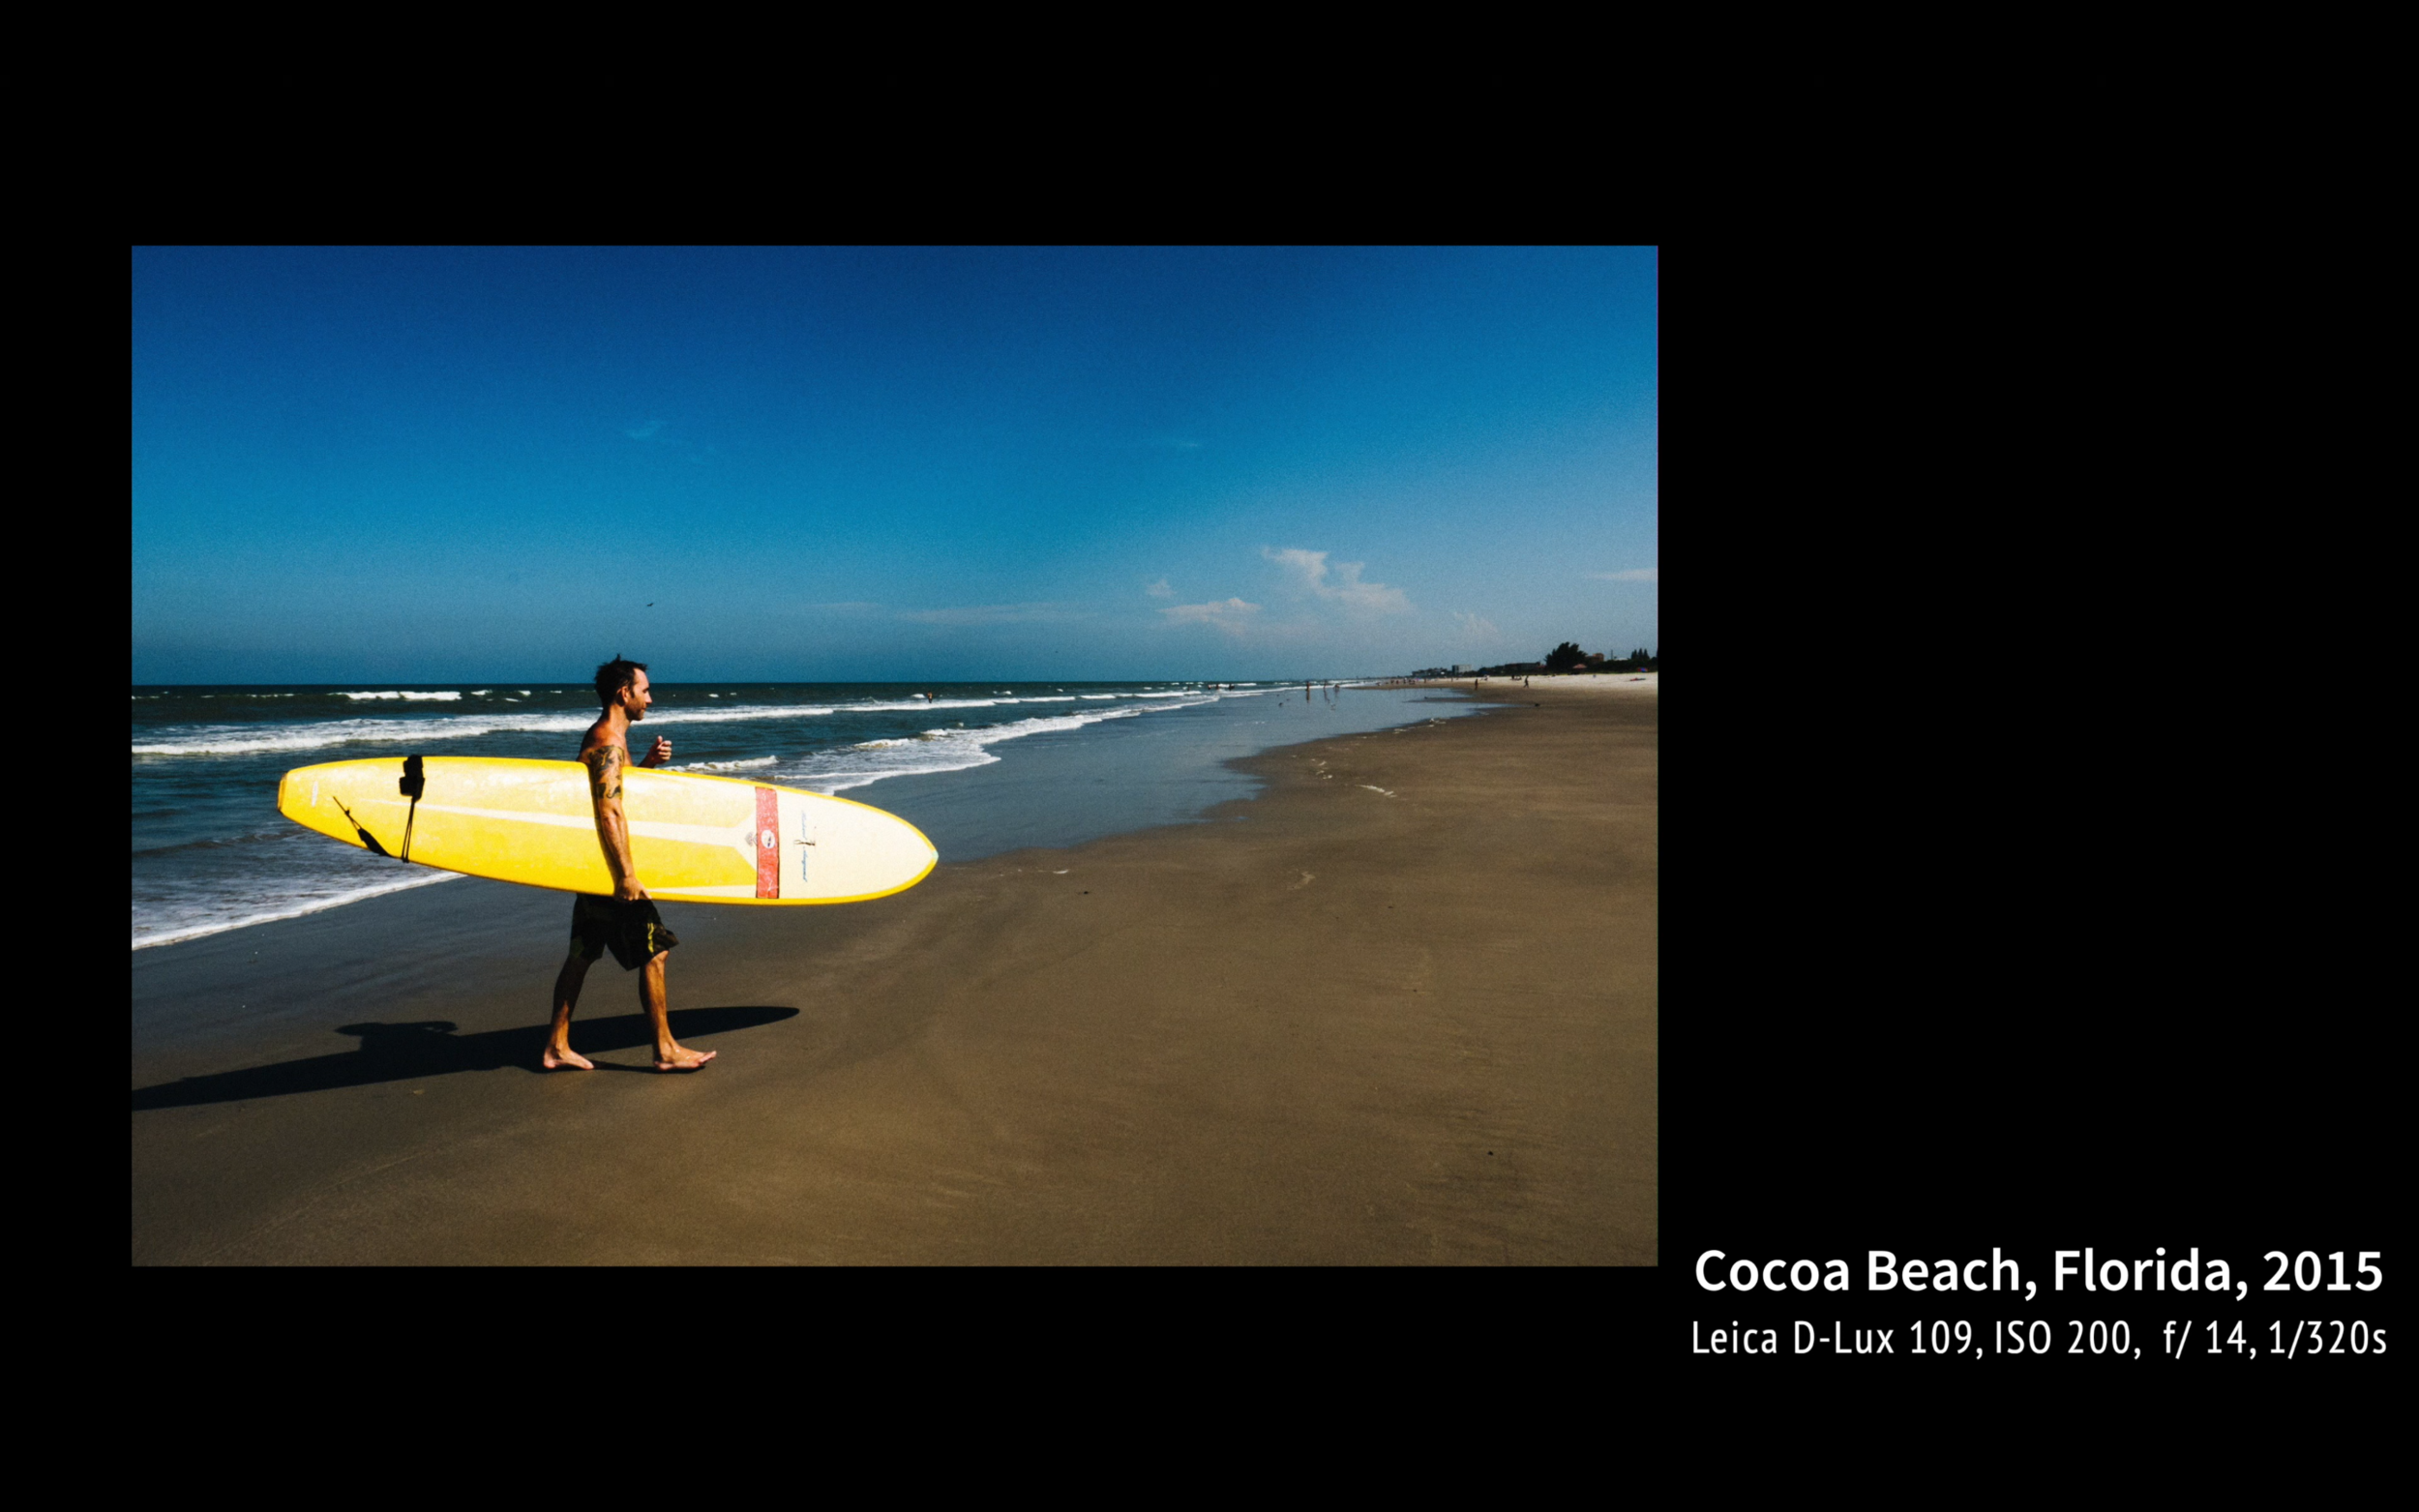
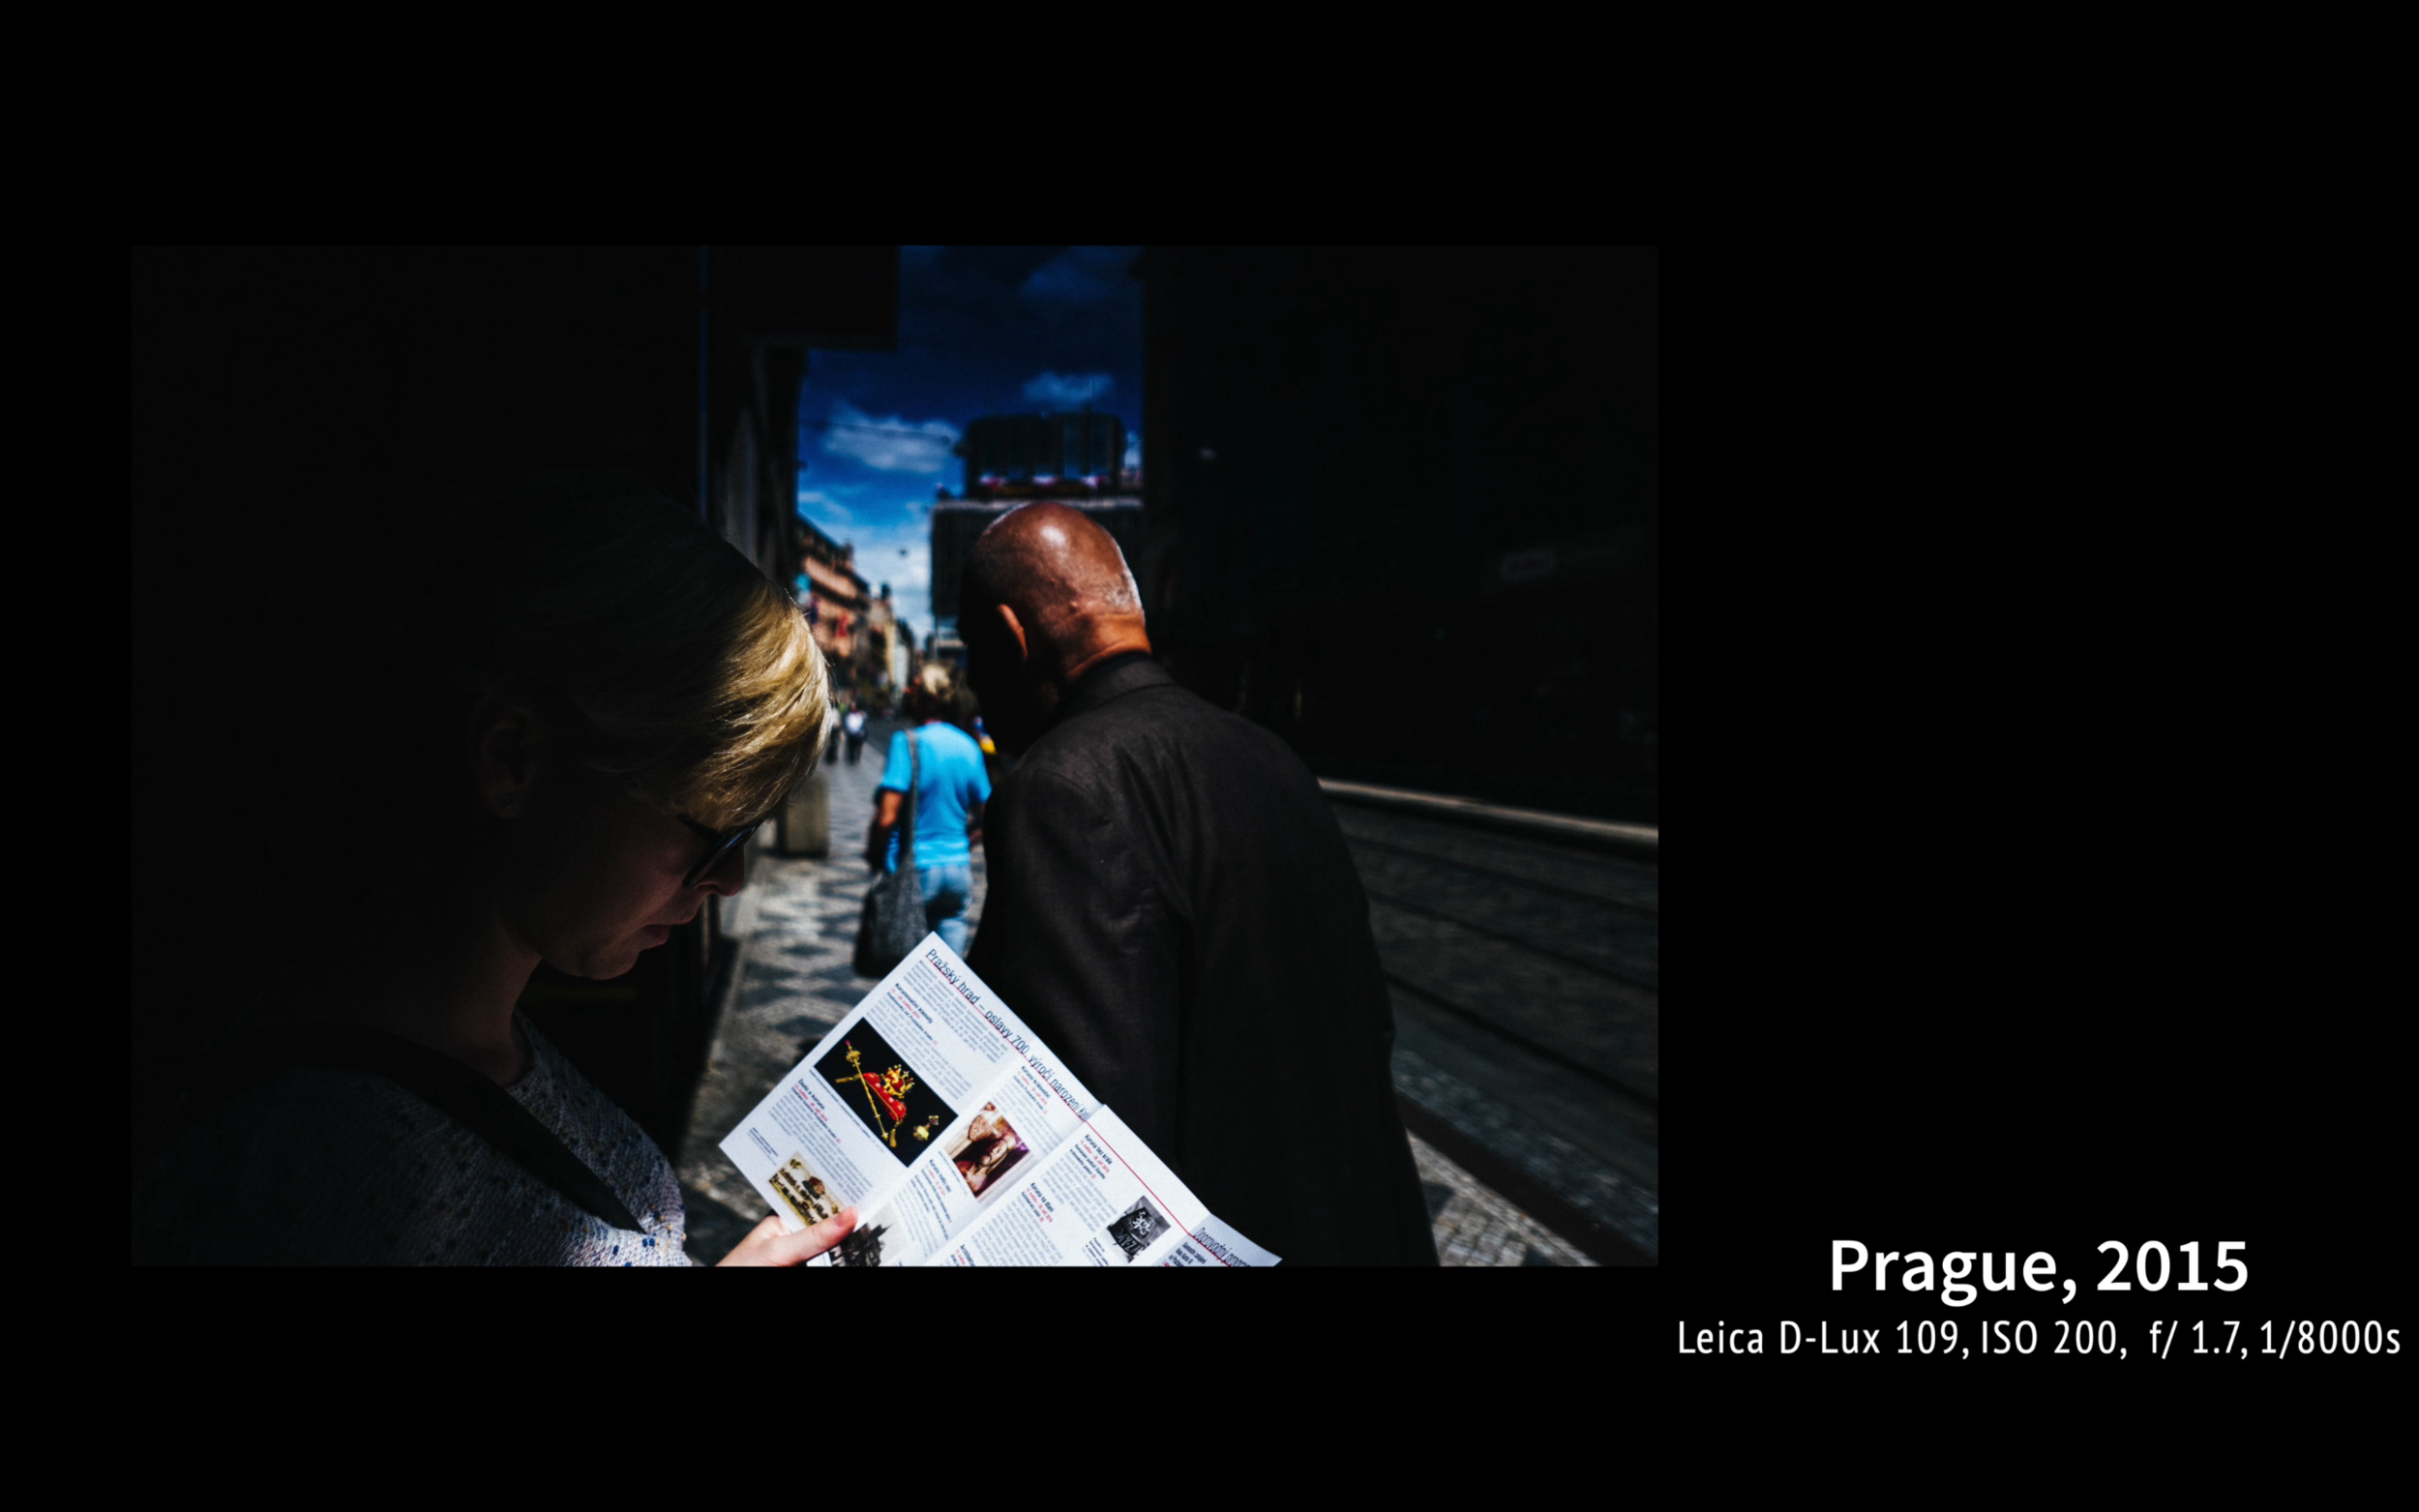

You can get as low as 550 USD and I have also find one completed auction for about 430 USD. That being said with the logic that Panasonic is basically same camera you will find it even cheaper. Then you have the next generation LX 100 II and D-lux 7. Now before the 109 Leica D-lux 6 was a very different camera. This generation was a big leap ahead with so many new features and new design. That being said, when we compare D-lux 7 there are actually not that many improvements. When we compare both cameras the bodies are basically identical. The biggest one probably being the resolution. They are both micro Four Thirds camera but even thought 109 has 16mps sensor it only uses it to produce 12 megapixels photos. sensor in the D-Lux, the camera also only uses a section of the sensor. Don’t ask me why, that’s just how it is. D-lux 7 has 21 megapixels sensor but produces 17 megapixels images. Now, for a daily use I think the 12 is more than enough and even for prints for your family album. Now, the cropping might be a problem however, with the optical zoom you can always do the “cropping” in the field. Both shoot 11 frames per second. Unlike 109 the D-lux 7 has a touch screen. Which I don’t think is really needed, but you know - it is there. And finally the design. 109 was released in black and later with solid grey. And even though I really like the silver black combination when we talk about M series I have to say I much more prefer the black 109. But I might be biased.
All in all I would say the 109 is good all around camera so when you don’t need the latest gratest, like the Leica design and can find it for the descent price, there is no reason not to get it if you want to get a Leica. In case you want this kind of camera but you want to save some money I would get the used Panasonic LX100 I thats cheapest you can get among those four. If you however prefer the silver black design and do the D-lux 7, don’t mind the higher price tag then go for it. And finally if you just don’t care if you have Leica and what this kind of camera LX 100 II is a great choice.
So I hope I have helped you a little bit deciding about your future camera. If you have any more questions feel free to leave them in the comments.
Leica Summilux 50mm F/1.4 ASPH -Three Years with the Lens - Review
Today I would like to talk about one particular lens, the Leica Summilux 50mm aspherical. I am going to take a look at why this lens is so unique, as well as my experience with it. So let’s get started.
Hello photography fans, today I would like to talk about one particular lens, the Leica Summilux 50mm aspherical. I am going to take a look at why this lens is so unique, as well as my experience with it. So let’s get started.
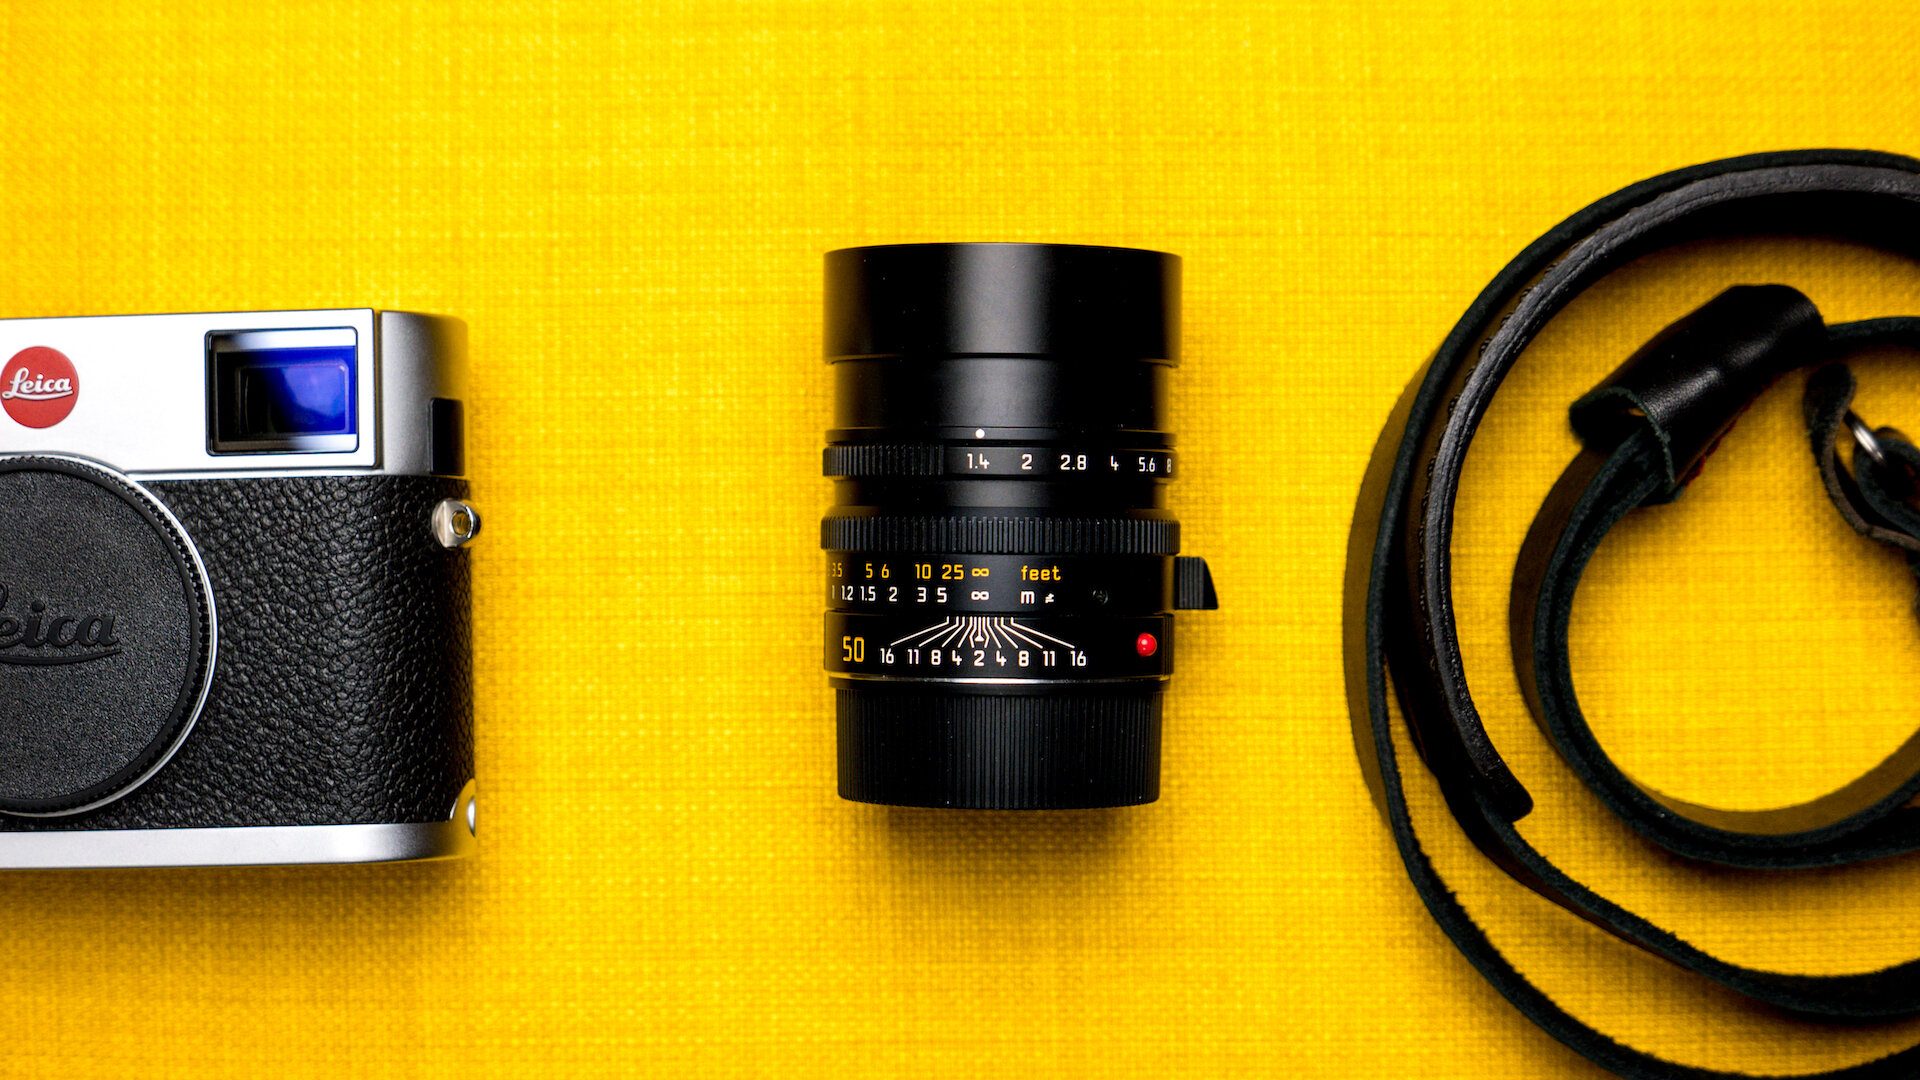
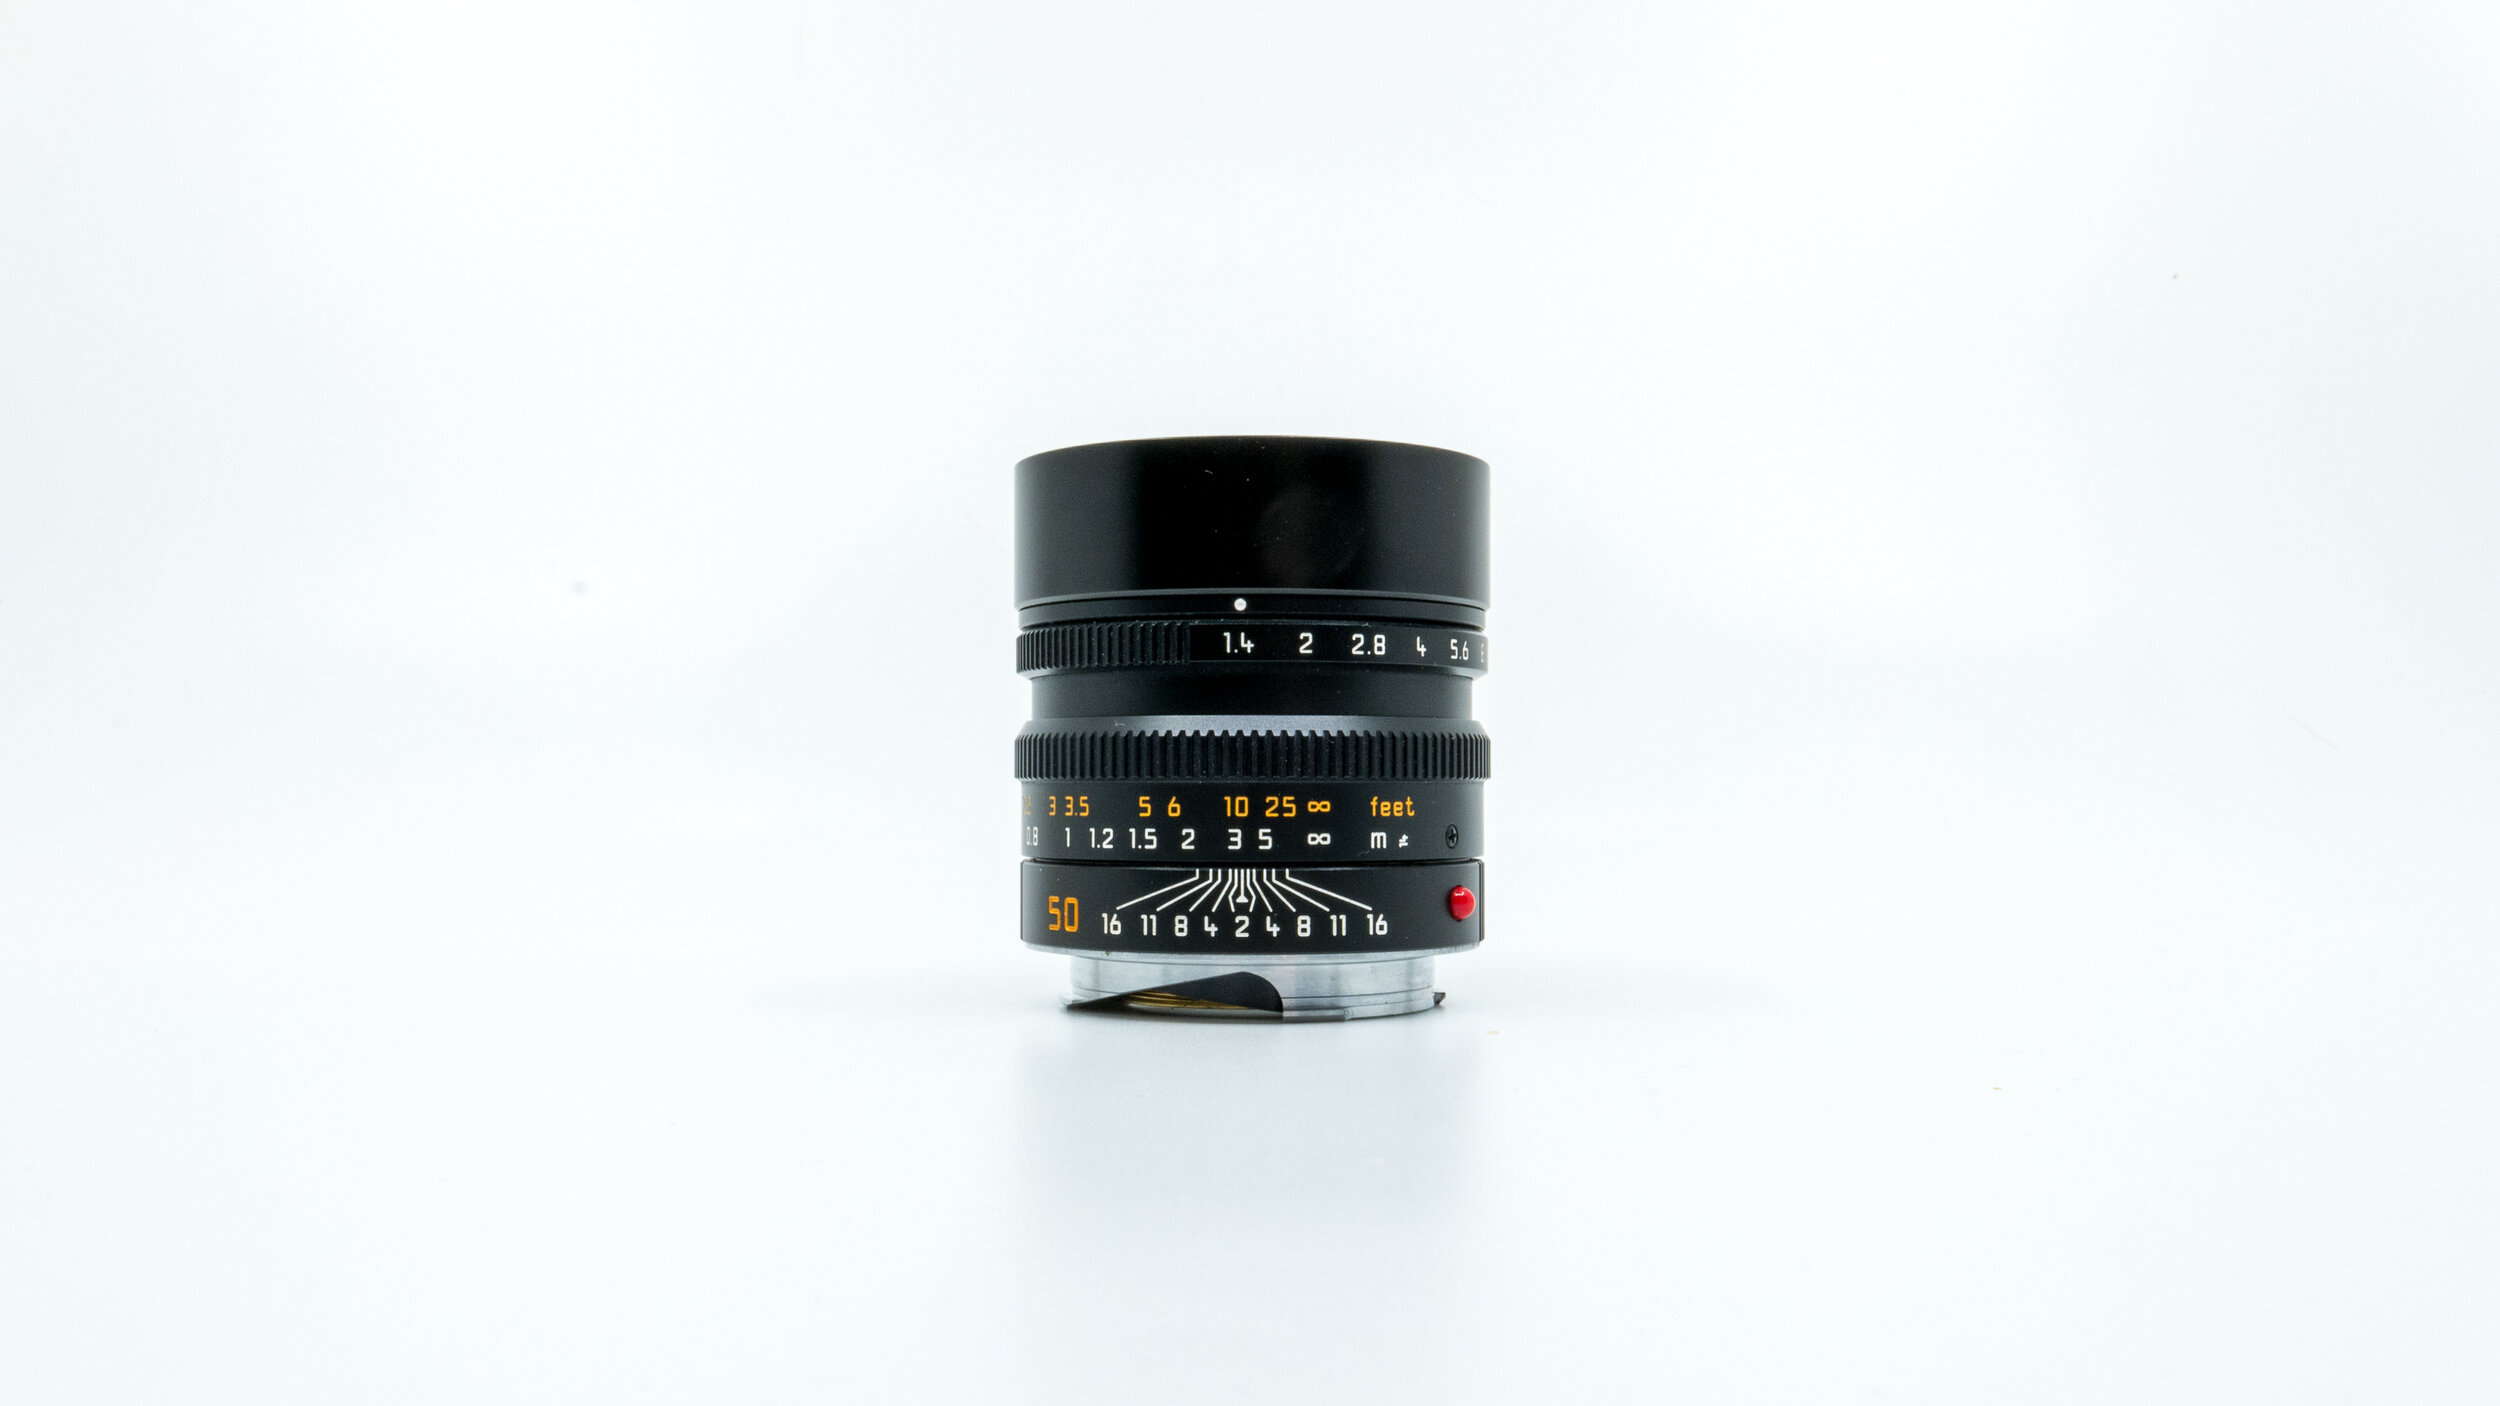
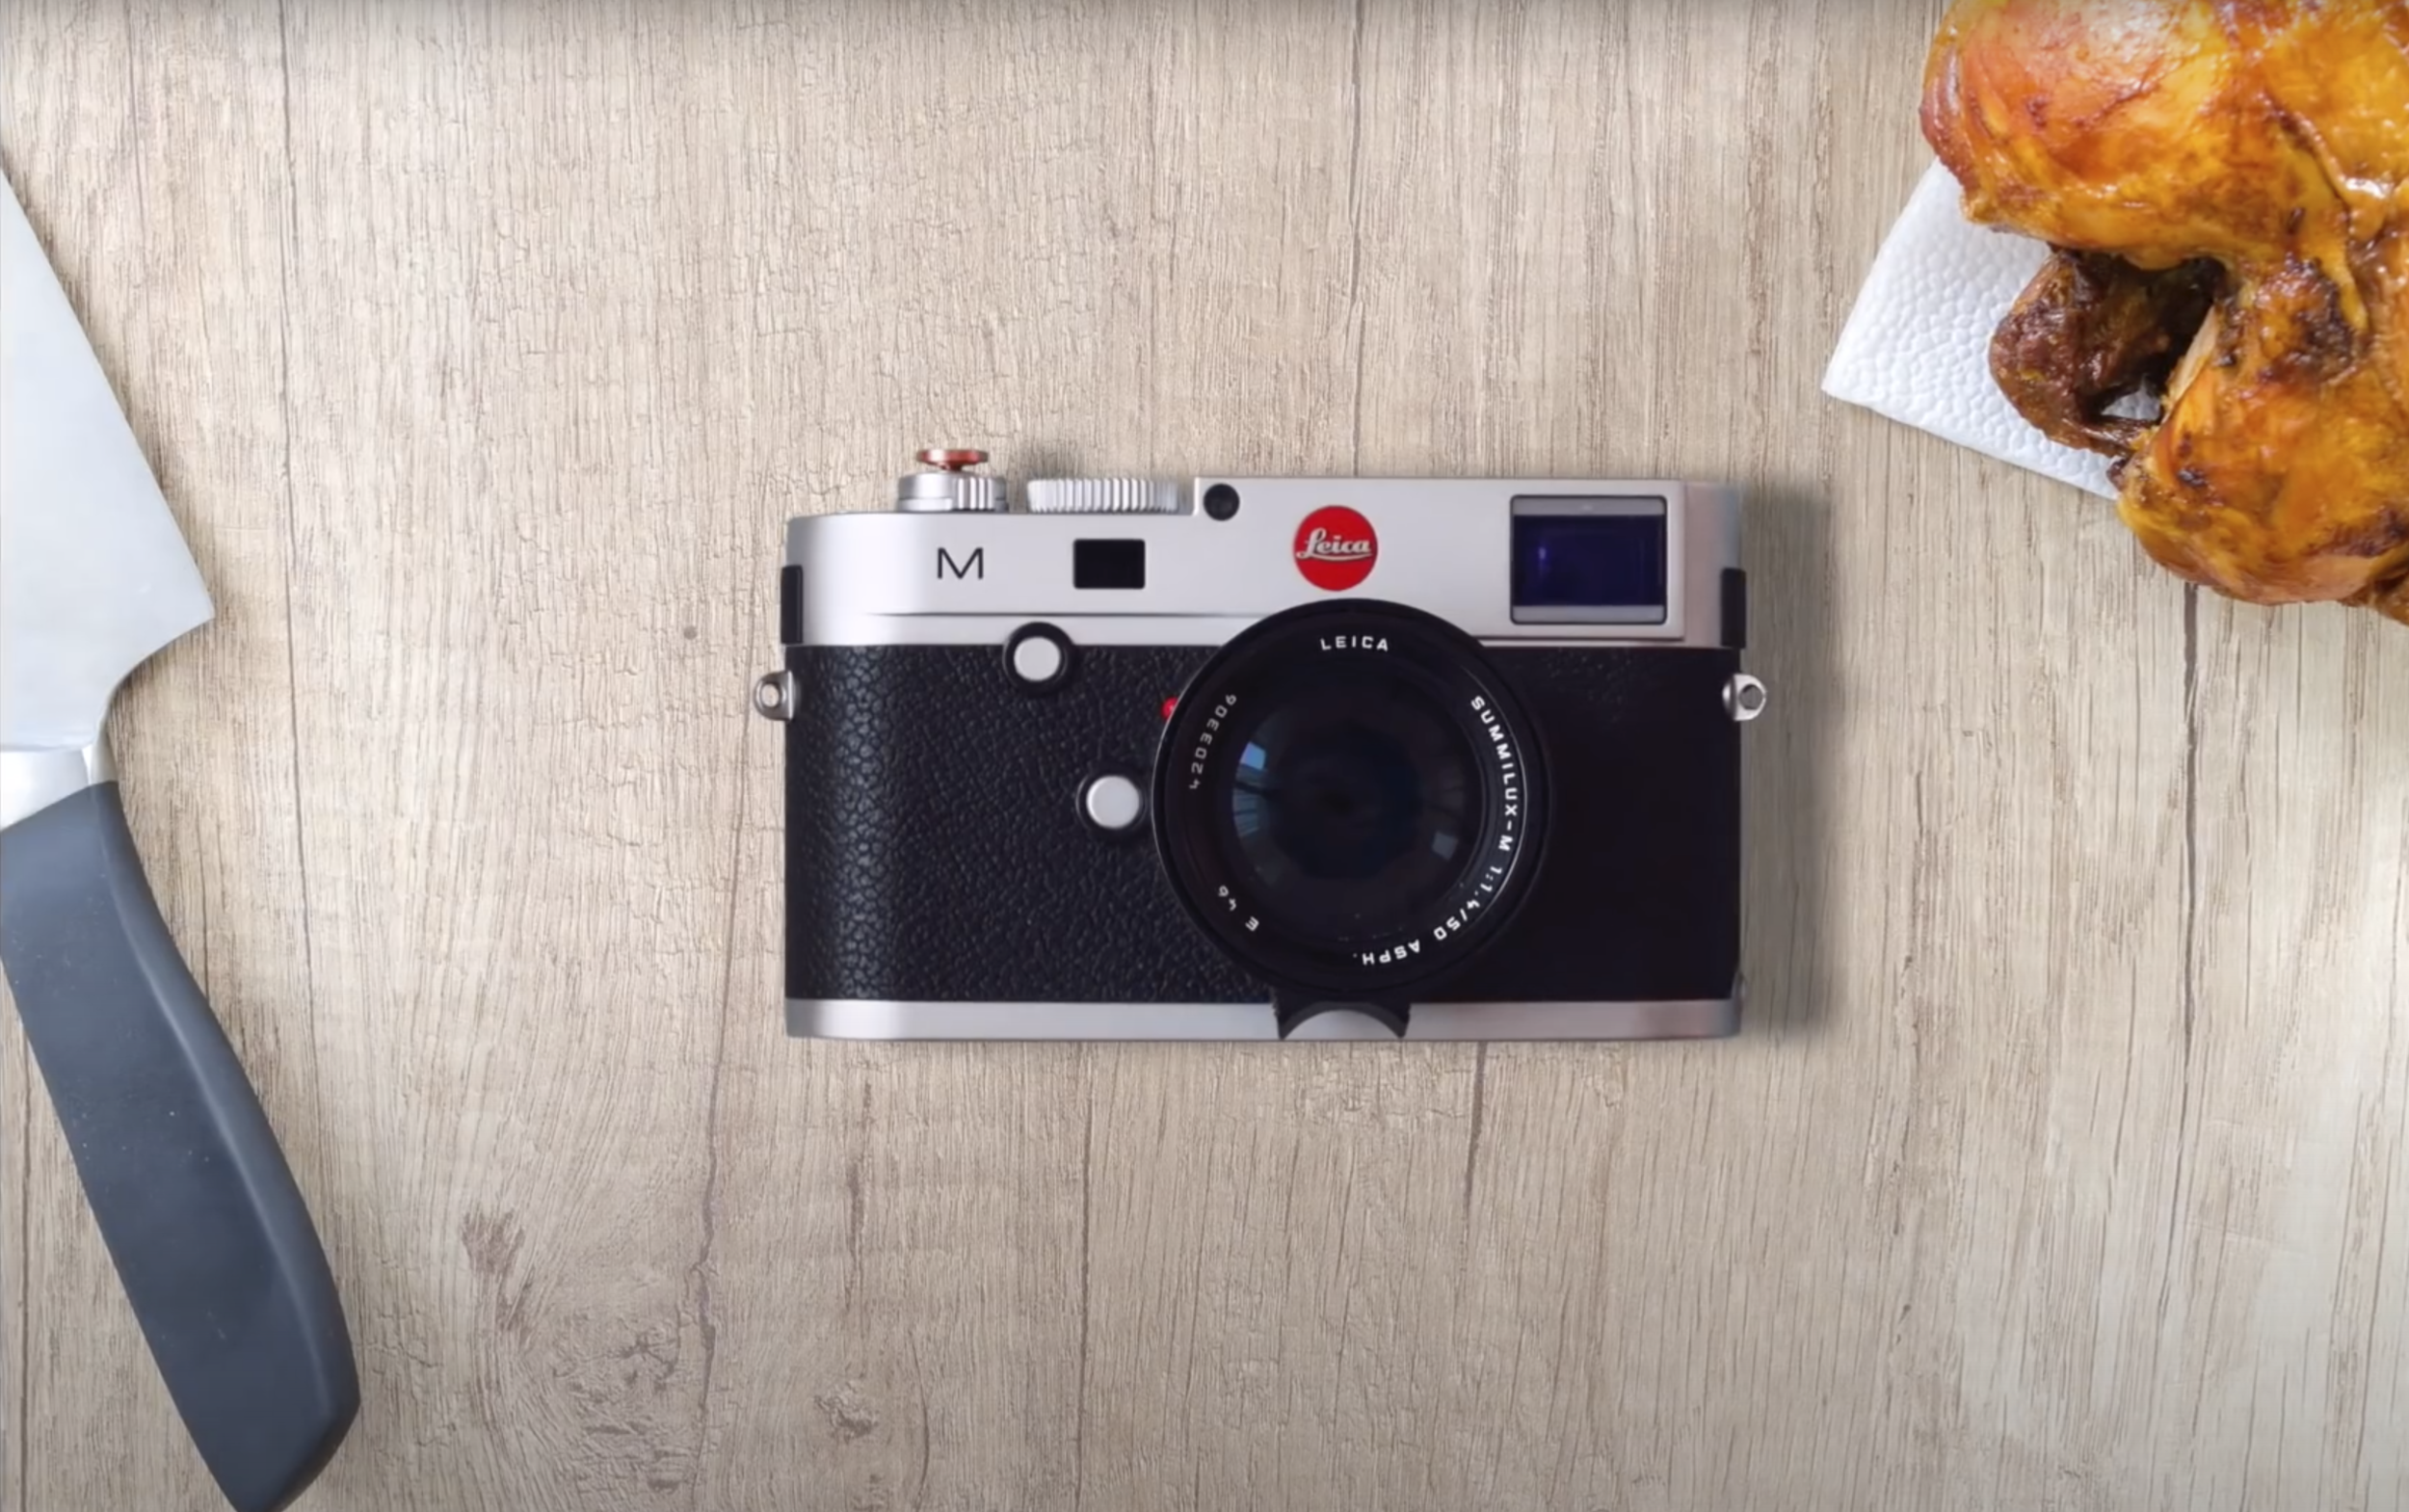
So this is the Leica Summilux; it is a 50mm F 1.4 ASPH prime lens designed for the Leica M system. The lens is in the black anodized finish. You can get it also in Silver, which is a little heavier, or the limited black chrome edition, which is made of solid brass and has the 1959 design. I went for the black one because it is the one that looks best, in my opinion, and it nicely compliments the silver Leica body. It also looks great paired with the black body, but as I said in my video about the M 240, I kind of feel like nowadays, everybody has a phone or camera. Gone are the days when you could say “I am getting the black because it is stealthier.” Whenever you bring your hand holding something to your face everyone will assume you are taking pictures. But, with the retro look of the silver M body, most people will just think you are a hipster with a film camera or you are just playing around. So that way I actually think you are stealthier than with the black version. The silver one, in addition of being heavier, is also not that nice in my opinion. Also a lot of cameras are black nowadays so I feel like it is nice to have something different.
The Summilux is Leica’s second fastest lens after Noctilux. Now, how is this different from the “normal” 50mm leica Summilux? The lens features one aspherical element to reduce spherical aberrations which very simply is the deviation of the lens representation from the reality. As the light passes thru air and glass and air and glass and so on we run into refraction problems. Aspherical lenses help minimize spherical aberrations and other optical problems, which is not my definition but something I have find on wikipedia and here on youtube. If you want to find out more, I will leave the links in description.
The lens is actually pretty heavy. Not that it would be heavy for the general 50mm lens because it is actually one of the smallest lenses but for the size you would actually expect it to be lighter. If you don’t know what I mean, you can try next time when you visit a Leica store to hold the lens in the hand.
The focusing is pretty smooth and is actually quite enjoyable. Unlike the black chrome version, this one comes with a finger support which I actually use a lot. The aperture ring moves in half stops and you will hear this click every time you turn it from stop to stop. I don’t really mind this. The only instance I could think of when this could be a problem would be a video if you actually want to use this lens for video and change the aperture during the filming. As I already said, the lens is pretty small and I find it just perfect when attached to my M.
The lens comes with built-in hood which you pull and twist to lock, which is great because if you want to use a hood because of the sun or just because, you want to protect your glass so you don’t bump into anything. You can also use 46mm screw-in filters but I have read somewhere that some people had problems with the hood when they used filters. I don’t have any filters so I could not try it out. Please let me know if you have the filter and this lens if you have any problems with the hood. Other than that the lens is also weather- and dust-sealed.
The lens is pretty sharp at 1.4 and it can go all the way up to f 16. It cannot go to f 22 or 32, which is probably pretty obvious for those who know the Leica lenses but I was actually asked once about that so I thought it would be worth mentioning.
The lens comes with this kind of leather looking bag, which I am not sure if that is actually leather or not. It’s a nice thing to have if you have more lenses and want to store them. I have only one, so I don’t have too much use for it. I actually always have the lens on the camera and when it is not on my body I use this pouch from eBay which can hold the camera together with the lens so I don’t have to bother putting the lens on the camera. Even so, the click is pretty satisfying, I am not gonna lie.
Some people asked me why I picked the 50mm as my only lens. When we take a look at how the lenses work, you can see this if you have a zoom lens or a pair of different lenses. Every focal length compresses the space a little differently. Basically, the bigger the zoom, the bigger the compression. The 50 mm is supposed to be the closest possible to the ratio of the compression, or perspective, human eyes see. (Not the angle; that I believe would be like 28mm or something.) Thorsten Oveergard has posted a great video about it so feel free to check it out if you want to find out more. But it’s not actually that important; I have found out about it only after I bought it.
So, as I wanted to shoot mostly street photography, I wanted to pick either 35mm or 50mm, because that’s what great masters used right? :D Actually you don’t really need lenses that are fast for street photography since you end up shooting F 8 anyways. But having just one lens, I think it is very useful to have a fast lens, plus you can also use it to isolate your subjects if you need to, or for low light photography.
In the end I found great deals on both and picked the one I liked more design-wise. I can appreciate the design and I think when you spend so much time, or when you WANT to spend so much time with a device, in this case with a camera, I think it is important to like it. The best camera in my opinion is the one you enjoy shooting with. And that makes you end up shooting more and bringing the camera more with you. You can have a big expensive camera with huge lenses but if it cannot be with you every day then there is no way you are going to shoot with it as often as with something that is much smaller. Not to say this lens or camera system is cheap at all, you pay for design. It is made in Germany and they do not produce large amounts of them. Leica is a premium company and with that also comes a premium price tag—you can find a new one for 4 thousand USD and a used one for around 2,5 thousand. The black one is also going to be little bit cheaper than the silver one for some reason.
Now, don’t get me wrong you can shoot awesome photographs with cheap cameras or even with your phone. You definitely do not need a Leica for that. On the other hand, to have tools that you like and you enjoy working with makes you, in my opinion, a little more committed to that thing that you decide to do. Let me know what you think in the comments below.
So overall the lens feels very solid. The build quality is pretty good and it is, in my opinion, one of the nicest Leica lenses not only design-wise but also the size-wise it fits perfectly to M body.
If you have any questions, like or dislike the video, and leave me your comment below. As for the future reviews, I plan to make posts either here on Youtube or in my Instagram stories before I do the review so you can ask me before that. That actually makes more sense. Thank you for watching and I will see you next time.
Review - Is Leica M240 still worth it in 2019?
Today I want to talk about my Leica M 240
I have been using Leica probably for more than one and half year and I got it because I wanted to buy a range finder camera and I ended up with M240. I have only one lens and thats all I have been using. So this is my minimalist setup for shooting. I am gonna share with you what has been my experience and settings I use.
So why range-finder? Unlike many reviewers I have actually not shot too many cameras in my life. I have started with Leica D-lux 109 and the reason back then was… I really liked the design and it came together with a free copy of Lightroom and that kinda justified the price. More I was reading about cameras I actually felt like every company it trying hard to chase the Decisive moment - with higher and better ISO performance, more frames per second or faster autofocus. And then there was Leica M. I kinda felt like - when you go out fishing. You can either take an old fishing rod and do everything manually and you are risking to miss a lot of things but it takes some skill and you really have to think about the process and the settings and so on.
Now... I am not saying you don't need a skill to shoot DSLR but for me it kinda felt like having a shotgun in comparison with an old fishing rod and you just shoot and spread and then pick one shot out of the burst. And it depends you know... I definitely like, the cameras like Sony A9 where you do those 20 frame per second and I would definitely think about that in case I would go let’s say to the olympics and had to deliver. So i guess it pretty much depends on what you are using your camera for But for me for what i use it Its jus not the case at the moment.
So, why M240? When you want to get into the Digital m system you actually have a several options. It starts with M8 and ends with just recently released M10D.
So, I knew I wanted to get a used Leica and I also knew I don't want to get too narrow with my lens. Not more than 50mm. So when I actually found a great deal and got a 50mm lens I didn't consider getting the M8 because of its cropped sensor. So, I was deciding between M9 and M240 and I actually found an M240 that was just slightly more expensive than M9 AND it was actually almost new. So thats why we can probably all agree the M is a beautiful camera. The design is based on M3 and it remained more or less untouched and It has this retro look, especially this chrome finish
Now when you look at the camera you can see there are 3 basic settings outside. Focusing. Aperture ring and shutter speed. Those can be set even when the camera is turned off.
Unlike the old Leicas, this is full of electronics so when you remove the bottom plate you will find your memory card slot and the battery. The camera will actually not work in case the bottom plated is not connected to the camera.
When we are talking about battery, I have actually never run out of battery. I think I get more than 600 shots on a battery charge but it also depends on a temperature or if you use the live view, video and so on. You get this charger to charge your battery when you buy the camera. It comes together with a cable. One thing I have figured when I am travelling and I don't want to take too many cables with me, you can actually use a part of your iPhone or mac charger. Plug it in and use it like this.
One thing to note is this camera does not have electronic shutter but I would say its pretty quite. especially on the street. You can set it all to way to 4000 or you can use Auto. Lot of people actually dislike the auto mode, but I mean those functions are there to help you and I also use it some times when I am unsure or just to figure out what the camera suggests at the moment.
M240 actually has a video button and to be honest. I dont really know why you should want a video in this type of camera. It doesn't not have an image stabilisation, no HDR, only 25 frames while shooting 1080, no mic impute, no headphones, no HDMI port. No Flat profile. But you know it's there and the best camera is the one you have with you.
The cool thing is you can actually use the manual focusing to create nice focused to out of focus shots. not like you can not do that with an iPhone. I like it has microphone even thou I would place it to the bottom probably or somewhere where it is not visible and distracting . I mean. You will probably never use it as your main audio source. but its nice to have it for audio synch in the post.
The ISO has its dedicated button and you can change it using this wheel WHILE holding the ISO button. It was actually little confusing at the beginning.
So the base iso is 200 but when I was watching Thorsten Overgaard he said the dynamic range tops at 400. So thats good to know.
When you check the view finder you will notice you are not looking true the lens and that why what you see is not what you get due to the parallax -There are 3 types of marks in the viewfinder, left arrow right arrow and dot. What they show you is you are either under or over exposed. At the beginning I had little problems to remember whenever I should over or underexpose so actually thought myself a little trick. When you see the red arrow pointing the the left. You either has to move the upper part of your aperture ring to the left or move your shutter ring to the left. If that makes sense to you. Or vice versa if it points to the right. Or you have to change your ISo.
The focusing is actually little tricky at first but after some time you will quickly figure it out. As for the focusing you have few options to approach it.
The easiest one is to bump up your ISO and use for example F8, f 11 Together with that when you set your focus to infinity you can use your camera as kind of point and shoot for distance 5 meters and longer.
You can also use zone focusing where figure out the distance according to the f stop you use and you actually see on the lens what distance is in focus for each F stop.
When you are focusing what you actually see is this small rectangle with a “ghost image”. The key is to line up both - what you see and the ghost image. also little tip here when you need to move your ghost image to the left, you can imagine you need to move the upper part of the focusing ring to the left. Great way to focus on the moving subject is actually start at infinity and then slowly as your subject moves you move the focusing ring to the other side. Considering you are trying to focus on subject moving toward you. Since I think thats gonna be 90% of your shots.
When you look at the back you can see this camera has its dedicated Live view button. I actually find Live view quite useful. Especially for those low angle shot but it also works for me as an light meter. I ofter just turn it on and figure-out what is the right speed for the shot I want to create. I would not probably use EVF since i think it kinda kills the whole point of having the rangefinder and especially when you have the option of live view. Whats cool about this viewfinder is - you actually see around the borders of what you are shooting. Its also little similar when you are using the life view. except what you see on the screen is actually what you get.
So what is my setting when I go out to shoot. I usually go out when there is plenty of light so my typical setting is F8 ISO 800 and then I am adjusting either shutter speed or if I am getting under 180 I am adjusting ISO.
I rarely shoot at night but when I do I shoot only wide open with high ISO. Otherwise it does not work for me.
As I said I have only 50mm lens and I use it mostly for street photography, portraits but I mean you can actually also use it for landscapes. It's just not that convenient because. you know, its not a wide lens.
When I want a wider shot - I move a little back. When I want little tider shot - I move closer. So, lets talk about some pros and cons
This camera is Heavy. I mean you will find out as soon as you hold it in your hand. But again Its probably lighter than a big DSLR. I think my combo of body and lens is like 1kg. So it’s like - you will feel it a little once you carry it for the whole day. Not the end of the world but still…
It does not have an autofocus - I mean that’s obvious and its expensive. Even though if you do not need the latest greatest you can find used ones for pretty great deal.
Now on the other hand - This camera is quite small when you consider it is a full frame. It's Great looking - no doubts about that. It’s actually pretty Easy to use. It does not have an auto focus. I know I have mentioned it as a minus but I think its also actually a good thing. Let’s say it would have the same option as Leica Q or in my case the D-lux. To have and auto together with manual focus. To be honest, I would probably never used the manual focus. I mean. How many of you are using the manual focus except for like situations like staged portrait or macro. By not having the option this camera actually forces you to learn it.
So should you get Leica M?
So, If you are totally new I would probably recommend you to loan one before you buy it so you know what you are buying. You can get a cheap option with Leica M8 and Voidlander lens but it’s hard to recommend this since I think M8 is already discontinued and It would be expensive to repair it eventually.
In my opinion if you can find M 240 for a great price it actually still great even tho it has been released 6 years ago. With every new M they introduce, every generations gets slightly better, lighter, faster but it is also more expensive. So it's up to you how much you want to spend.
Can this be your only camera? I mean. It can … if you don't purchase any other camera… In my case I have been using this one and my iPhone for video and that pretty much it. So it depends on what you need the camera for.
The last thing I want to point out this camera will not make you a great photographer. Thats something you actually have to learn. Let me know in the comments do you have Leica M, how do you like it or are you considering getting into the M system?
