Is Leica D-lux (Typ109) worth it in 2020? Four Years With The Camera - Gear Review
Hello, photography fans! Welcome to All About Street photography channel and Today I am going to talk about Leica D-Lux 109. I am going to tell you what is my experience with the camera what are the alternatives and if it still worth to buy it.
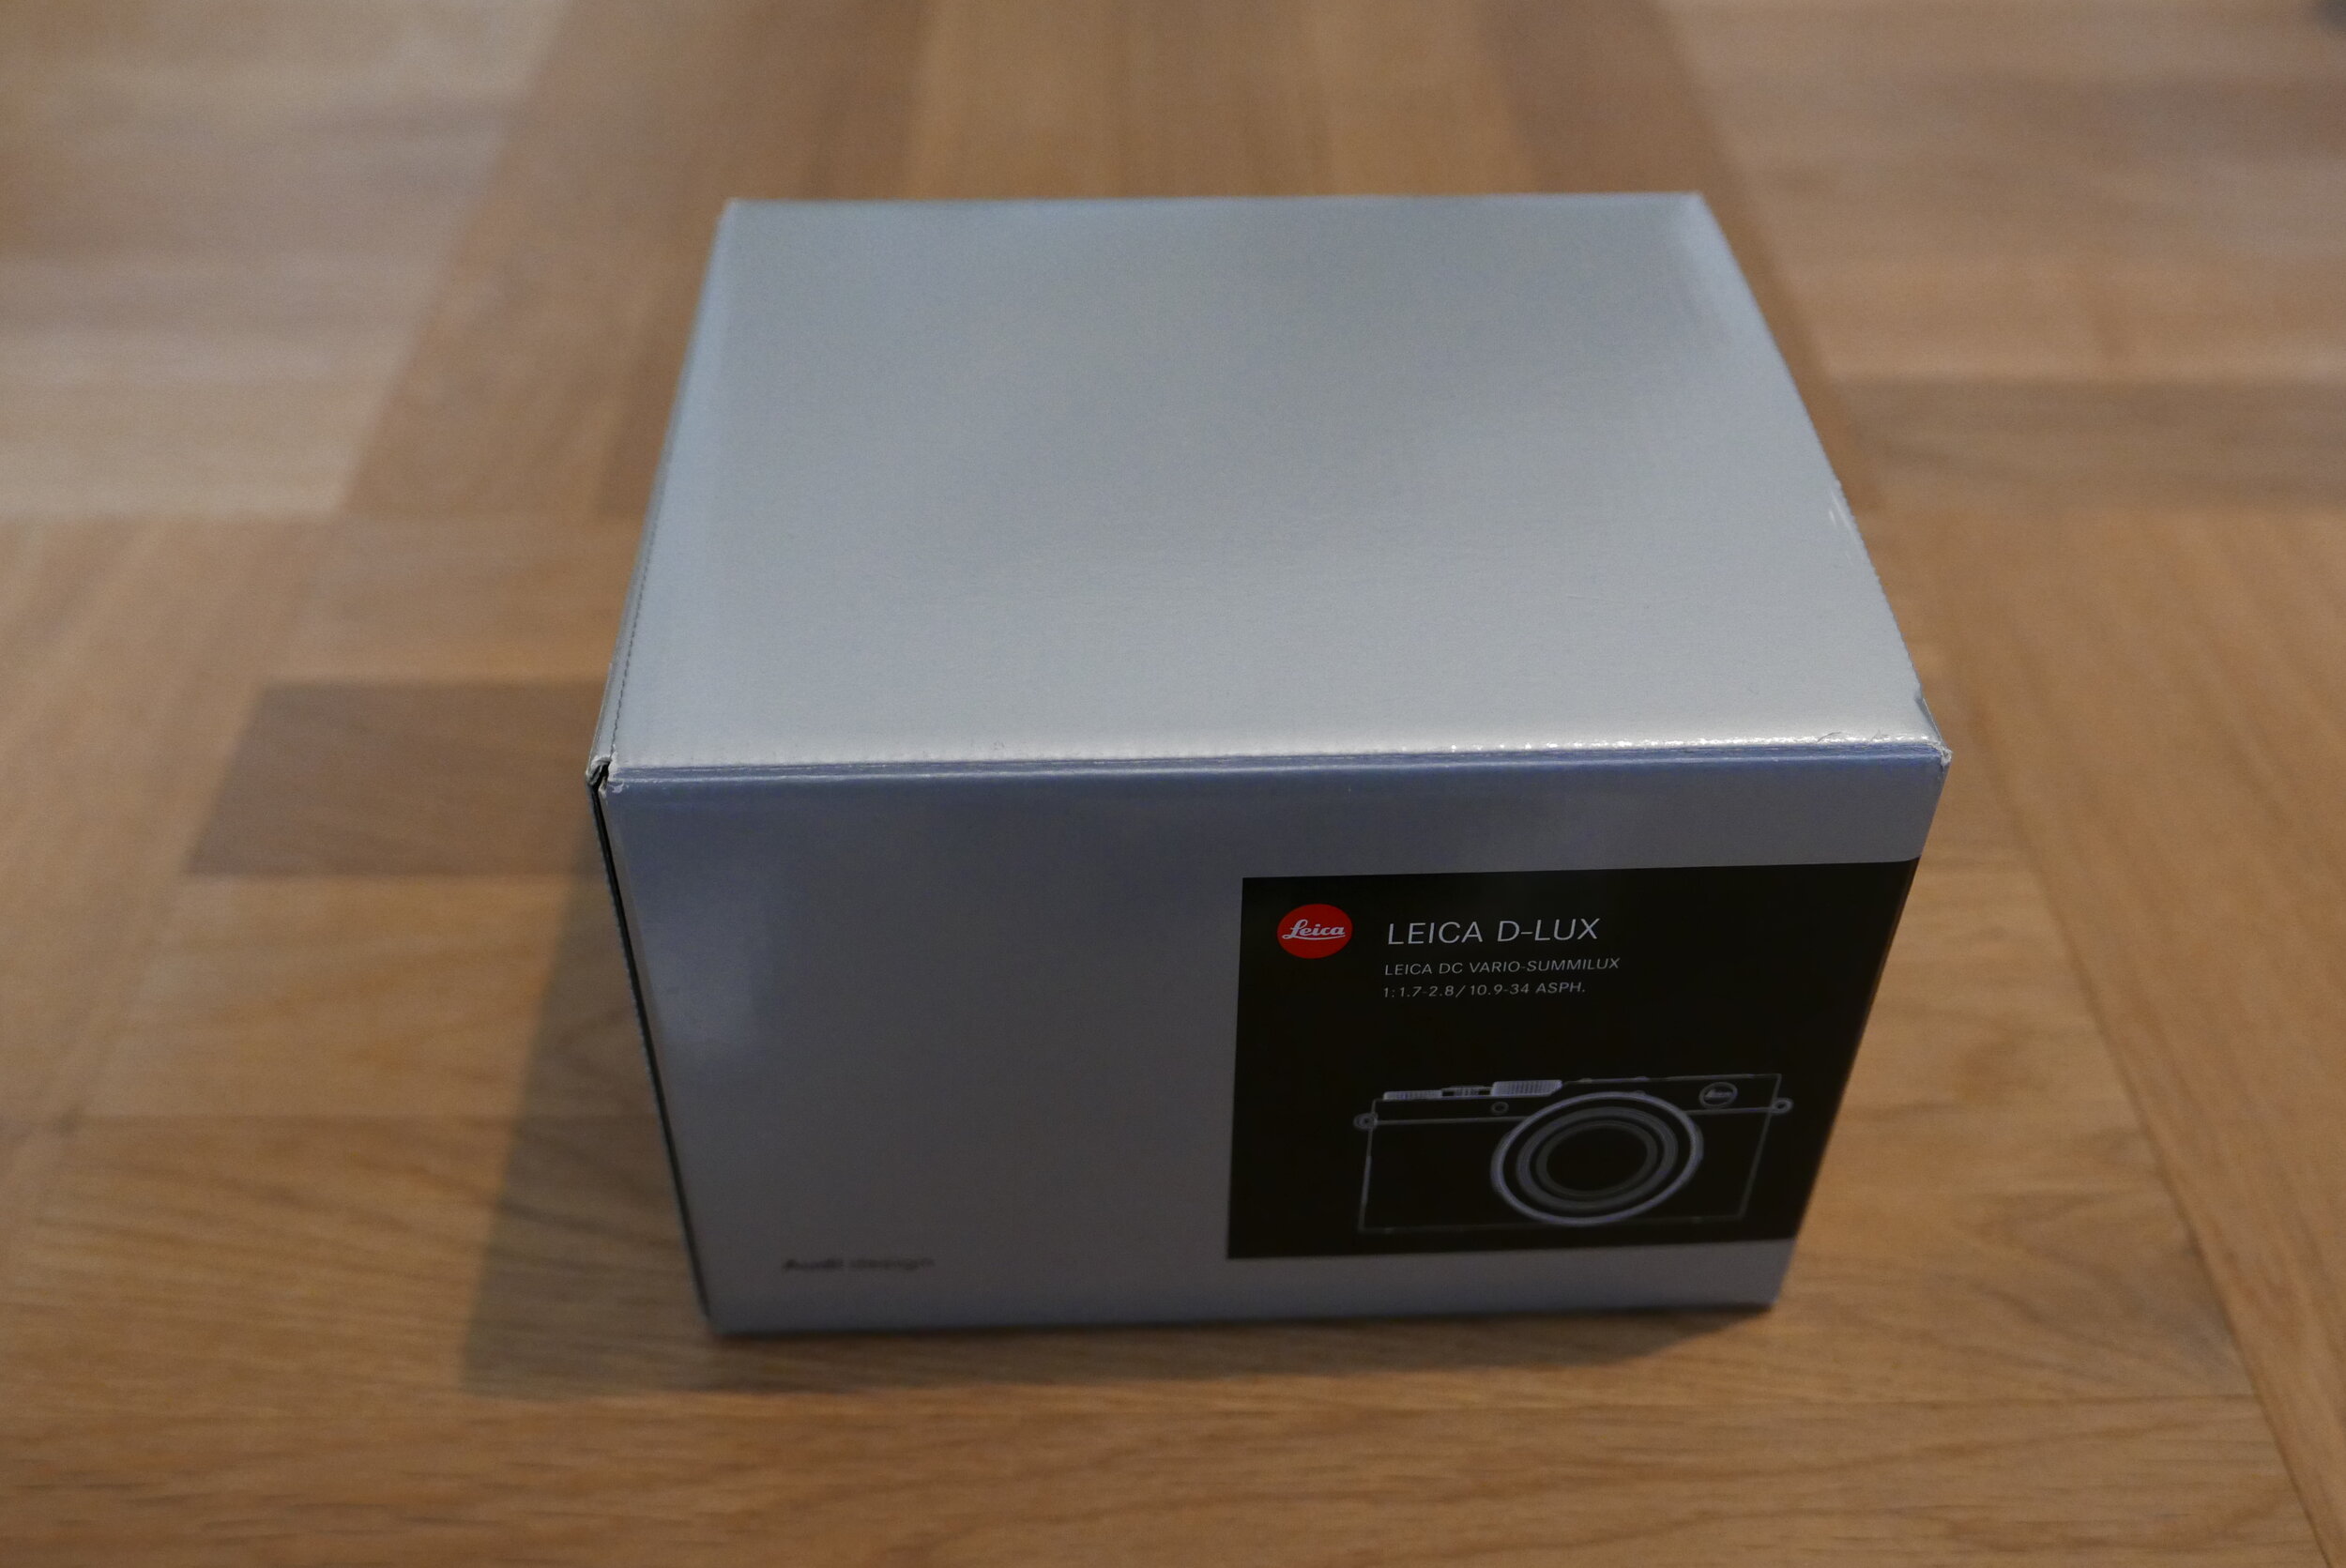
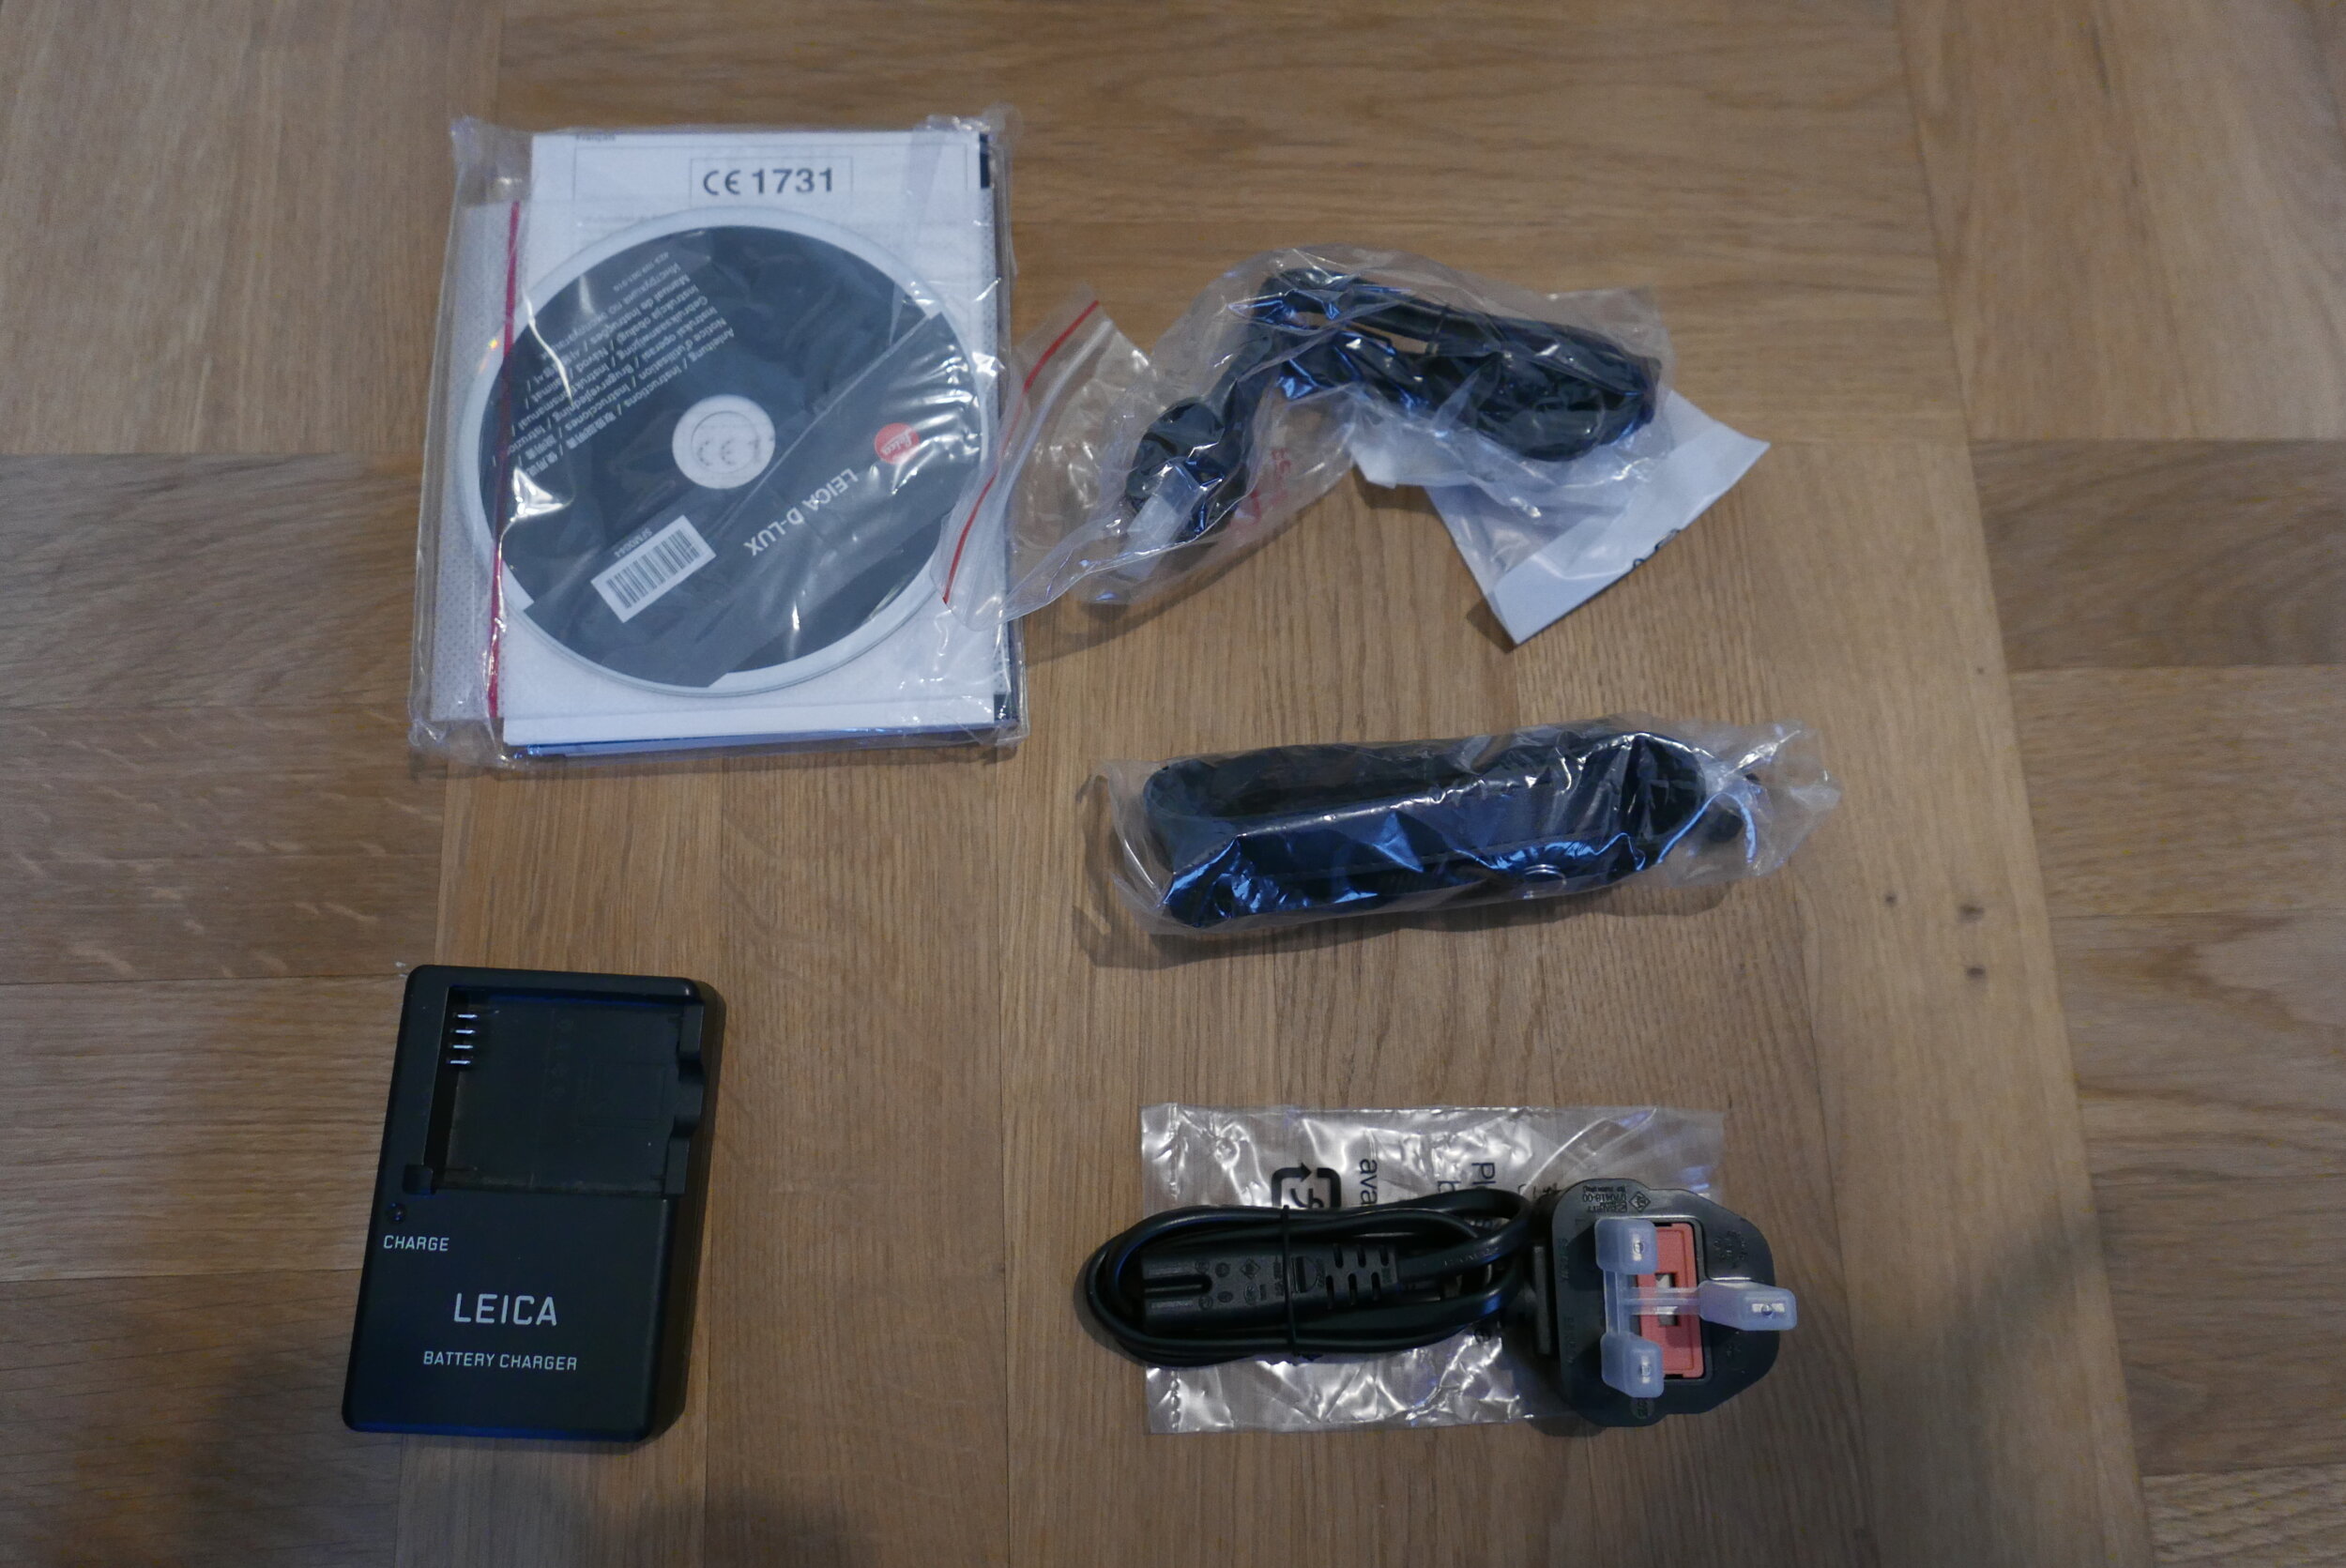
So when you first buy this Leica you are gonna get it in this medium size box together with charger, neck strap, battery, USB cable, small flash and actually a CD with manual. Yes, it is so much 2014.
Leica D-Lux 109 is Leica’s compact point and shoot camera that was announced back in 2014. It is an equivalent to Lumix LX100. Both cameras are basically same with Lumix being cheaper. You might be wondering why I am talking about this camera when it has been almost 6 years after it was released. To be honest I dont have any particular reason except I have been using this camere quite often lately. Mostly for filming my youtube videos which I was first filming on my iPhone. I am going to adress the video funkcionality later in this video.
So as I said 109 is Leica’s compact point and shoot camera. Over all it is more in the premium category pricewise. However when we talk about Leica’s premium compact cameras we usualy talk about the Q series. As I said in my M 240 review I have started with leica D-lux 109 since I really liked the desing AND it came together with a free copy of ligthroom. The lightroom does not justify the alone, even though I am still using it to this day and since I don’t own more cameras I didn’t need to upgrade from Lightroom 6 which still saves me like 10 dollars every months. As I said in my review of Summilux M I think the best camera in my opinion is the one you enjoy shooting with and that is why I value the design of the camera a lot when you spend so much time or when you WANT to spend so much time with a camera.
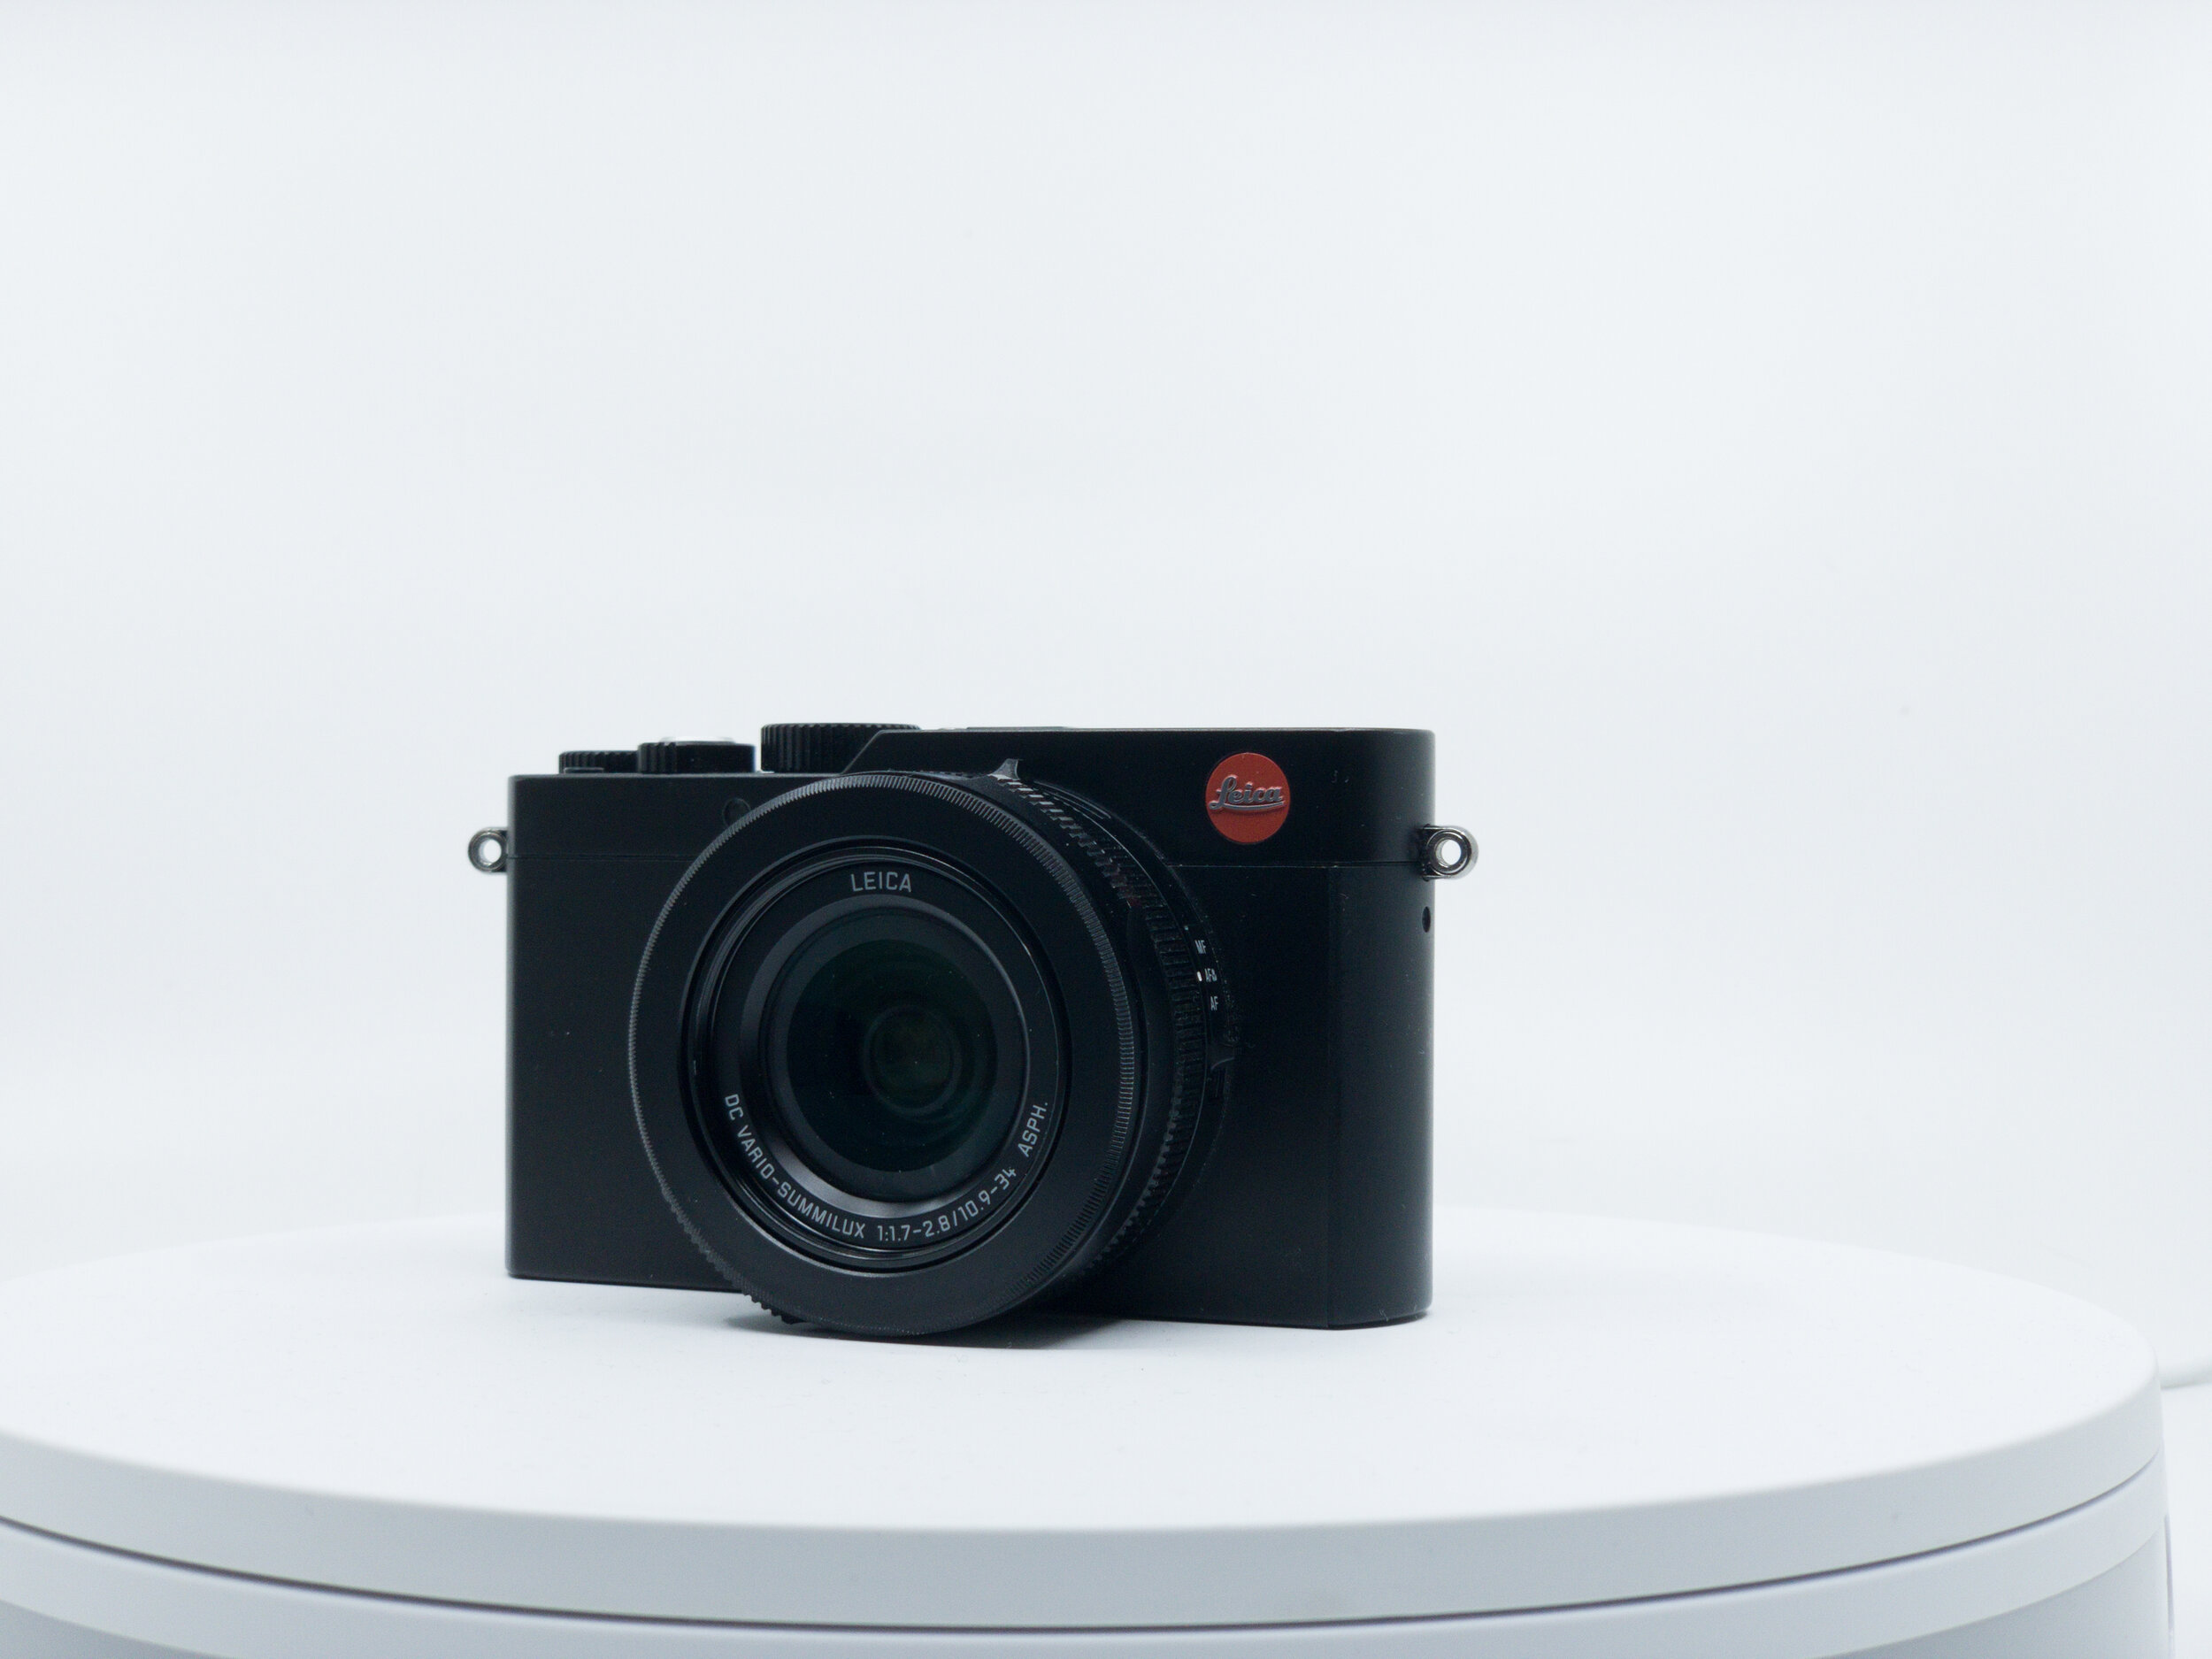
So let’s lets take a look from the outside. This Leica is equiped with fast f/1.7-2.8 DC Vario-Summilux 24-75mm equivalent lens. Which is a zoom lens which comes out when you turn on the camera. Its has 1 ring with aperture and one multifunctional ring that you can set in the menu for multiple things such as focusing, zoom or ISO. On the left side of the ring you can set your focus to auto, macro or manual (which to be honest, you are probably never going to to use since the autofocus is pretty good). On the top you can set your aspect ratio to 3 by 2, 16 by 9, 4 by 3 or square ratio for photography. You can record video only in 16:9 format.
On the top of the place you have a hot shoe where you can connect your flash or remote for external flash. Other than that there is a dial for a shutter speed with an ON/OFF button, exposure compenstion and zoom together with the shutter button. I have to actually look into the manual since I had no idea what the other two buttons are for. It turns out the F button is there for filters and can not be reprogrammed. The A button is for “snapshot mode.” Holding the button down will cancel any manual settings and turns the camera into fully automatic no matter what your shutter speed or aperture is.
So what you notice is that things like shutter speed and aperture are located outside and need to be set manually. But that does not mean you can not be complete beginner since the camera offers automatic options for both settings.
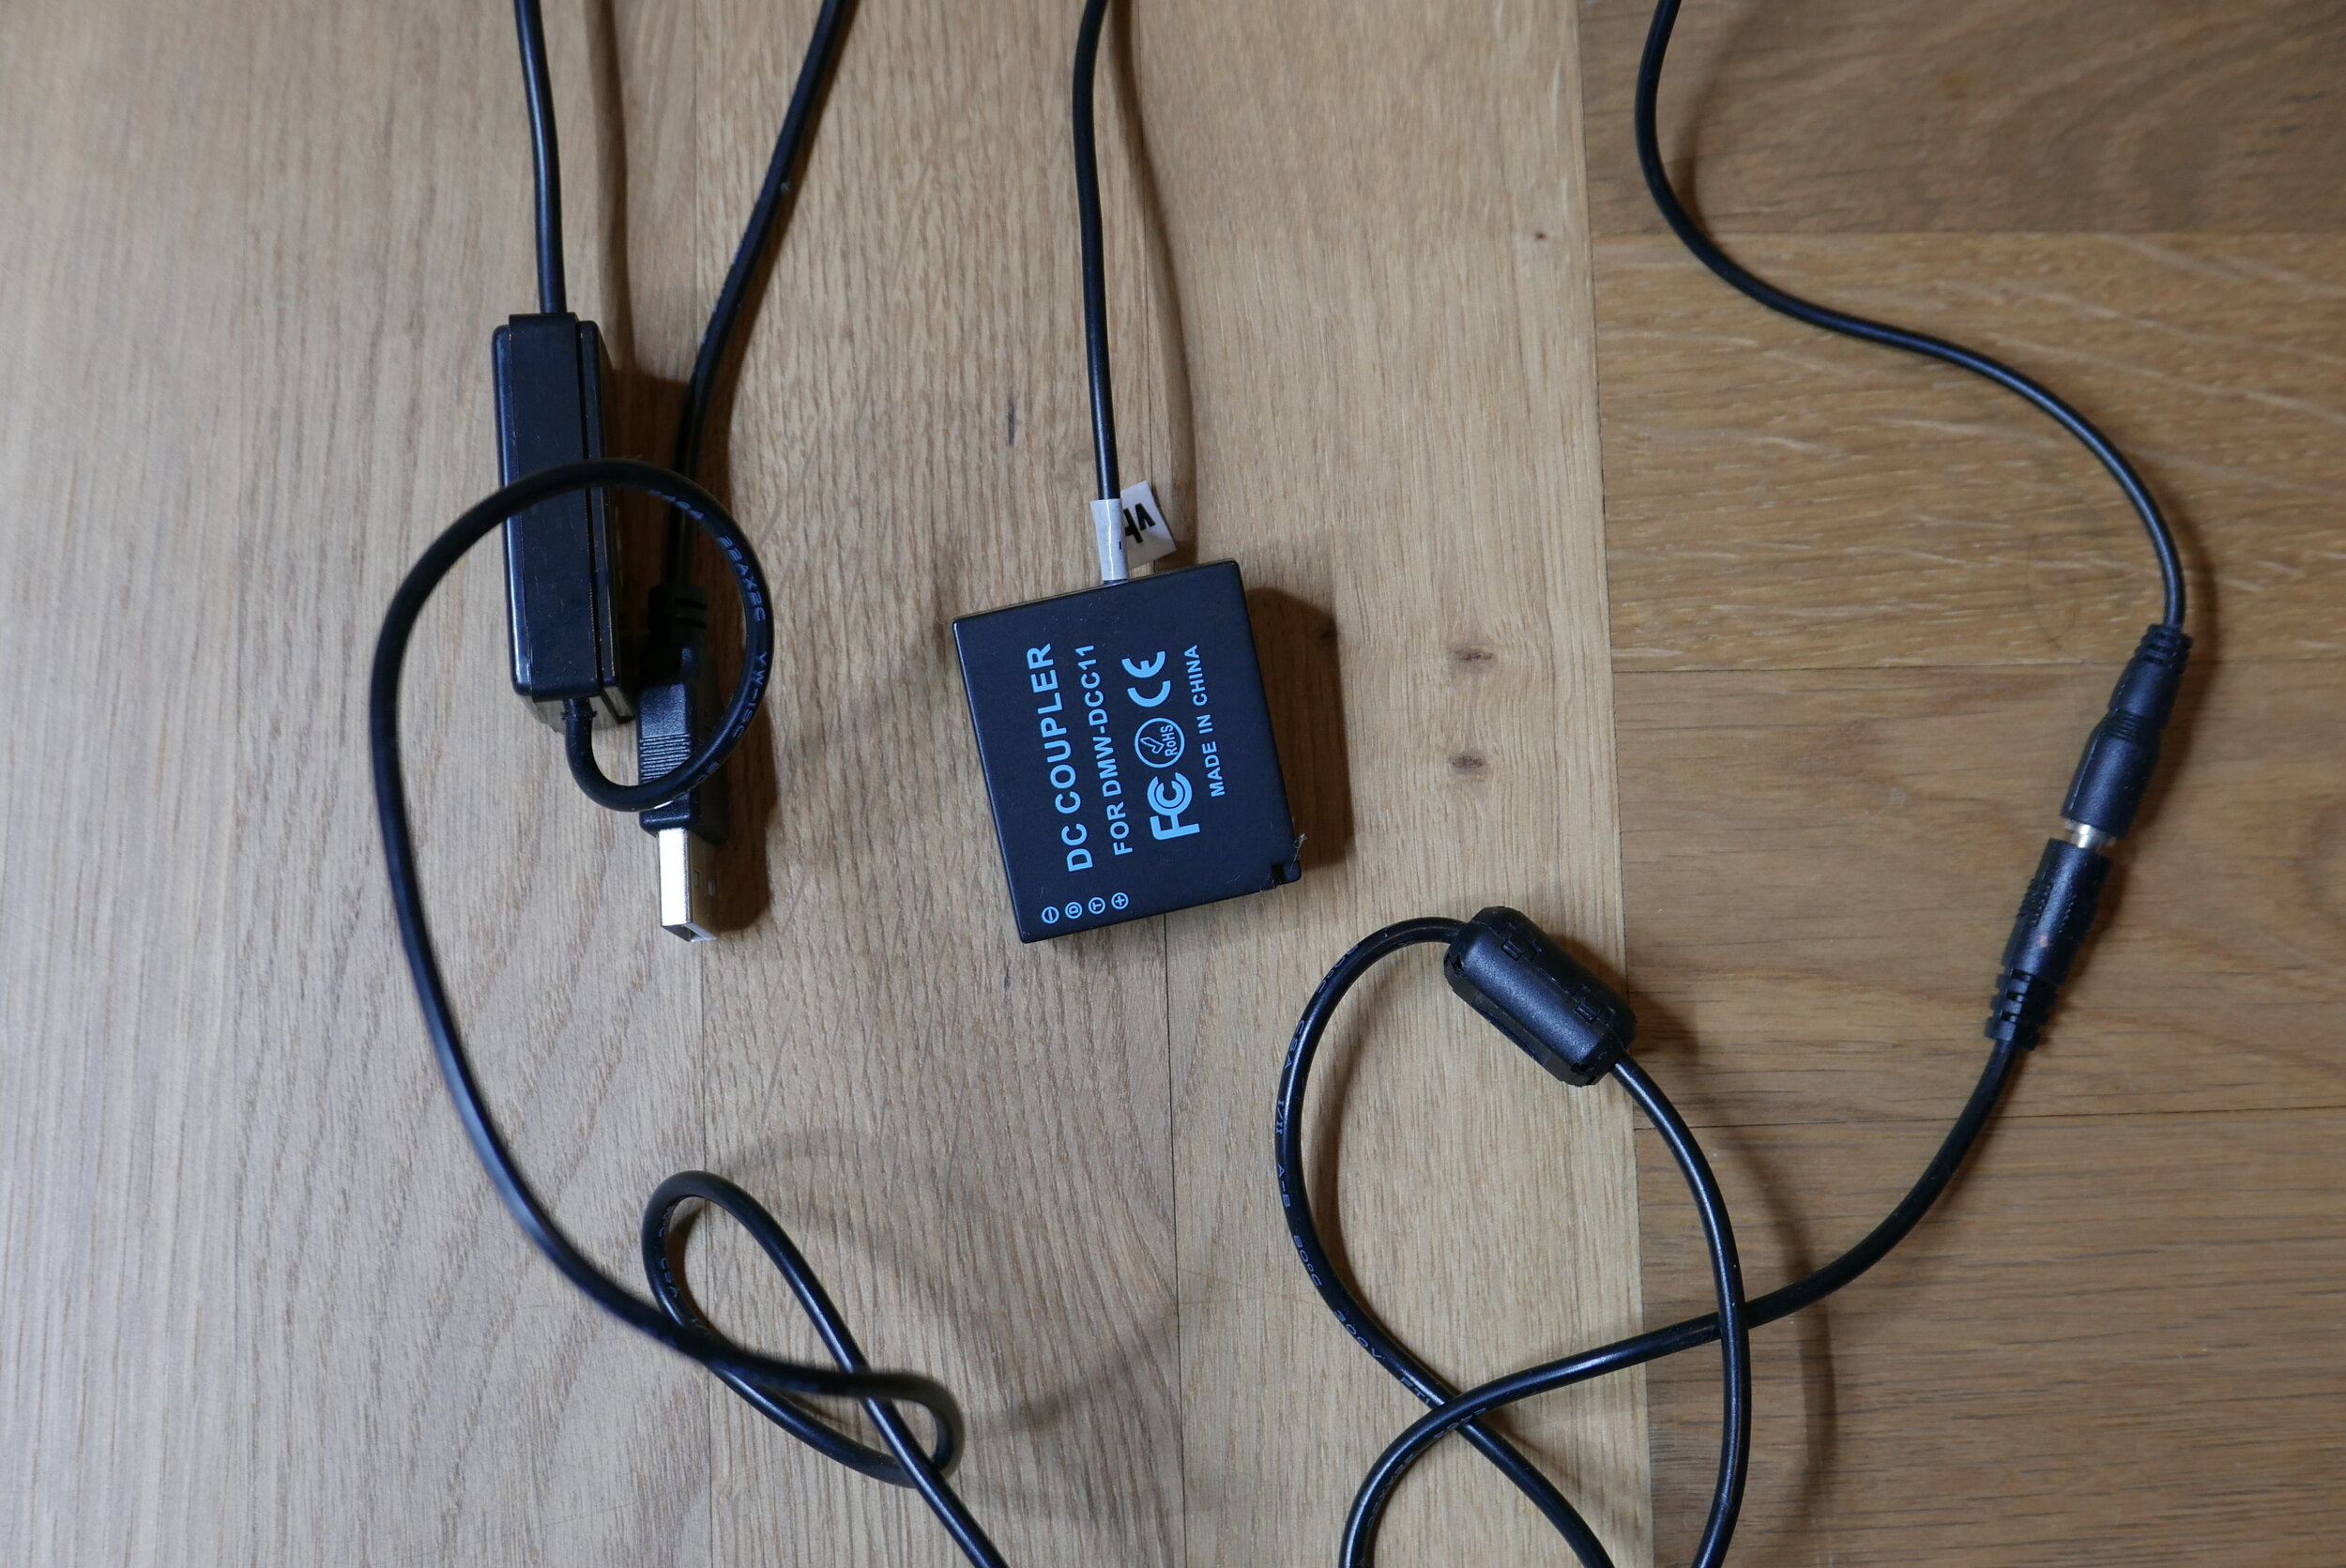
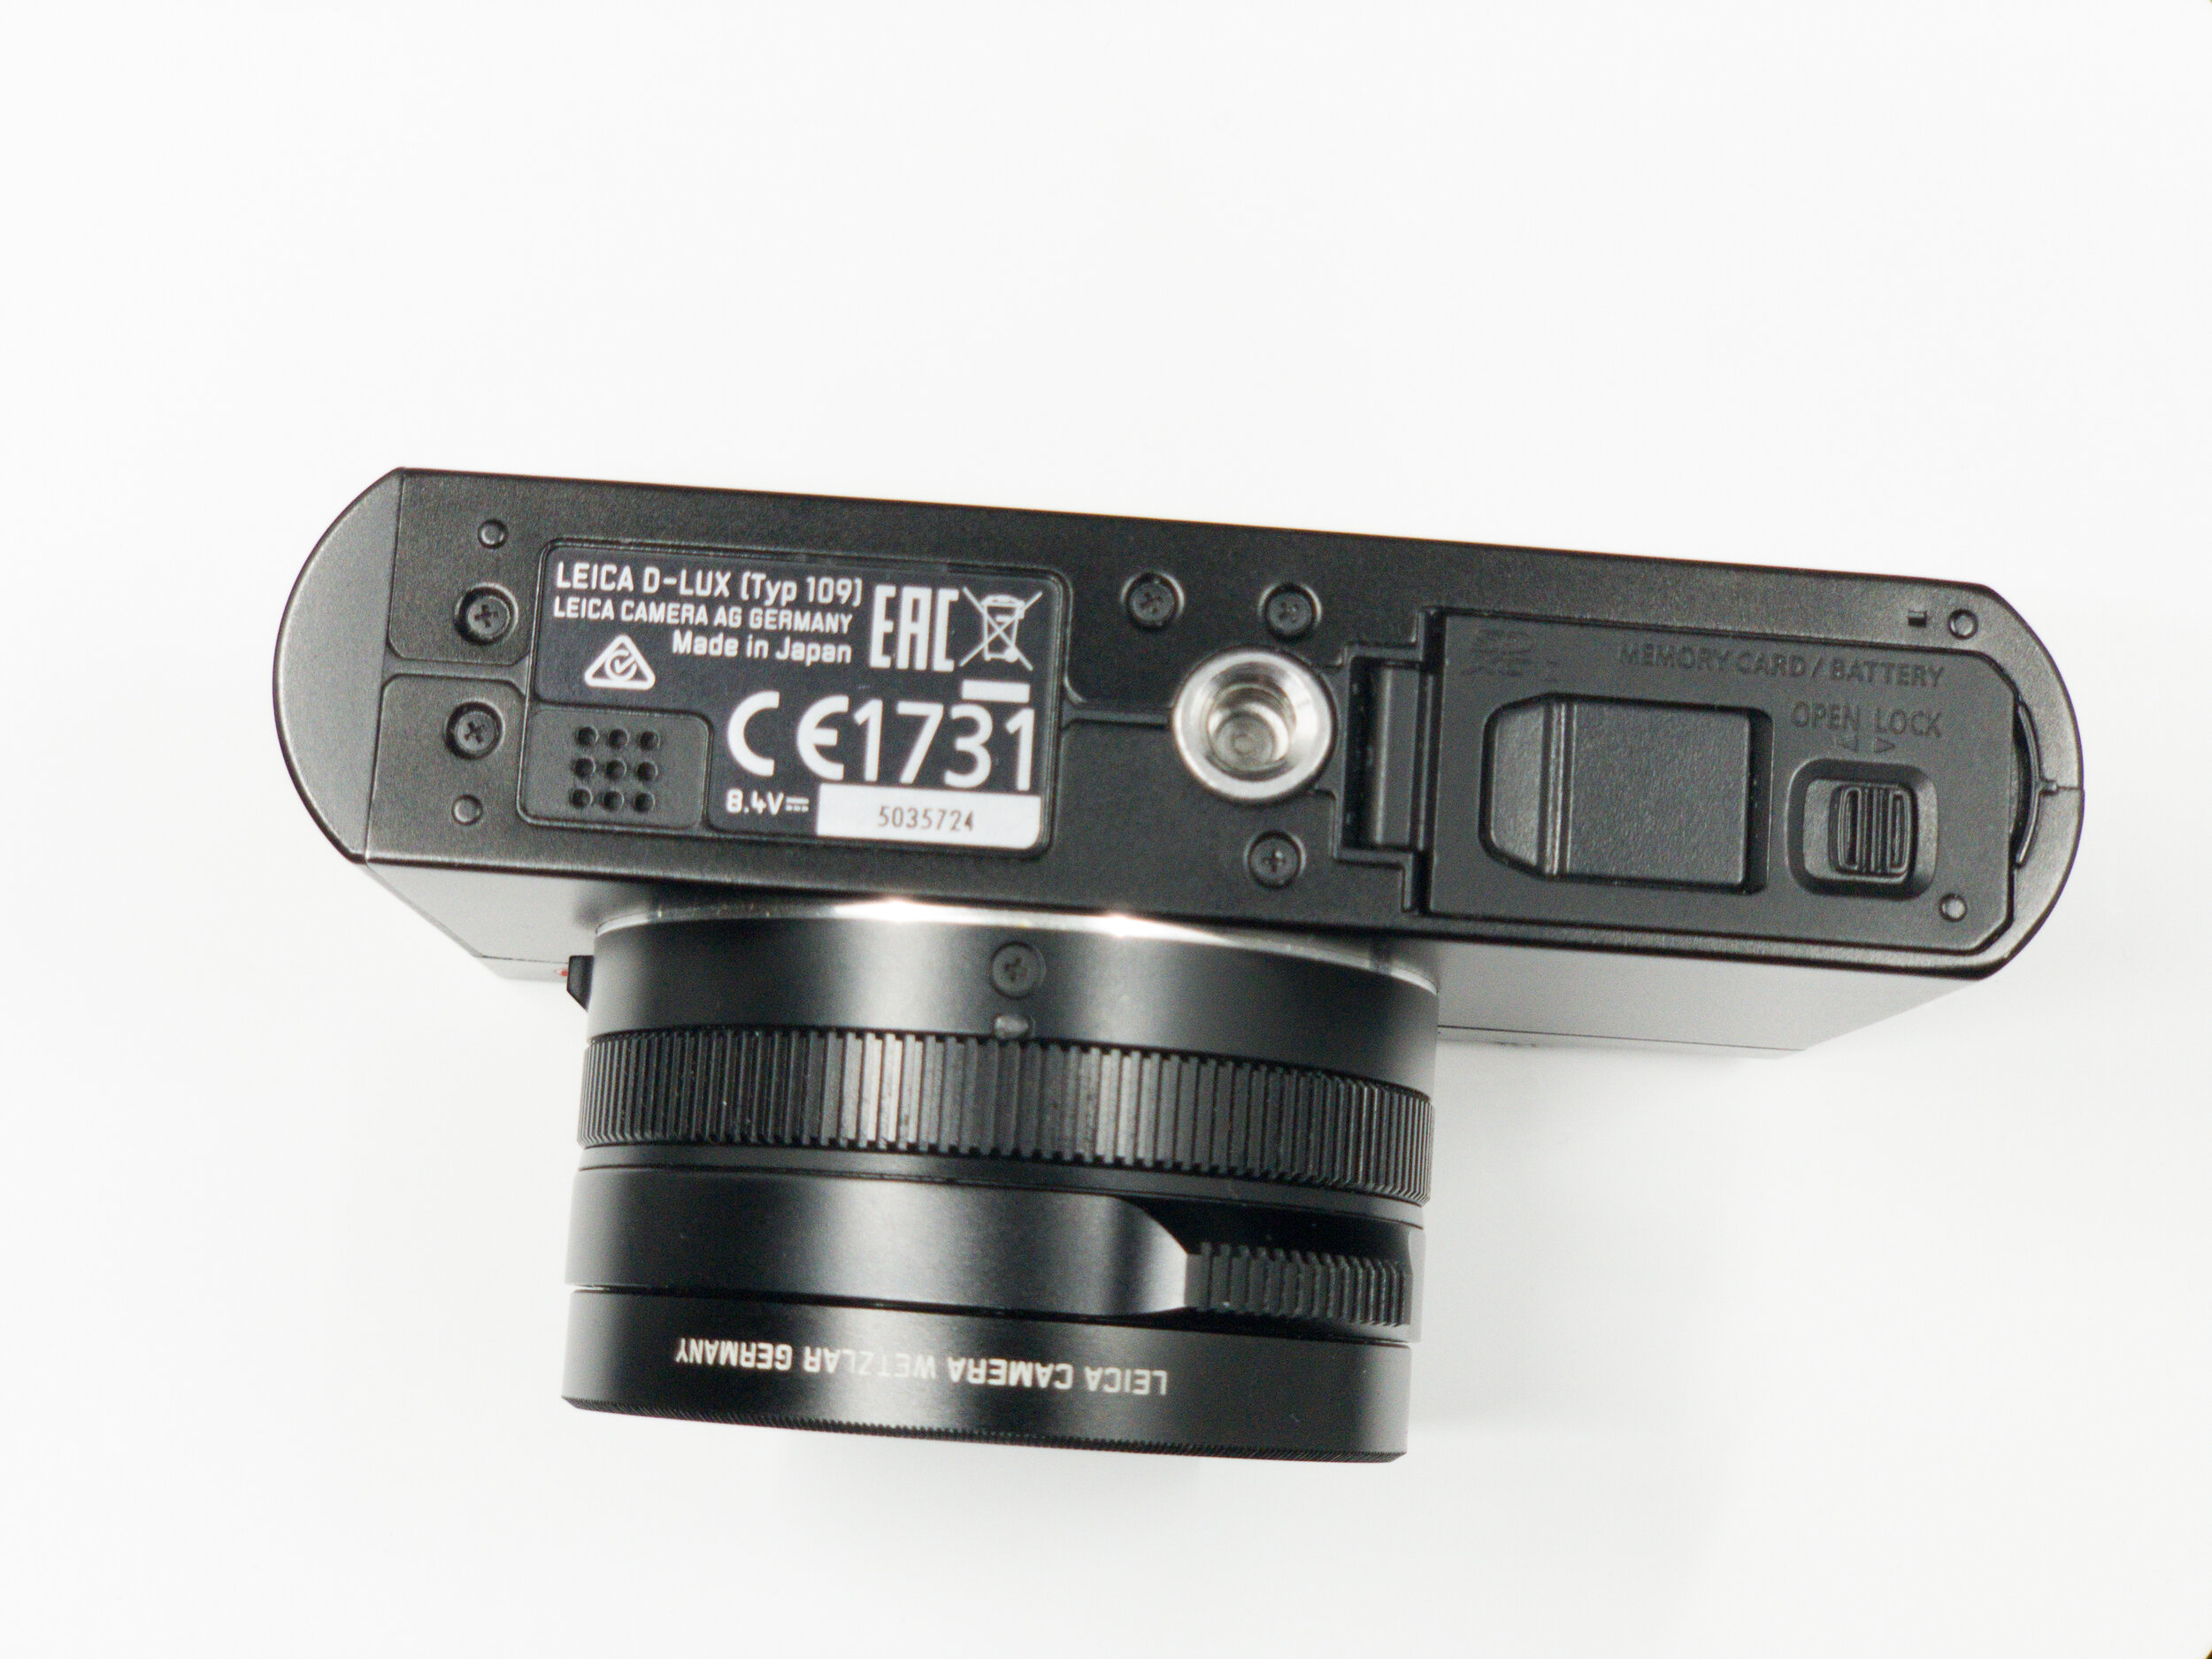
On the bottom plate you can find speaker for playback sound, standard tripod screw and battery door. The battery door actually has a small opening which can be used for example for the battery with external charging. The only reason this can be usefull I could think of was when shooting time lapses at night when you might be afraid of running out of battery and want to use external battery source.
HDMI socket on the right side lets you playback the photos or video on your TV. Saddly you can not use it for charging or exporting the data.
On the back side you can find the EVF as well as the 3” LCD. with a resolution of 921k dots. The viewfinder has a resolution of 2,760k dots. You can switch between EVF and display automatically or with a button. The qiuck menu button lets you set the things like file size or metering mode.
There are four dedicated button for ISO, White balance, burst mode and focusing. In the middle is menu button which you control with the control dial.
I will not go through all the settings options just the ones that are more important for me. If you have any questions about my settings let me know in the comments.
At first the setting looks little overhelming. But it all comes down to two categories. Pictures and videos. Whats great about the custom setting is that it lets you save 3 custom profile which seems to be the right amount for me. My Custom setting for photography is pretty simple. I do use constant preview and sometimes also monochrome live View which sometimes help with composing. I have the zoom resume function turned off since I prefer to start with the largest view possible every time I turn ON the camera. What is different for my video setting is that the live view is already cropped to 16 by 9 so I can frame precisely. What I don’t about the video is that this camera only allows you to film 15 minutes and then stops recording. Which is fine if you are only filming short scenes. However when vlogging or recoding videos like this which usualy take 2 or 3 times longer than the video size is little annoying. Especially when you forget about it and find out after you finish your talk.
What I like about the camera is that the camera is actually pretty small and weighs only 365 grams. Which in comparison is about the same weight as 50 mm Summilux which is just few grams heavier.
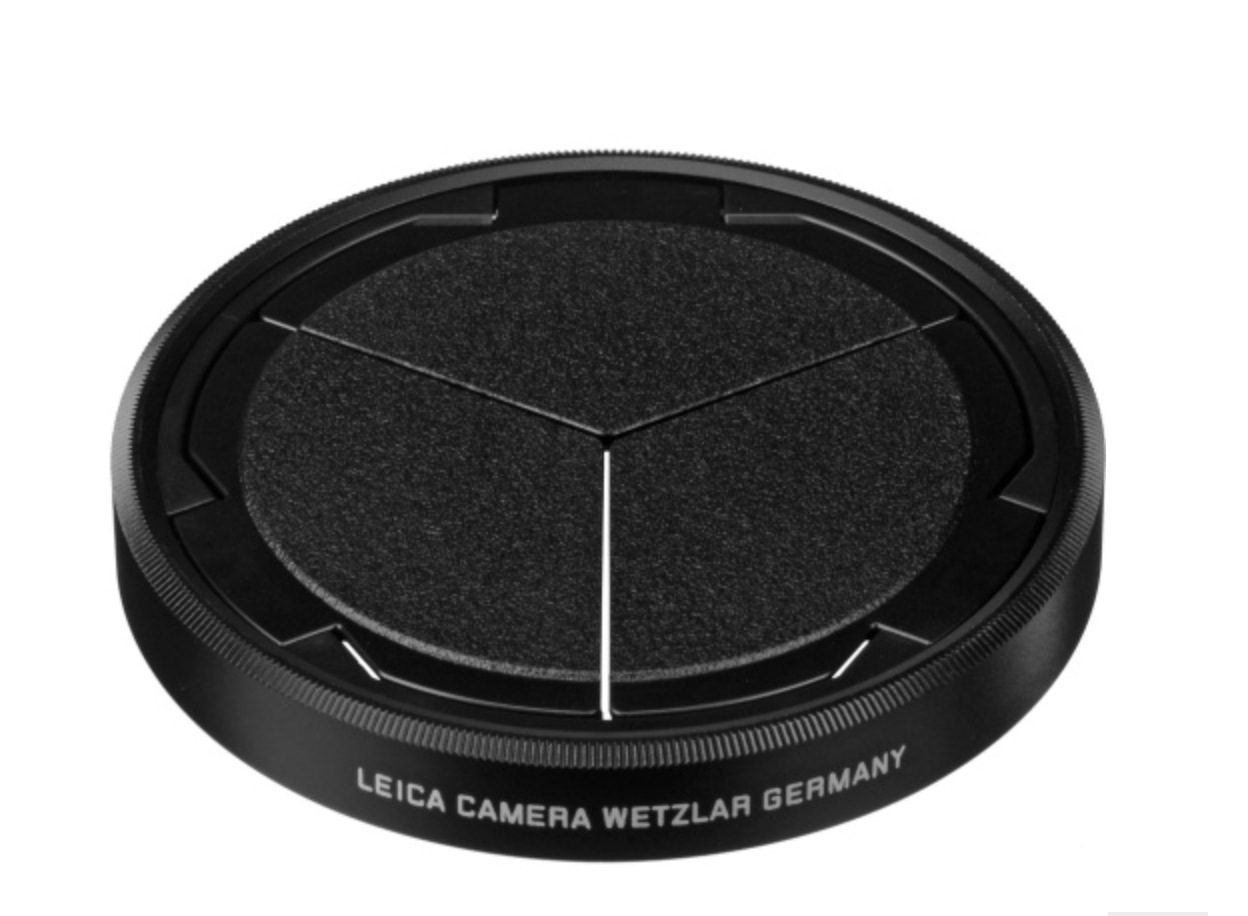
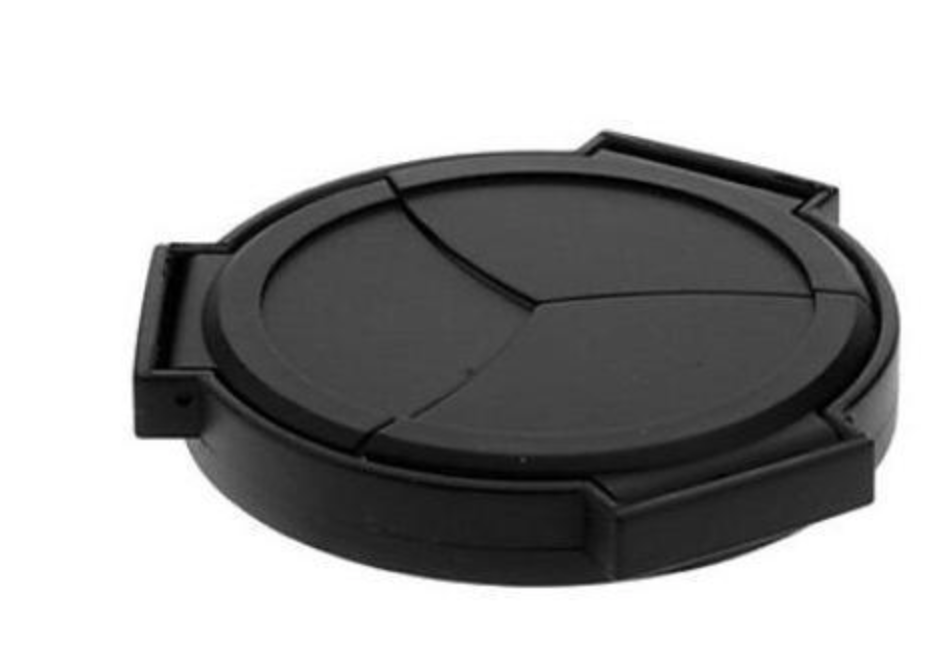
As for the accesories what I think is a “must have” Leica’s auto lens cap. Here you have two options 60 USD for the oreginal, slightly cheaper for Panasonic one or 20 USD for an unofficial one. I got the Leica one used for about 30 and I actually think it is much nicer. Its just a shame it is that much more expensive.
Another thing I use especially for making these videos is Parrot teleprompter which alows you to read your script while looking directly to the camera. I would recommend it to anyone creating videos who is also using scripts. Just make sure you have the right size for the “ring” for the camera as I need to buy an extra one for the 43 mm screw.
Another feature I have been using a lot lately is the wifi function together with the smartphone Image shuttle Leica app. What it allows you to do is shoot pictures or start videos remotely. Which is useful because this camera doesn’t have a flip screen. So in my case when I am filming myself alone what it allows me to do is to frame myself and start the recording and I can be sure I am in focus.
Now, lets look at the price and close competitors. When this camera first arrived it cost around 12 hundred USD with its Panasonic clone being few hundreds cheaper. Or you can say this Leica was a clone of Panasonix LX100. For the extra money you got a copy of Lightroom (which cost around 100 USD at that time) and 3 year Leica warranty. However that was pretty much all. When you compare the D-lux and LX100 , D-lux was more expensive for being a Leica. So you pretty much pay the difference for the design and as I said earlier for some it can be more important than for others.
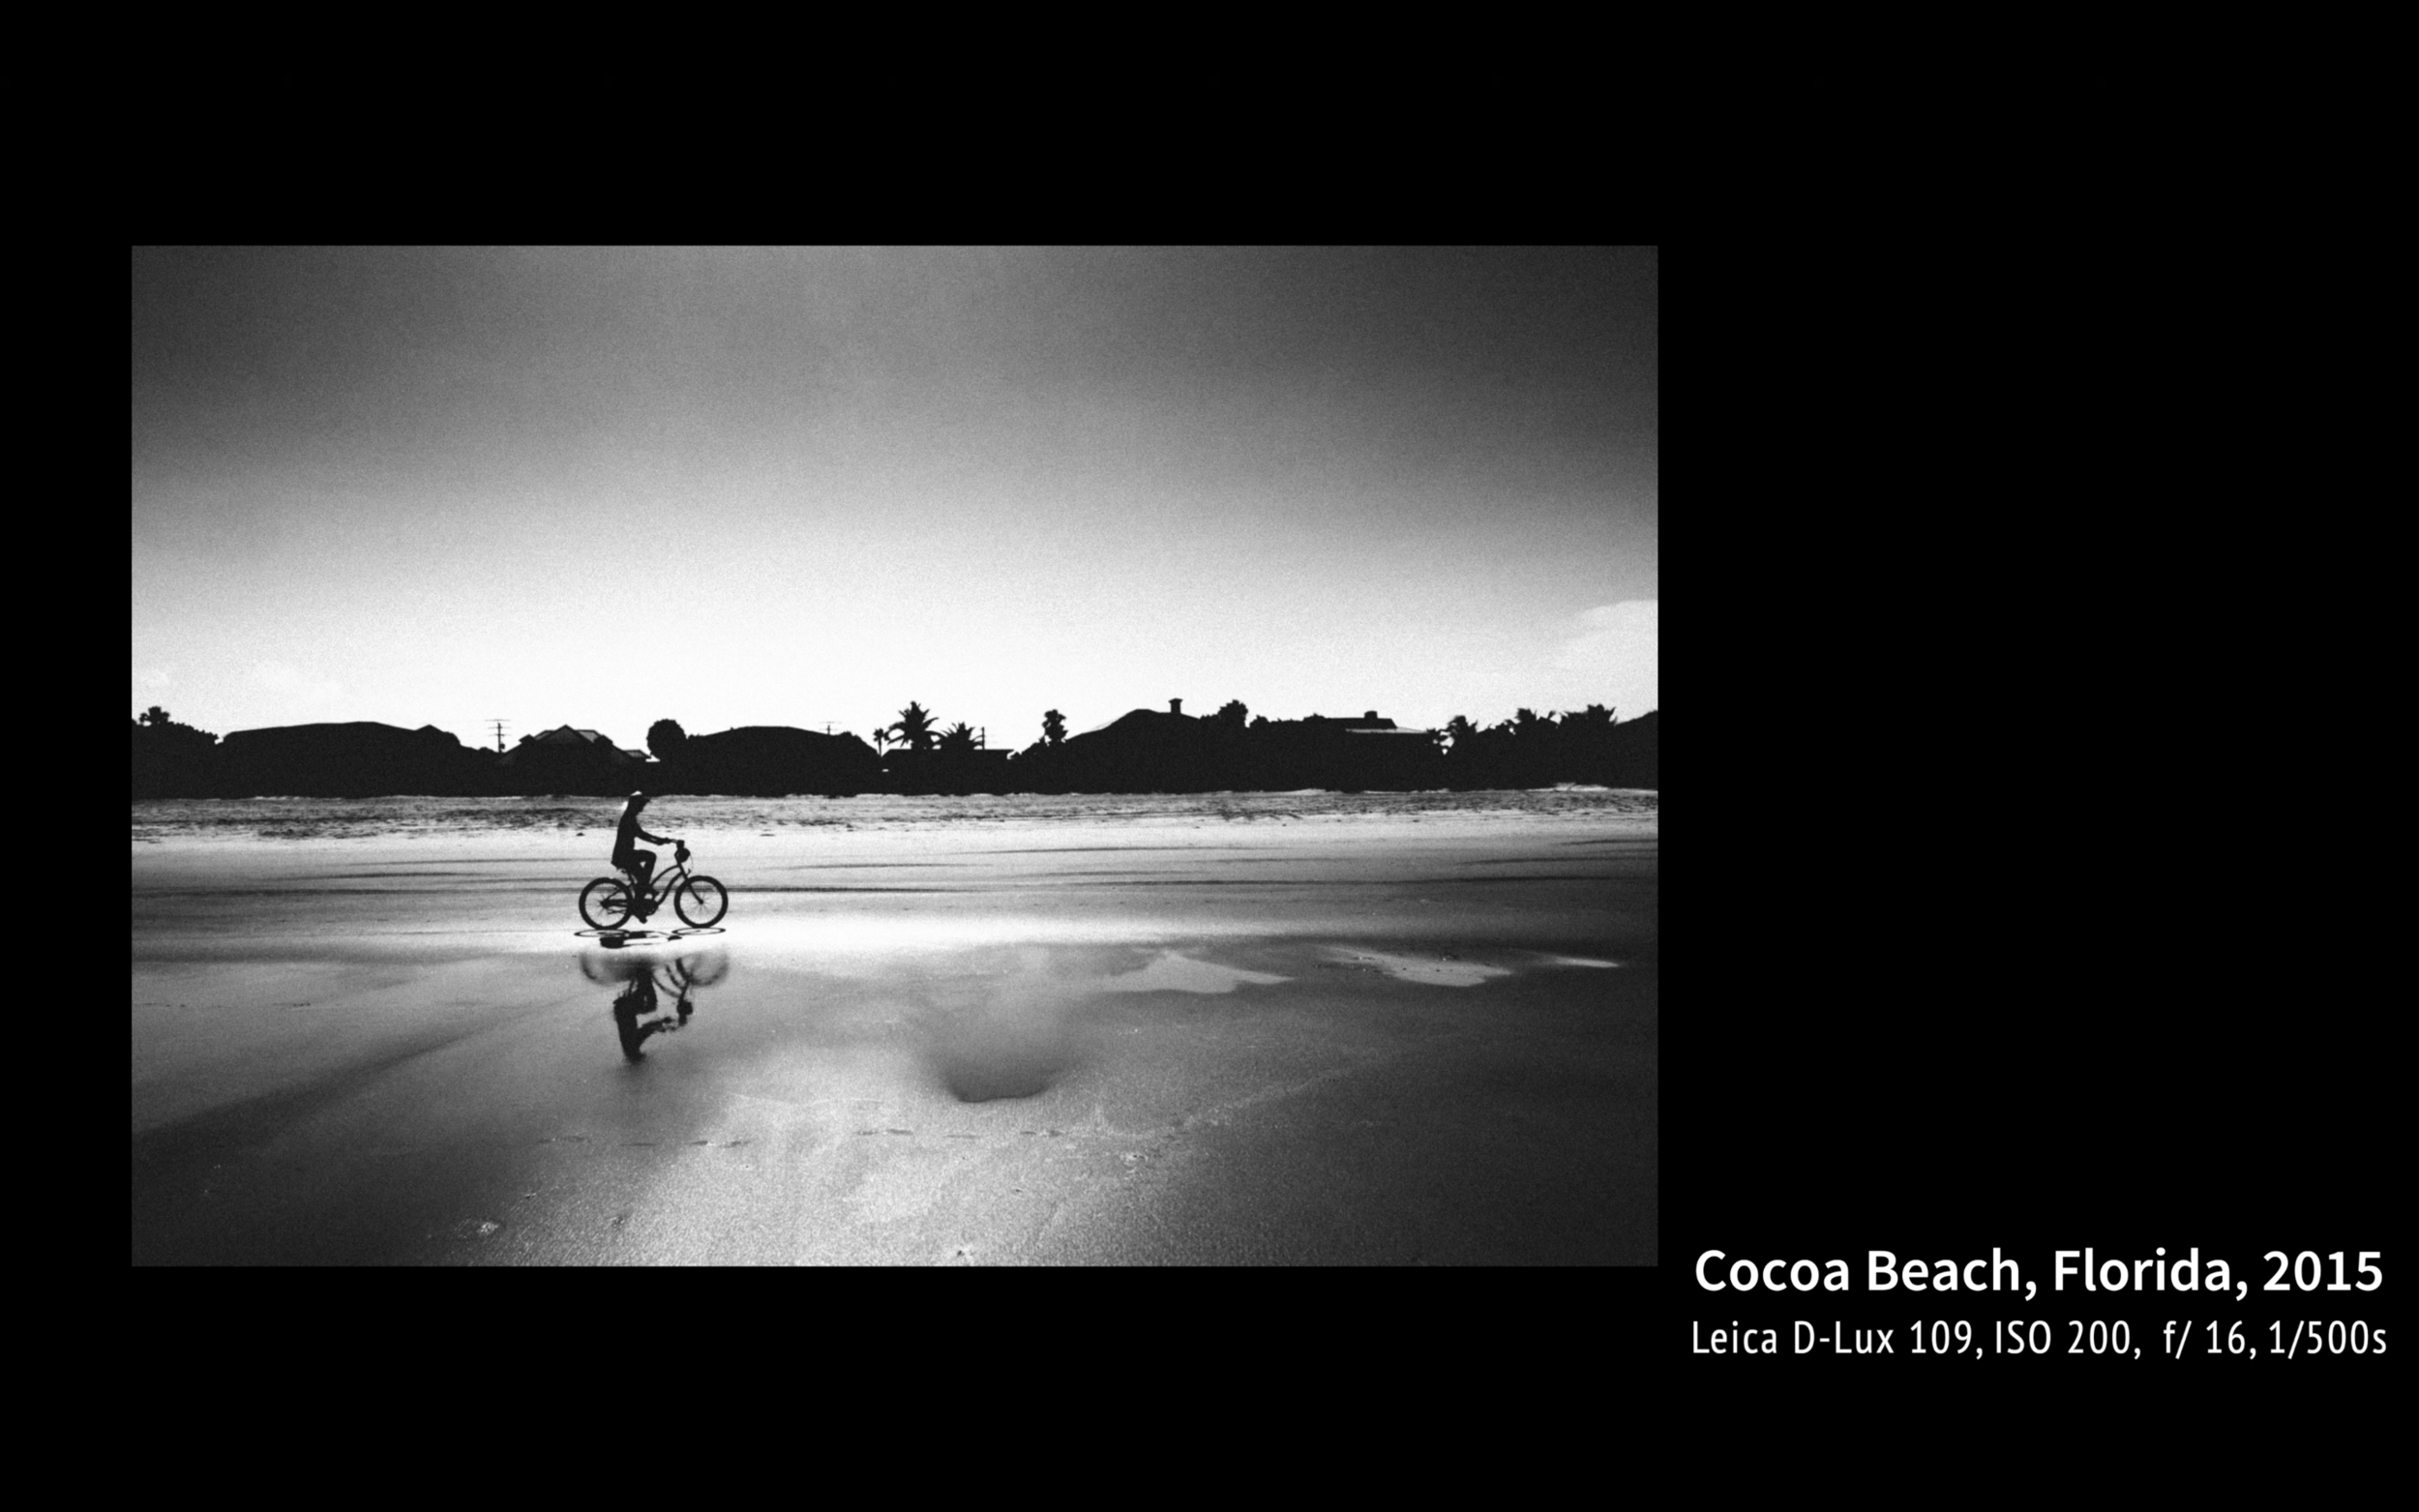
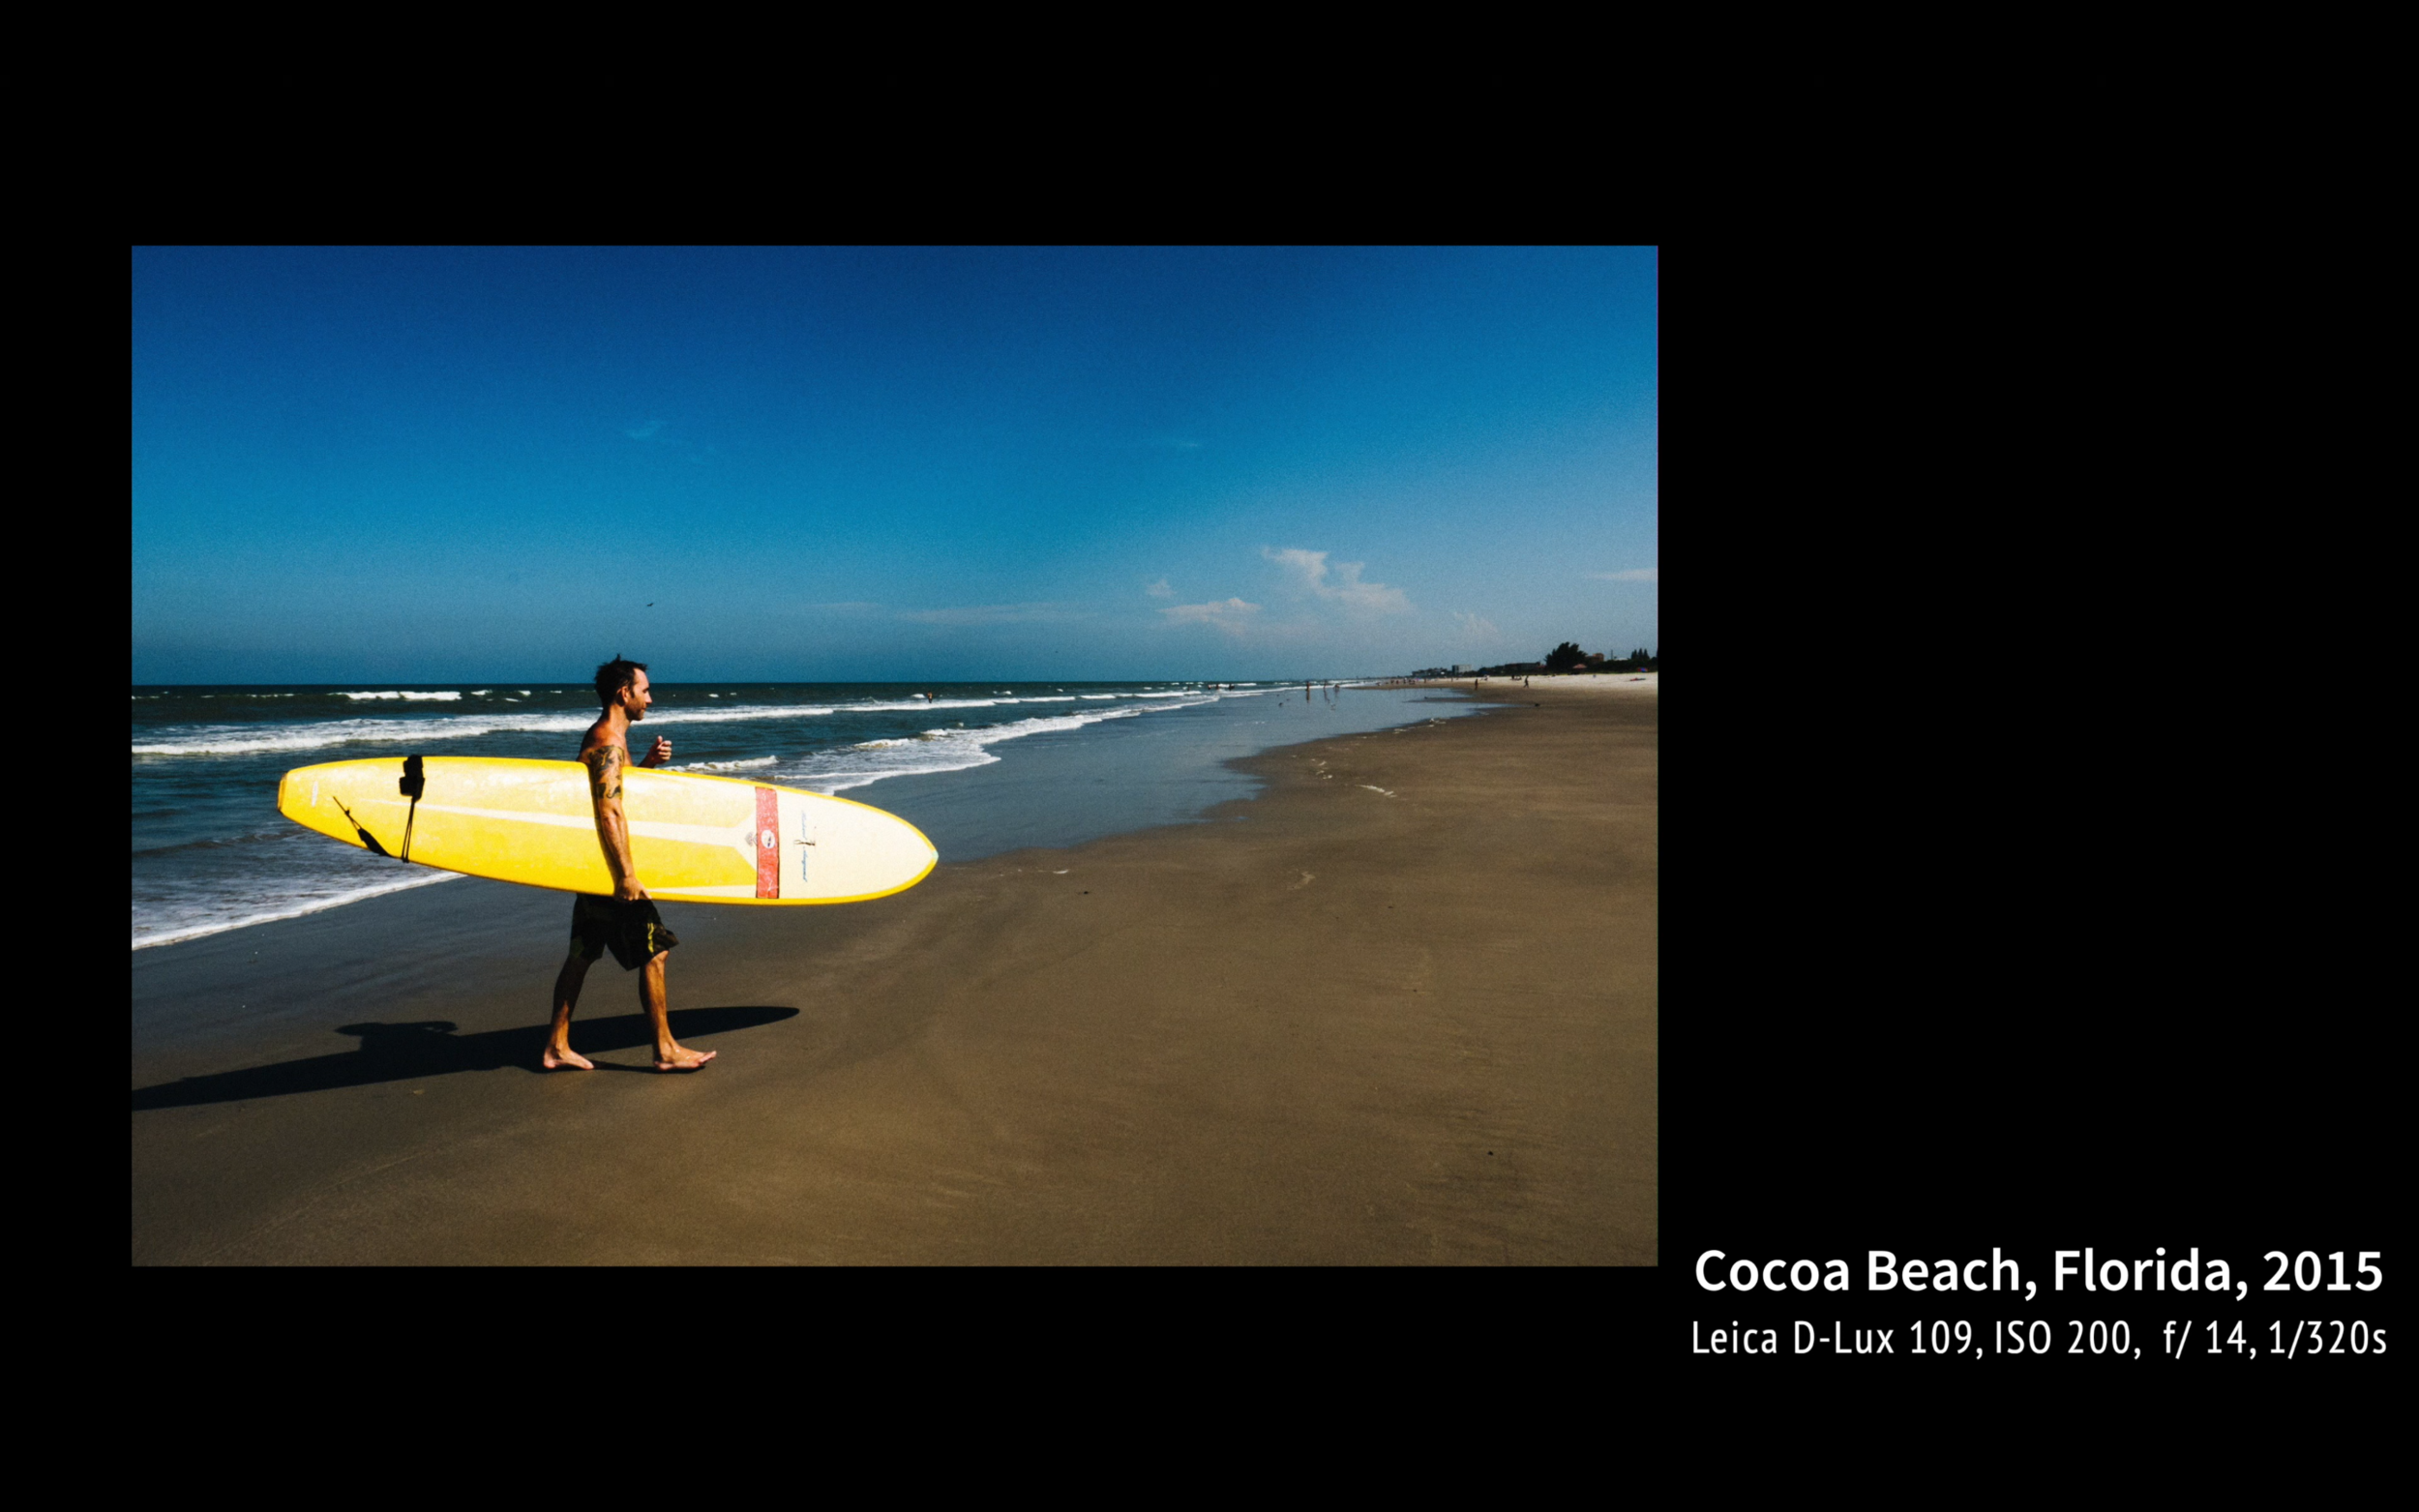
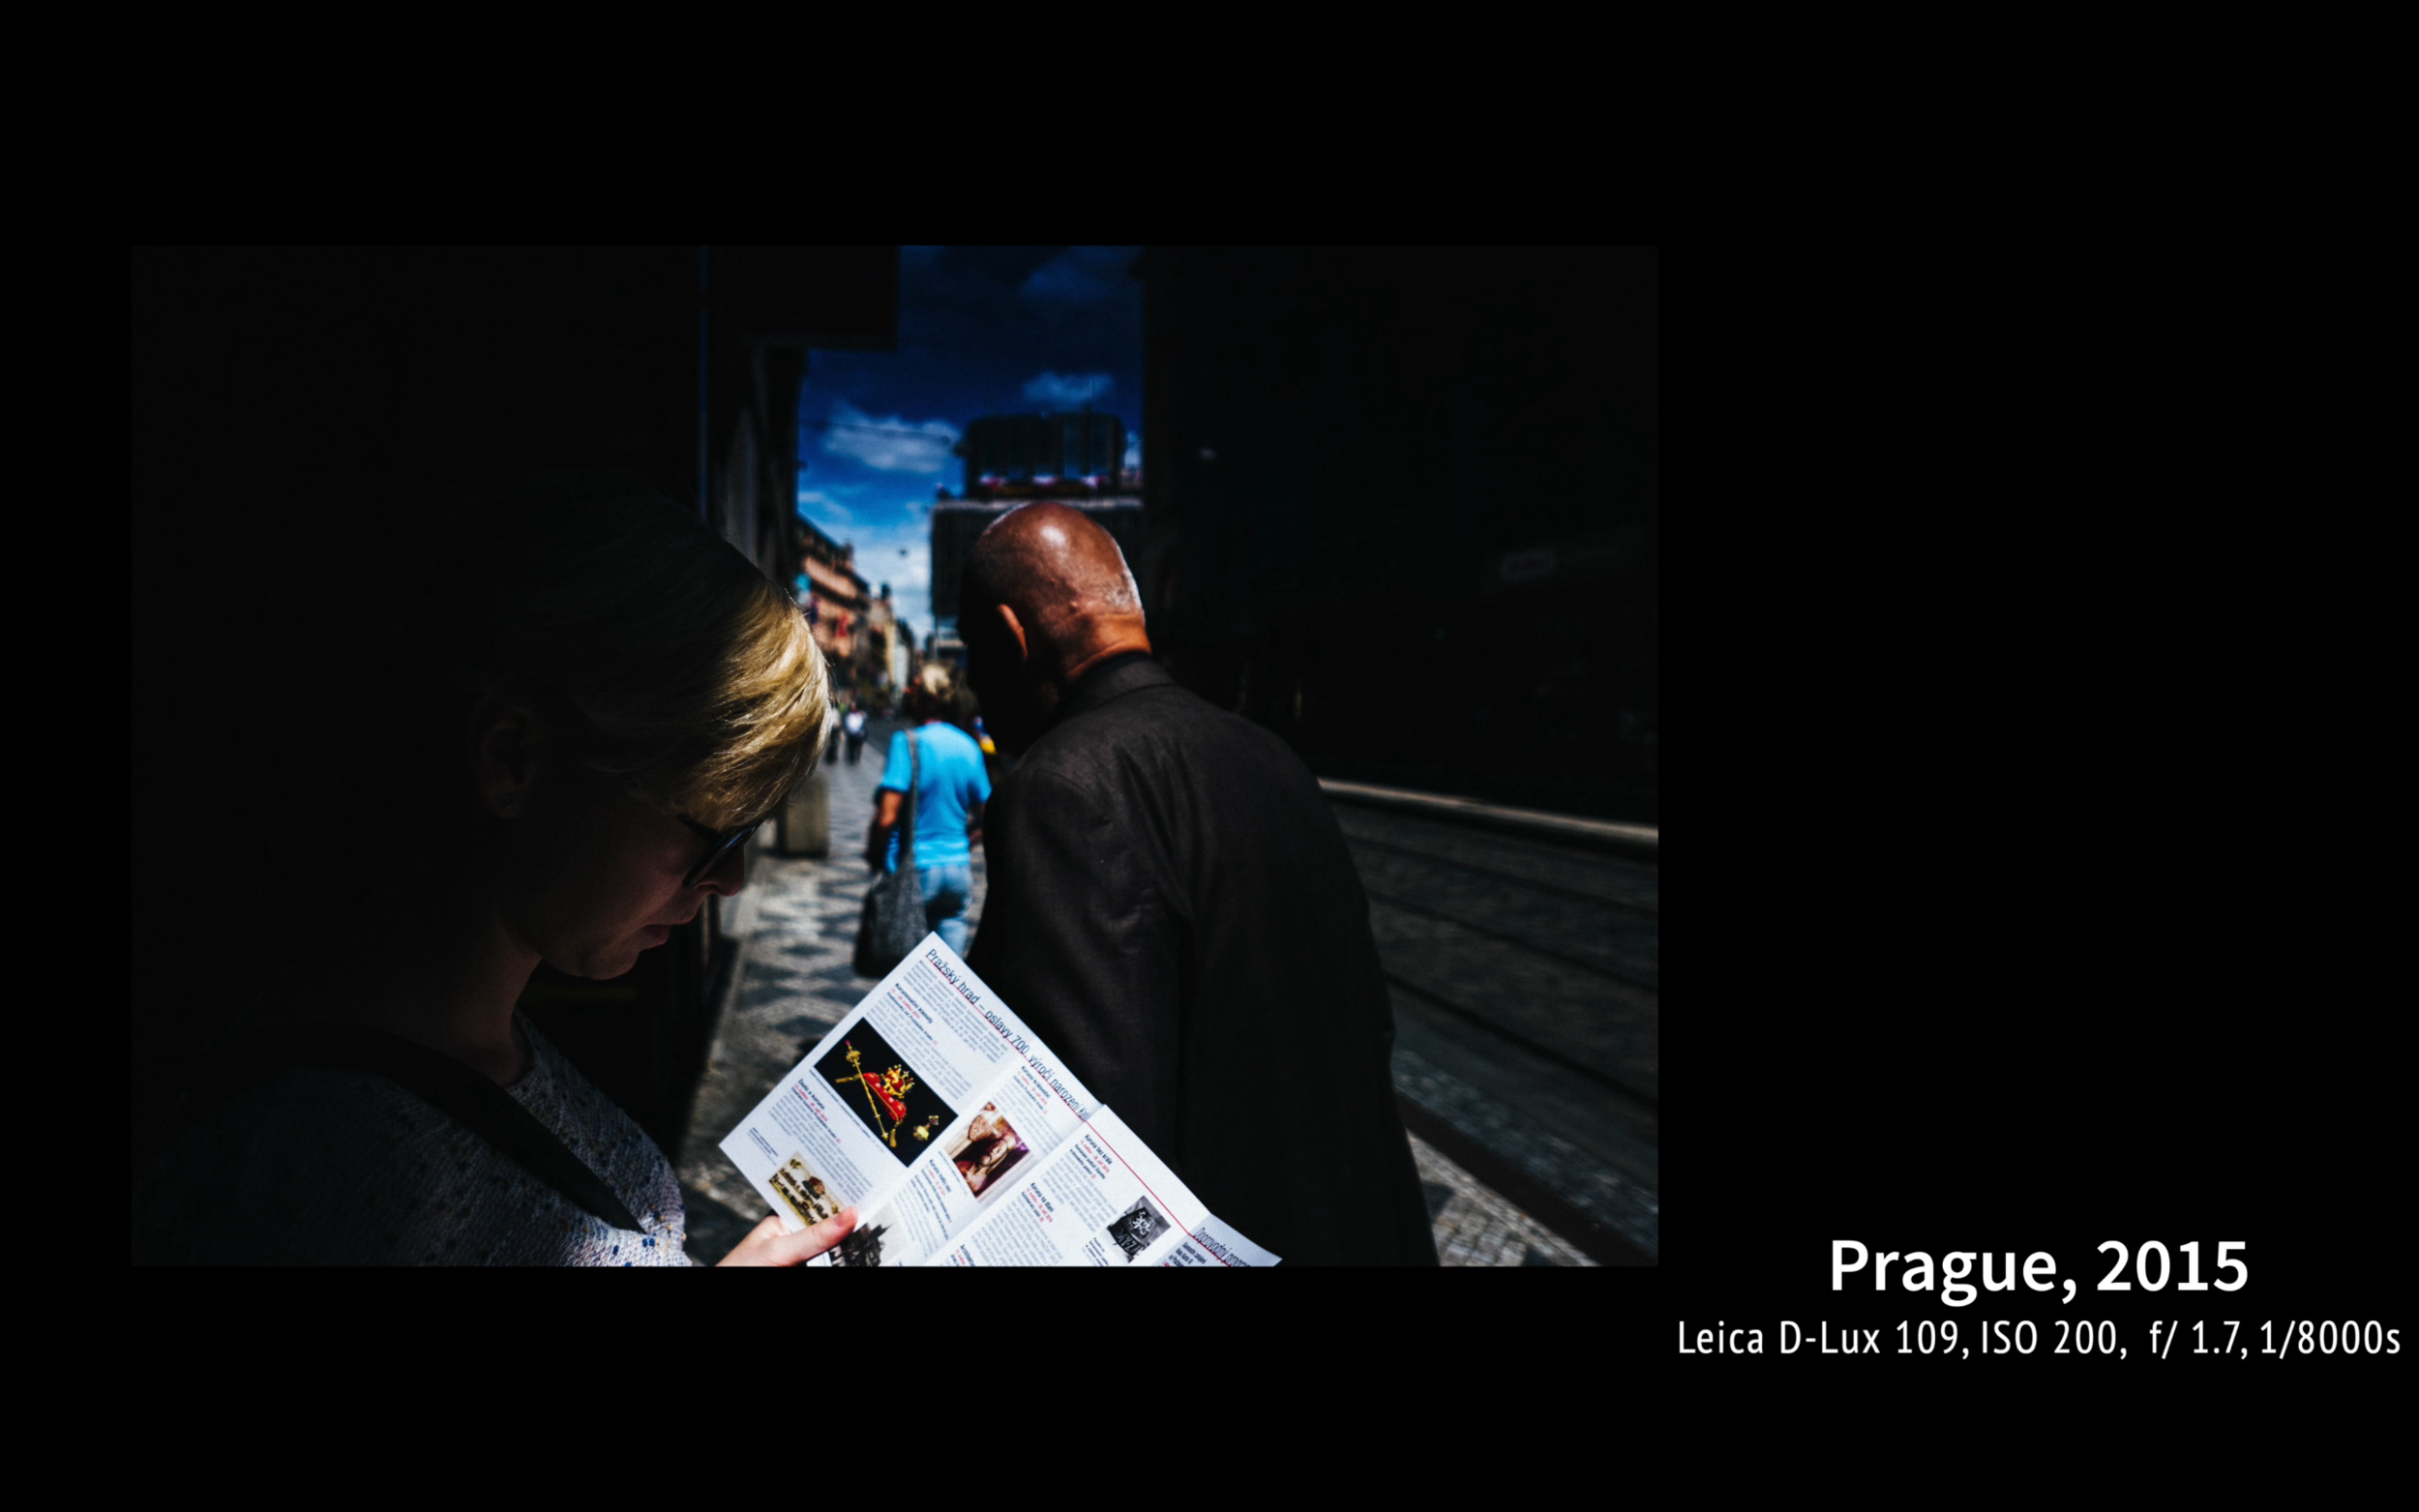
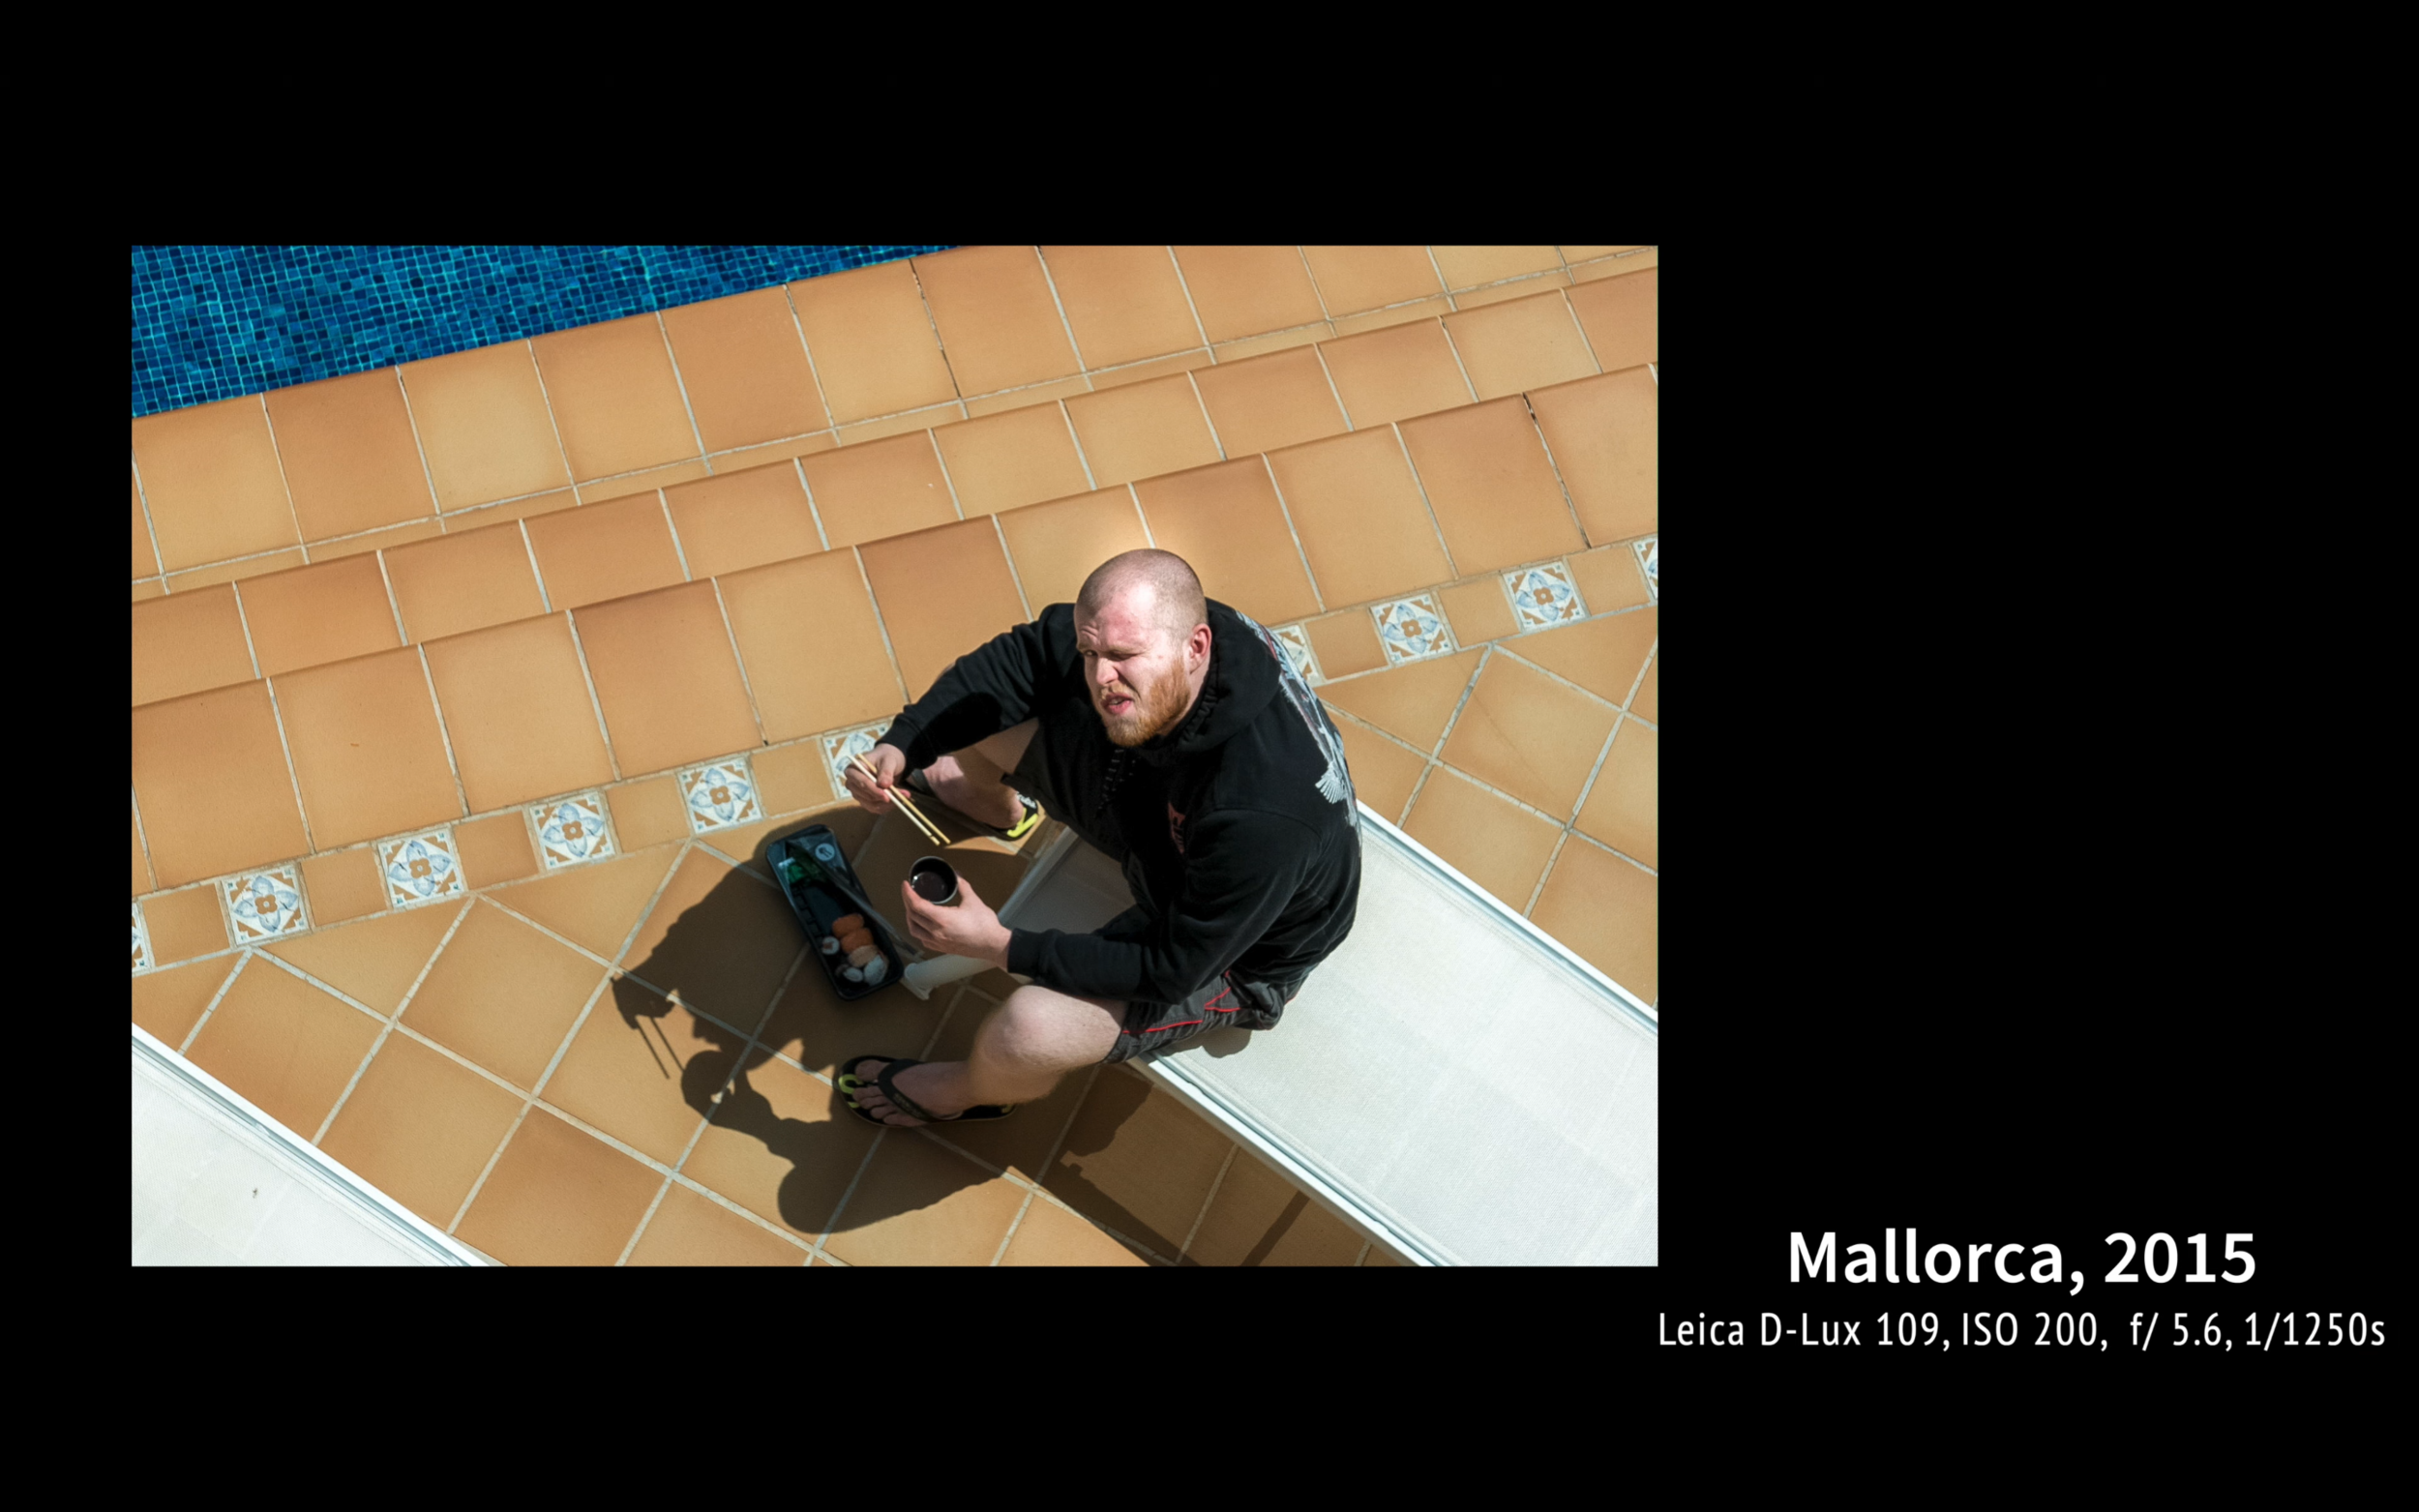

You can get as low as 550 USD and I have also find one completed auction for about 430 USD. That being said with the logic that Panasonic is basically same camera you will find it even cheaper. Then you have the next generation LX 100 II and D-lux 7. Now before the 109 Leica D-lux 6 was a very different camera. This generation was a big leap ahead with so many new features and new design. That being said, when we compare D-lux 7 there are actually not that many improvements. When we compare both cameras the bodies are basically identical. The biggest one probably being the resolution. They are both micro Four Thirds camera but even thought 109 has 16mps sensor it only uses it to produce 12 megapixels photos. sensor in the D-Lux, the camera also only uses a section of the sensor. Don’t ask me why, that’s just how it is. D-lux 7 has 21 megapixels sensor but produces 17 megapixels images. Now, for a daily use I think the 12 is more than enough and even for prints for your family album. Now, the cropping might be a problem however, with the optical zoom you can always do the “cropping” in the field. Both shoot 11 frames per second. Unlike 109 the D-lux 7 has a touch screen. Which I don’t think is really needed, but you know - it is there. And finally the design. 109 was released in black and later with solid grey. And even though I really like the silver black combination when we talk about M series I have to say I much more prefer the black 109. But I might be biased.
All in all I would say the 109 is good all around camera so when you don’t need the latest gratest, like the Leica design and can find it for the descent price, there is no reason not to get it if you want to get a Leica. In case you want this kind of camera but you want to save some money I would get the used Panasonic LX100 I thats cheapest you can get among those four. If you however prefer the silver black design and do the D-lux 7, don’t mind the higher price tag then go for it. And finally if you just don’t care if you have Leica and what this kind of camera LX 100 II is a great choice.
So I hope I have helped you a little bit deciding about your future camera. If you have any more questions feel free to leave them in the comments.