How to Restore Old Photos: A Complete Professional Guide for Saving Family Memories
Disclaimer: “This post is a collaboration and not my work, consider it a guest photographer stepping into my darkroom to help keep the lights on!”
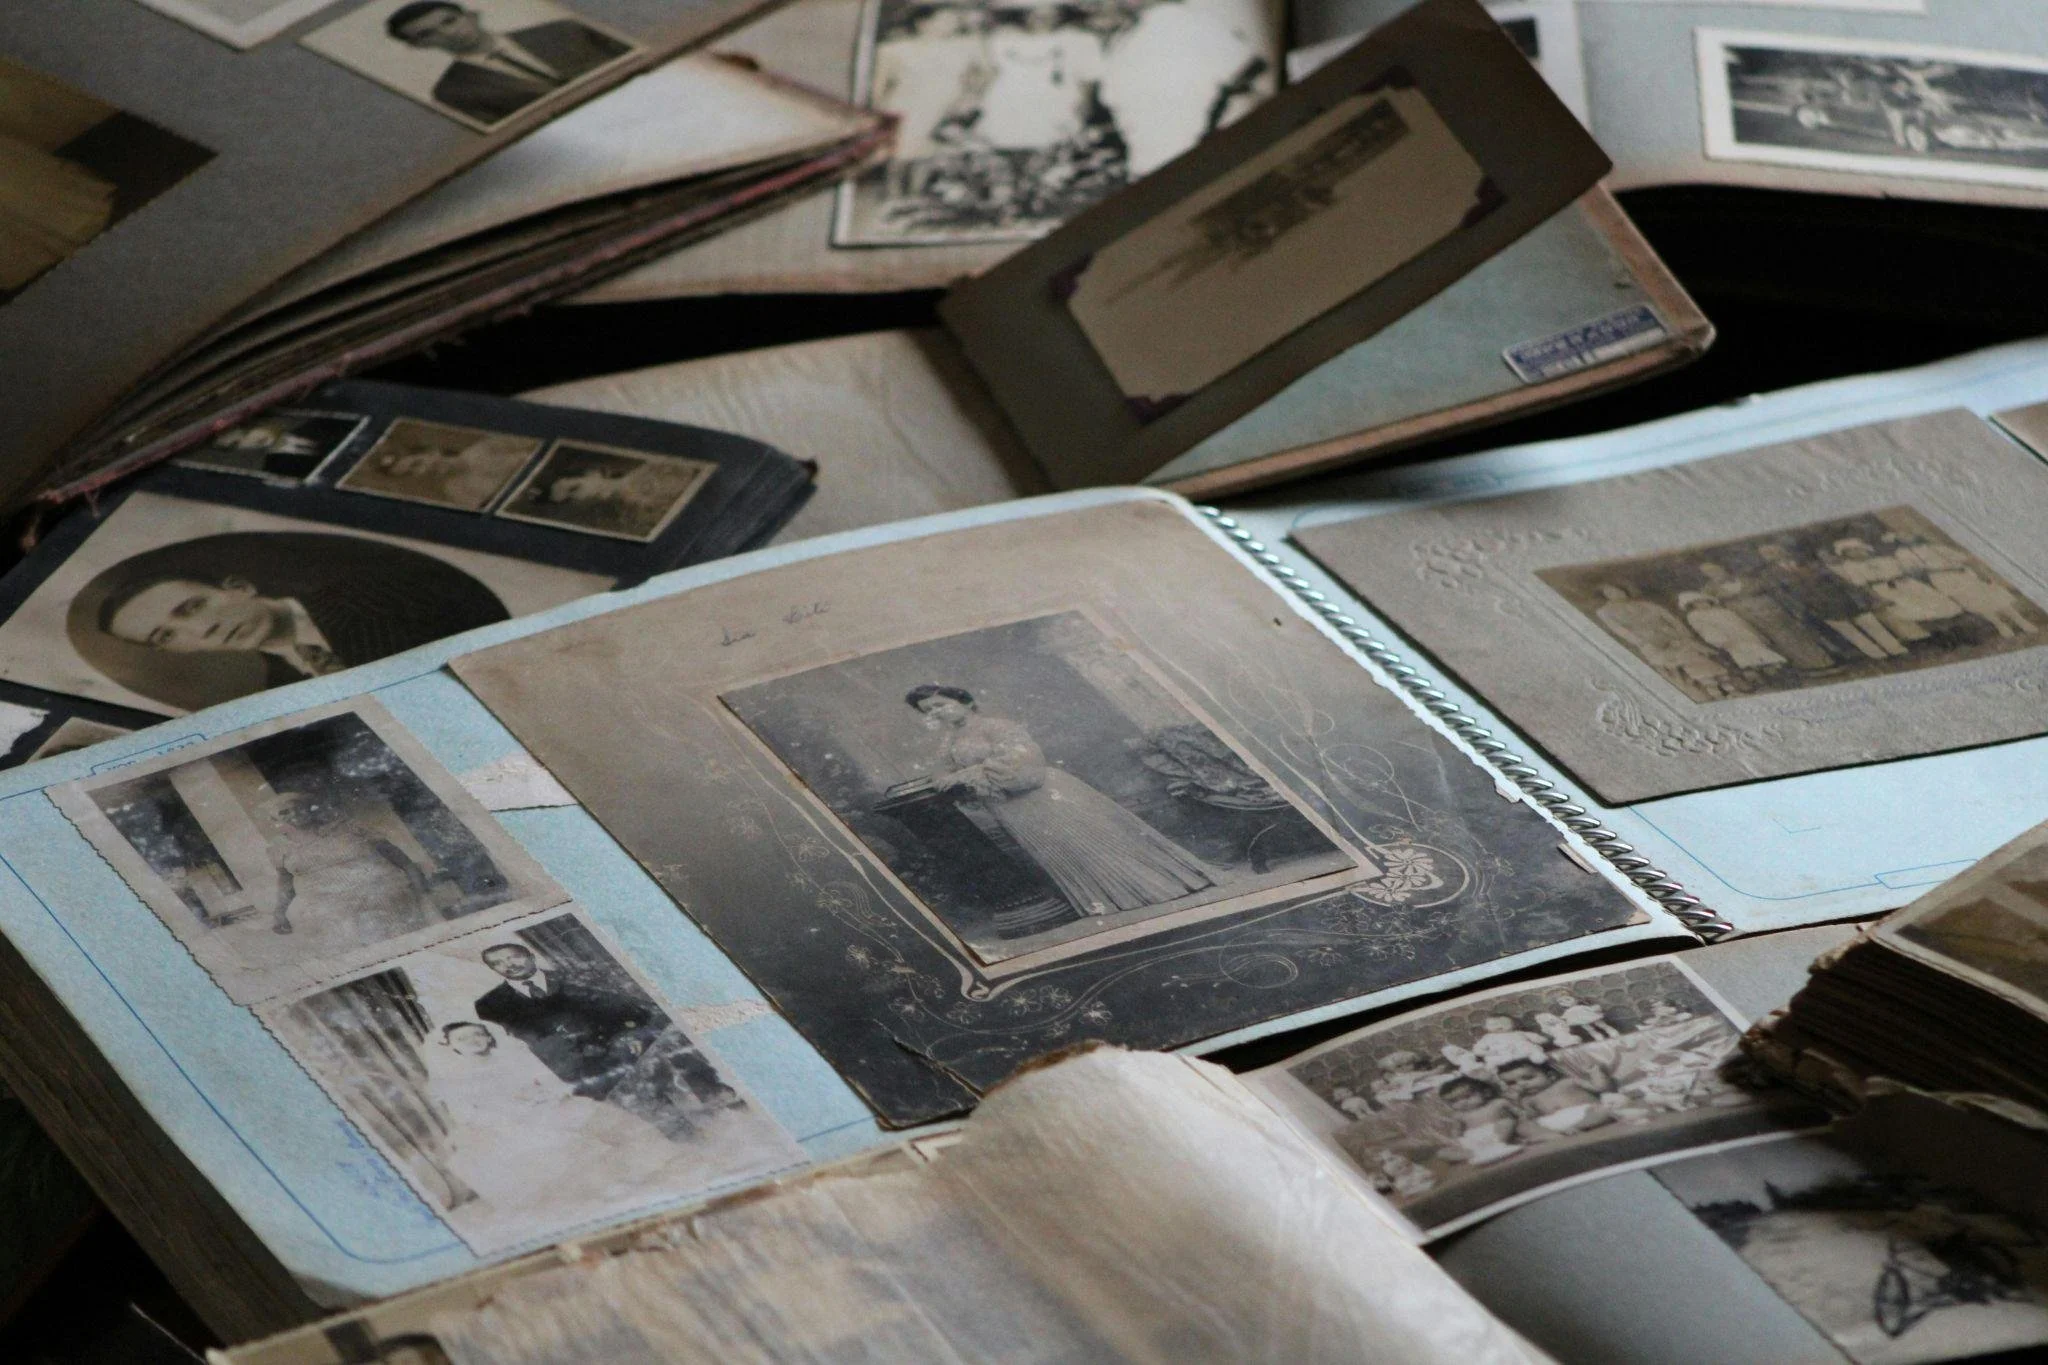
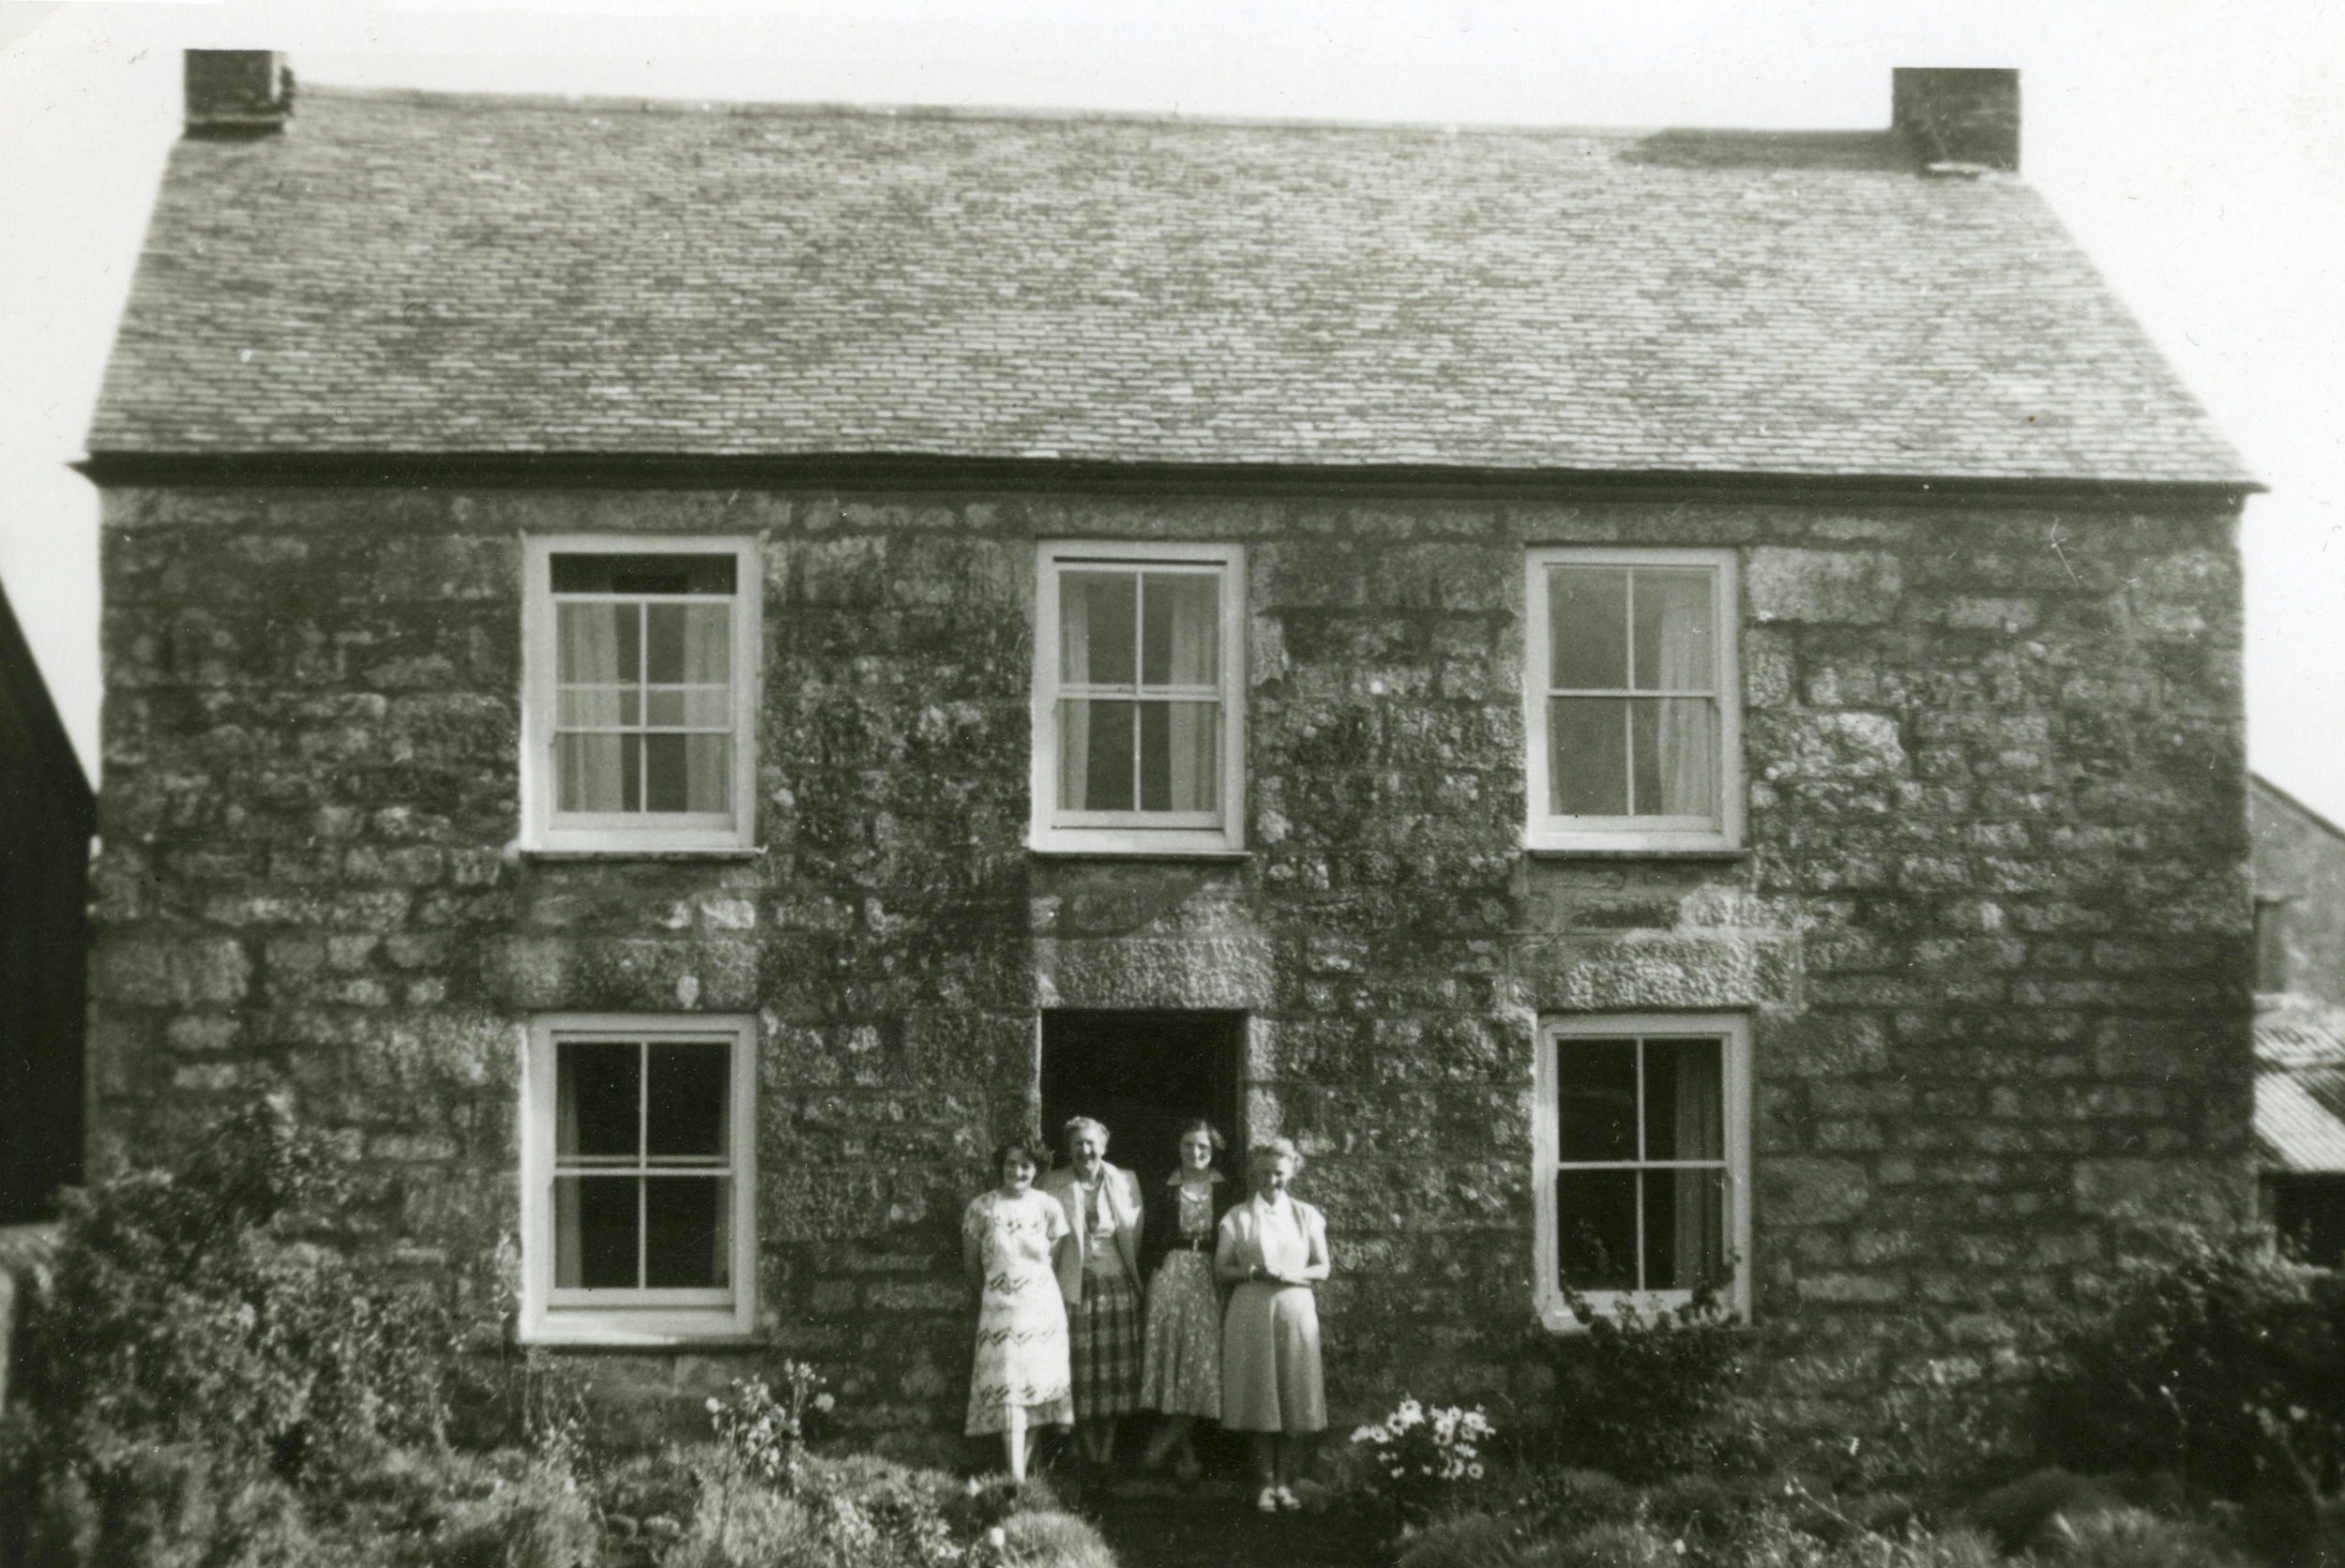
Look at them. These old photographs. They’re not just portraits on paper, are they? They are quiet, fragile pieces of a story you’re still a part of. A family history held in a single, fading rectangle. They carry moments that time has softened, nearly erased. You see it happening, don’t you? Years of sunlight and simply being handled can quietly wear them down until the details, the very expressions, begin to disappear.
That’s where this work of old photo restoration becomes indispensable. With the right approach, a careful touch, you can actually revive these damaged prints. This guide is your companion through that entire journey. We’ll walk through it step by step, from handling those fragile originals with your own two hands to the digital magic of repairing damage, restoring tones, and even breathing colour back into faded memories.
Start With What You Can Do by Hand
Hold the photograph. Feel the weight of it, the texture. Really look. What do you see? Is it a fine layer of dust, like time’s own sediment? Are there small scratches, a story of being tucked into an album wrong? A fingerprint from a long-ago hand?
Starting with gentle physical cleaning isn't just a technical step. It’s an act of respect. It protects the print, yes, but it also sets you up for a better digital result later. Think of it as preparing a canvas.
Dusting and Surface Cleaning Techniques
Begin with something soft. Deeply, truly soft. A microfibre cloth, perhaps, or an anti-static cloth designed for this very purpose. Now, brush. Gently. Always in one direction.
A camera air blower is the safest form of cleaning. But remember this, please: tissues and paper towels are a trap. They feel soft to our hands, but they scratch. They leave behind their own tiny marks of regret.
Handling Light Stains and Sticky Surfaces
So you notice a smudge. A minor stain. Don’t panic. Reach for a cotton swab and dip it in distilled water. Not tap water. The minerals in tap water can leave their own ghostly residue. Dab lightly. Imagine you’re touching the petal of a flower that’s about to fall. Because you are. You are touching something precious.
And for sticky residue, that gummy, stubborn glue from a failed tape job or a sticky album page. A tiny, almost hesitant amount of photo-safe emulsion cleaner can work wonders. Used sparingly, it is a pardon for a past mistake.
Removing Photos Stuck to Frames or Glass
We’ve all been there. You turn over a frame, lift the cardboard backing, and your heart sinks. The photo is fused to the glass. A transparent tomb. Your first instinct, the human one, is to pull. To pry. A desperate attempt to free it.
Don’t. Instead, think like a scientist. Use physics. Place the entire frame, glass and all, into a sealed plastic bag and put it in the freezer. For several hours. Once frozen, gently, patiently, work the photo free.
Flattening Curled or Warped Photos
A curled photo is a story of humidity, of being stored in an attic or a damp basement. Flattening it is simple. Place the print between two sheets of pristine parchment paper, then slip it under a stack of books. Let the weight of words press the memory flat.
And whatever you do, avoid heat. No hair dryers, no irons. The siren song of a quick fix. Heat will cause bubbling and ripples, a thermal shock that no digital tool can ever truly fix. It’s a permanent goodbye to smoothness.
Digitizing the Photo: A Critical Turning Point
Once your photo is clean and stable, you stand at a crossroads. Digitizing it is the bridge from the physical to the digital. It’s the moment you create a perfect, immortal copy of the original.
Use a flatbed scanner. Set it to 600 dpi or higher. For tiny prints, or those rich in incredible detail, the lace on a dress, the leaves on a tree—1200 dpi is your friend. It gives you more pixels, more information, more flexibility.
What to Do If You Don’t Have a Scanner
No scanner? It’s okay. Really. Don’t let that stop you. The modern smartphone in your pocket is a minor miracle. It can do this. Find soft, natural light. Near a window, but not in the direct, harsh sun. Shoot from directly above. This is crucial.
Keep your camera parallel to the print. Brace your elbows on the table. Or, if you have one, use a tripod. The steadier the shot, the less blur, the easier your editing life will be.
Beginning Digital Restoration: Cropping Damaged Edges
Now we enter the digital darkroom. This is where the magic feels real. Some photos arrive with torn borders, corners chewed away by time or poor storage. If these damaged edges are just empty space, crop them out.
But. Be careful. Be so careful. What seems like an empty edge to you might hold a sliver of a hand, a piece of clothing, a background clue, the stem of a flower, the corner of a sign. These tiny details are often the hooks that a memory hangs on. Sometimes, they are the story.
Repairing Tears and Deep Scratches
For the major injuries, like the rips that bisect a face, the deep scratches from a careless nail, you turn to the clone or patch tools. You are a digital tailor. You borrow texture, thread, and weave from a healthy area of the image’s fabric and you gently, patiently, patch the damaged one.
Use small brushes. Tiny ones. Especially around the delicate features such as the eyes, the lips, the subtle curve of a smile. For larger, smoother surfaces like a wall, a sky, the plain fabric of a dress, a larger brush is your friend. Work slowly. Slow is smooth, and smooth is fast.
Healing Minor Blemishes and Surface Marks
For the freckles of time, such as the tiny spots, the specks, the little surface marks—the healing tool is a gift. It’s a smart brush. It blends nearby pixels automatically, recreating texture that matches the surrounding area.
Zoom in. Get close. 200%, 300%. Really dive into the image. Move across it methodically, like you’re combing its hair. You’d be amazed. You’d be truly amazed at how much difference removing the smallest blemishes can make.
Fixing Blurred or Soft Details
Some prints, especially the very old ones, lose their sharpness. Time blurs the lines. When you apply sharpening tools, restraint isn’t just a good idea, it’s the entire philosophy. Too much sharpening introduces halos, a ghostly white outline, and a weird, gritty grain. So start soft. A low radius, a modest amount.
Restoring Contrast and Depth
Fading is a thief. It steals contrast, and with it, the depth and dimensionality of a photo. The image goes flat, like a pressed flower. Adding contrast helps restore that depth. It makes the subjects feel rounded, real, alive again.
Curves. Curves are your best friend here, your most precise instrument. Slightly lift the highlights, just a nudge. Gently deepen the shadows, a subtle push. Watch the image regain its shape, its structure. It’s like watching someone sit up straight. The trick is balance. You want depth, not drama.
Working With Exposure Problems
Often, fading isn’t uniform. A corner faded in the sun is too bright; a figure in the centre has darkened into a silhouette. Selective exposure adjustments are your solution. Use a soft brush. A very soft one. Work gradually. Little clicks of the slider. Big, dramatic jumps in exposure rarely look convincing. But tiny, thoughtful, almost invisible changes? They add up.
Correcting Colour Casts in Aged Photos
Has your photo turned a sickly yellow? A murky green? A surprising purple? You’re not imagining it. Chemistry is to blame. The chemical processes in the paper, accelerated by light and heat, shift the colours over the years. It’s a slow mutation.
Use the temperature and tint sliders to fight back. To neutralise these alien casts. Look for known anchors in the picture: a white shirt, a grey wall, the black of a suit. Use these to guide you back to reality. But remember the mood. You are restoring, not reinventing.
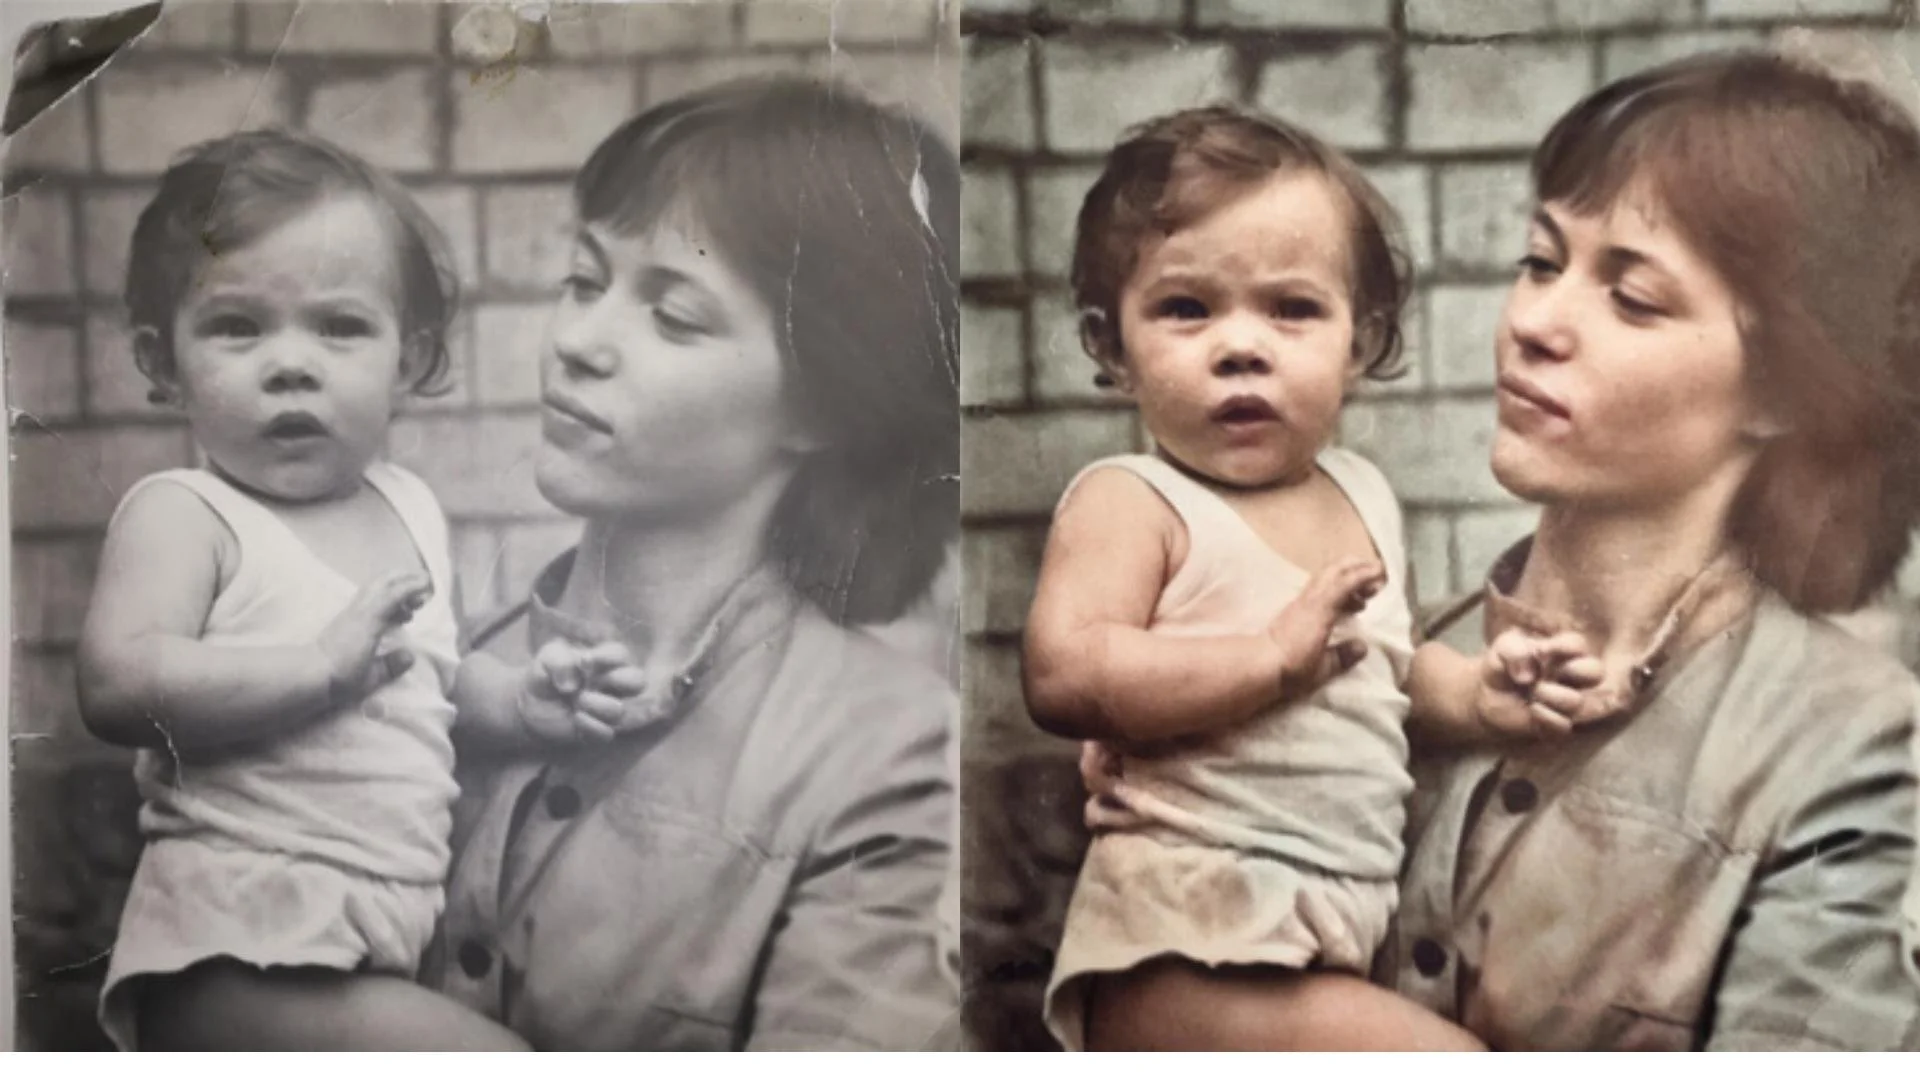
Colorizing Black-and-White Photos Manually
This. This is where it can feel like magic. Manual colourisation is an act of interpretation, of artistic resurrection. You build the world layer by layer, using soft, low-opacity brush strokes. You suggest the colour of a dress, the hue of the sky.
Historical references are your guide if accuracy matters. What colour was a World War I uniform? What were the popular colours for dresses in the 1920s? But subtlety always wins. A good colourisation feels quiet, natural. It feels like the image was always meant to look this way.
Reviving Faded Colour Photos
And for those colour photos from the 70s and 80s that have faded? They often go red. The red tones are the first to flee, leaving behind a blueish, cyan-tinged ghost. You can fight this with careful adjustments to saturation and by working on individual colour channels.
For more guidance, lean on software designed to restore colors to old photos. Automated color correctiocolour save time and minimize the guminimise giving you a solid starting point from which to refine.
When to Choose Automated Tools
Let’s be honest. This is meticulous work. And sometimes, you have a lot of photos. Or limited time. Or simply limited patience. This is where AI restoration tools can feel like a superpower.
They can analyze an imaganalysen seconds, remove scratches, fix fading, repair textures, and even sharpen facial features. And the best tools allow you to refine the result afterward, giviafterwardspowerful combination of speed and control.
Using Neural Networks for Photo Restoration
This is the cutting edge. Neural networks don’t just repair; they interpret. They dream. By analyzing millianalysingtterns, textures, and shapes from other photos, they can make an educated guess. They can reconstruct a missing section of a face, revive blurred details in a way that feels startlingly natural. They can even colorize, offercolourisesible, realistic tones with a single click.
Batch Processing for Large Archives
Are you the family historian? The keeper of the archive? Faced with a shoebox, or an entire album, of decaying pictures? The thought of editing them one-by-one is done by onehis is where batch processing shines. It’s your assembly line.
You can set a tool to adjust exposure, reduce noise, enhance contrast, or even colorize dozenscolouriseds, of images in one single, monumental pass. Afterward, you can then go in and fine-tune the special ones, the portraits that need your personal, human touch.
Final Touches: Finishing the Restored Photo
The heavy work is done. The tears are mended, the colors are vibrcoloursow, you add the refinement. The polish. The final breath.
A gentle application of noise reduction to give the image a unified, clean texture.
A soft vignette to subtly direct the eye and to echo the gentle fall-off of light common in old prints.
A touch of clarity around the eyes and key details. Just a touch. To make them sparkle.
And finally, straighten the image. A tilted horizon in a scan is a small thing, but it nags at the subconscious. Make it level. Make it right.
These subtle enhancements are the final act. They take a repaired photo and make it a cohesive, polished, finished piece of art.
Saving and Archiving the Final Image
Don’t lose this now. After all that work. So, save two versions. Save a high-resolution TIFF or PNG as your master file. Then, save a JPEG for sharing—for emails, for social media, for printing at the local shop.
And then, back it up. Store backups in multiple places. The cloud is good. An external hard drive is good. Both together are better. These restored memories deserve to be kept safe.
When to Seek Professional Help
Some photos arrive in a heartbreaking state. Torn in half. Stained by water and mold. Faded so mouldrely that only a ghostly trace remains, a hint of a collar, a shadow of a hat. In these extreme cases, a professional restorer, with their years of experience and advanced techniques, can often achieve the impossible.
But for most photos? The ones with moderate damage, the faded, the scratched, the dusty? The techniques here, the patience and the heart you bring to them, will deliver results that will surprise and delight you.
Conclusion: Restoring Memories With Care and Heart
So here we are. At the end, which is really a beginning. These old photographs. They are fragile, tangible links to stories that absolutely deserve to last. They are quiet pleas from the past, asking not to be forgotten.
Restoration isn’t just a technical process. It is an act of honoring. It is an honour to say to the people who came before us, "I see you. I remember you." With patience, with the right tools, and with a bit of courage, anyone can do this. You can turn these faded, fragile snapshots into vivid, enduring family keepsakes. You can ensure these quiet stories outlive us all, speaking to generations we will never meet.