Why Your Photos Look Better With Professional Presets
Disclaimer: “This post is sponsored and not my work, consider it a guest photographer stepping into my darkroom to help keep the lights on!”
You may capture a strong moment, choose a good angle, and still feel that the final image needs more life. The colours may look flat. The light may feel too cold. The details may go unnoticed by viewers. This is where it becomes important to know how to use presets.
A preset gives your photo a ready-made visual direction. It can add warmth to a portrait, depth to a landscape, or a cleaner mood to a travel shot in just a few clicks. It does not remove your creative control. It simply helps you start from a stronger place.
In this article, we explain how to quickly edit photos with presets to simplify your workflow, minimise tedious routines, and keep your visuals consistent without ruining their authentic appeal and intended mood.
Setting the Direction
How do presets work in real practice? They apply a prepared set of adjustments to your photo, so the image gets a specific mood faster. A soft professional preset can warm the skin in portraits, calm the shadows. The same idea works for travel, food, street, and family photos.
There is a stereotype that presets are shortcuts that inexperienced photographers use to get the work done for them. It is not true. A high-quality preset system helps users find and emphasise their creative vision instead of substituting for it. For instance, presets for Luminar Neo are fully customisable. It means that you can modify the built-in set of adjustments as many times as you want. A preset can set a baseline, but the creative control remains in your hands.
Better Colour Without Guesswork
Knowing how to edit photos involves knowing the influence of colour on a final image. Slight manipulation can transform a beach scene from dull to summery. A white balance that is too 'clean' can make a café seem cosy rather than yellowish. A softer colour palette in a portrait can make the image look natural rather than overworked.
Some time ago, users achieved these looks experimentally. They pushed every slider to see how colours change and decided whether that effect is what they need. This approach wasted a lot of time and energy. Luckily, modern photo editors include pre-made adjustment combinations with previews.
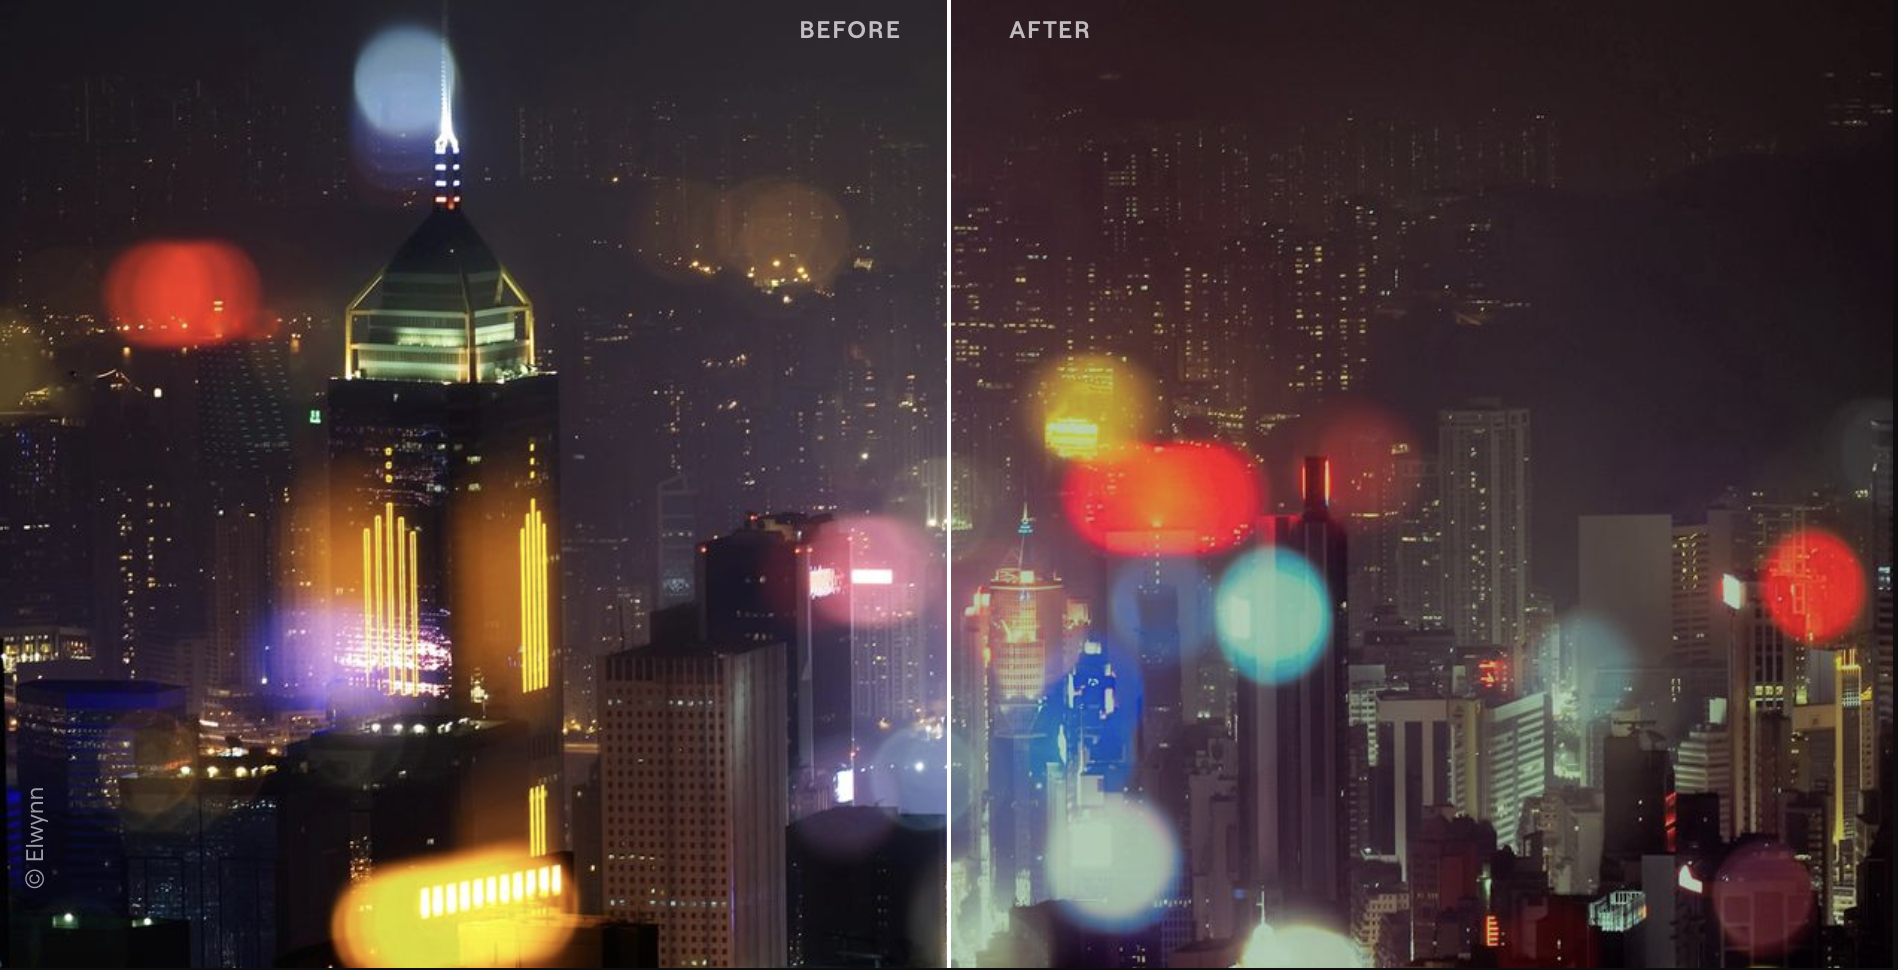
In Luminar Neo, you can browse presets by your preferred style or genre (portrait, landscape, etc.) and visualise the impact they might have before you apply them to your image. And even if you have already applied a particular adjustment but no longer like it, Luminar Neo includes non-destructive editing. It means all changes are reversible and you can dial back anytime. You also control the intensity of the modifications to ensure the colours appear true to life.
Sharper Details
If you think that the presets' post-processing capacity is limited to creative colour effects, you are wrong. Photo editing tips emphasise that balancing light, shadow, and contrast eliminates distractions and makes the subject easier to read. And there are specific modifications to help with this task.
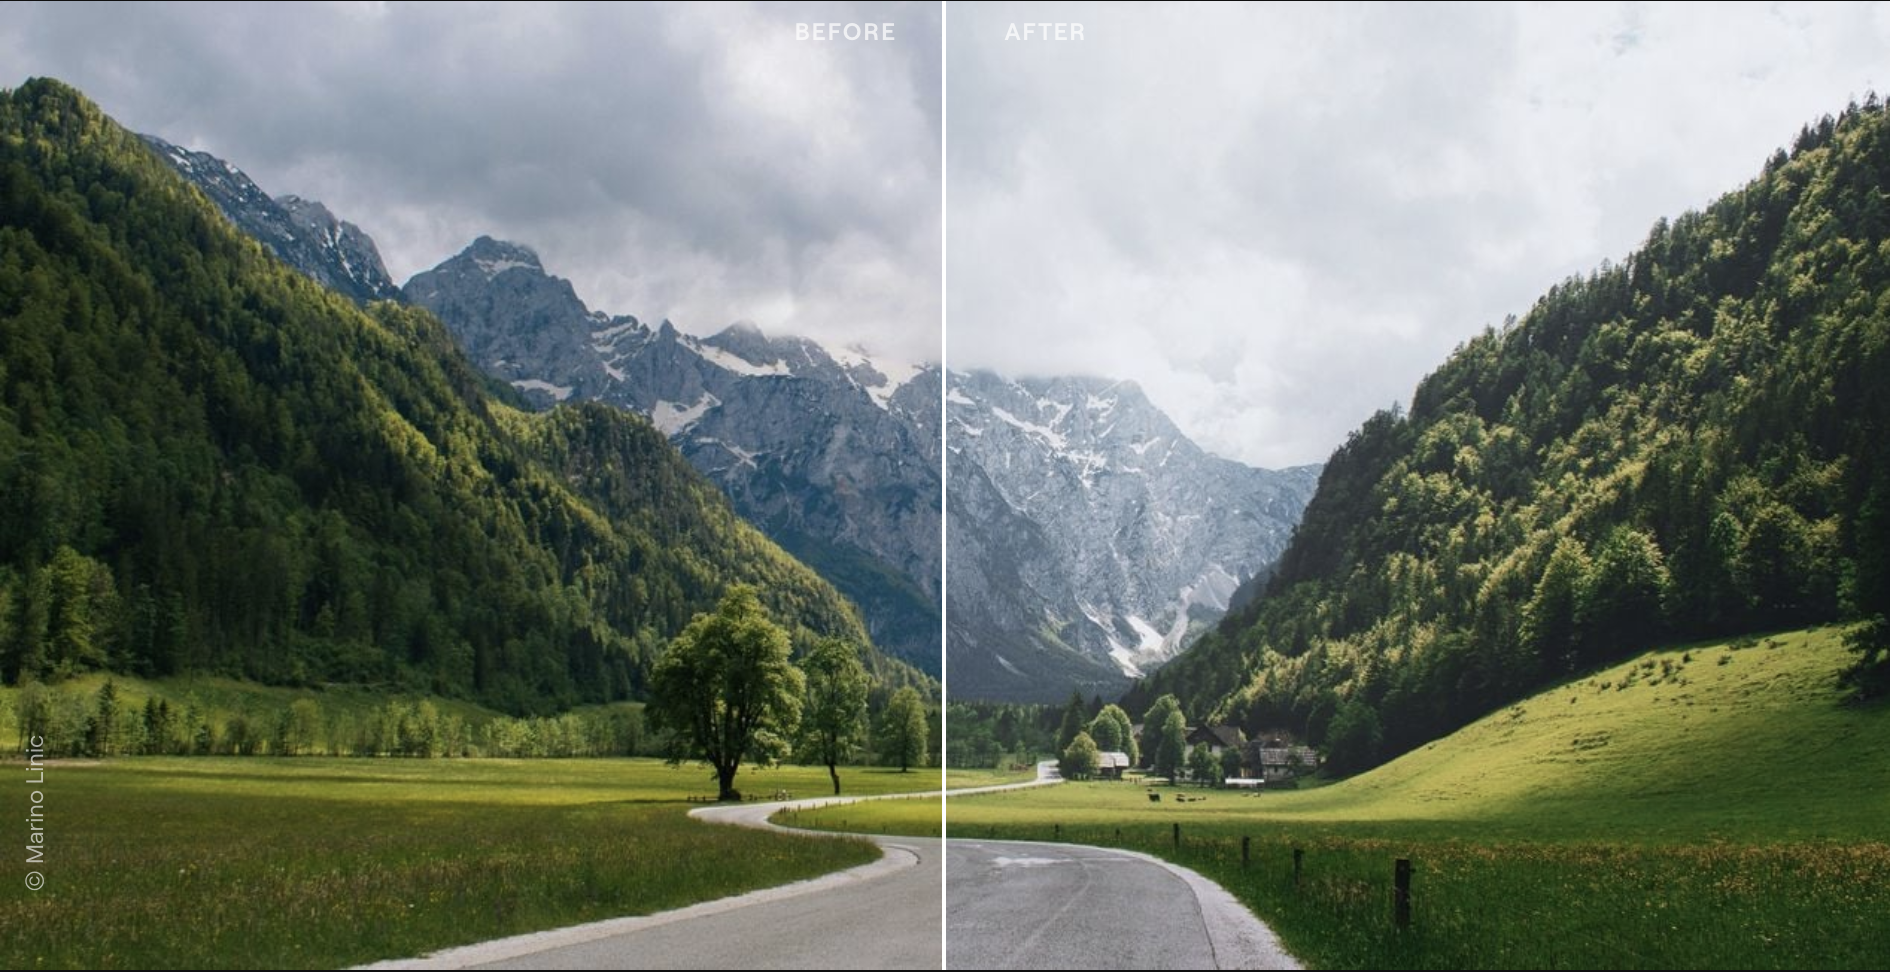
Suppose you have taken a photo of a mountain on a cloudy morning. It is visually stunning, but the file appears dark and dull. Luminar Neo's Landscapes, Dramatic, and Scenery collections may be appropriate for this photo. Depending on the scene, you can darken the sky, add more definition to the rocks, and make the trees more vibrant without over-processing the photo.
The same logic works for portraits. In Luminar Neo, the Portrait, Lifestyle, and Easy Portrait collections brighten skin tones, enhance facial contrast, and soften shadows. Presets such as Natural Portrait, Soft Glow Portrait, or Clean Lifestyle can help the eyes and expression stand out.
Preset First, Fine-Tune Second
As we said, built-in enhancements can and should be customised. So, don't stop at the first click. After applying a preset in Luminar Neo, review the image and use the Develop tools to fine-tune the result. Check the brightest areas first and reduce Exposure or Highlights if they appear too intense.
Next, evaluate the darker regions and raise the Shadows slider if you need more detail. Finally, focus on the main subject and ensure skin tones, clothing, food, architecture, and natural textures remain realistic and balanced. It will leave space for taste, intention, and small creative choices.
You can also create your own presets in Luminar Neo by applying your preferred adjustments and saving them as a custom preset. It is especially useful if you often edit similar types of photos, such as portraits, landscapes, or travel images. This approach helps maintain a consistent style across your work while making future edits even faster.
Conclusion
By using presets as a creative springboard, you're not just speeding up your workflow but curating a consistent, polished signature style. Use our guide, experiment, tweak, and make every edit truly your own. After all, the best images are those where technology meets your artistic intent, helping your vision shine exactly as you imagined.