The Ultimate Beginner's Guide to Photography with Tips and Tricks
Disclaimer: “This post has been generously sponsored and was not written by me, which means I might finally afford that gold-plated Leica I've been eyeing.”
They say a picture is worth a thousand words, and in this day and age, we tend to carry millions of words on our phones. The pictures we snap allow us to capture important moments and experiences that we can easily revisit.
Photography can be an incredible way to tell a story, which is why it can be so interesting to get into. Alas, this venture can be daunting for those who don’t have much experience in the field. If this is you, then you’re in the right place, as we’ll go through some beginner-friendly tips and tricks to help you out.

Understanding Your Camera
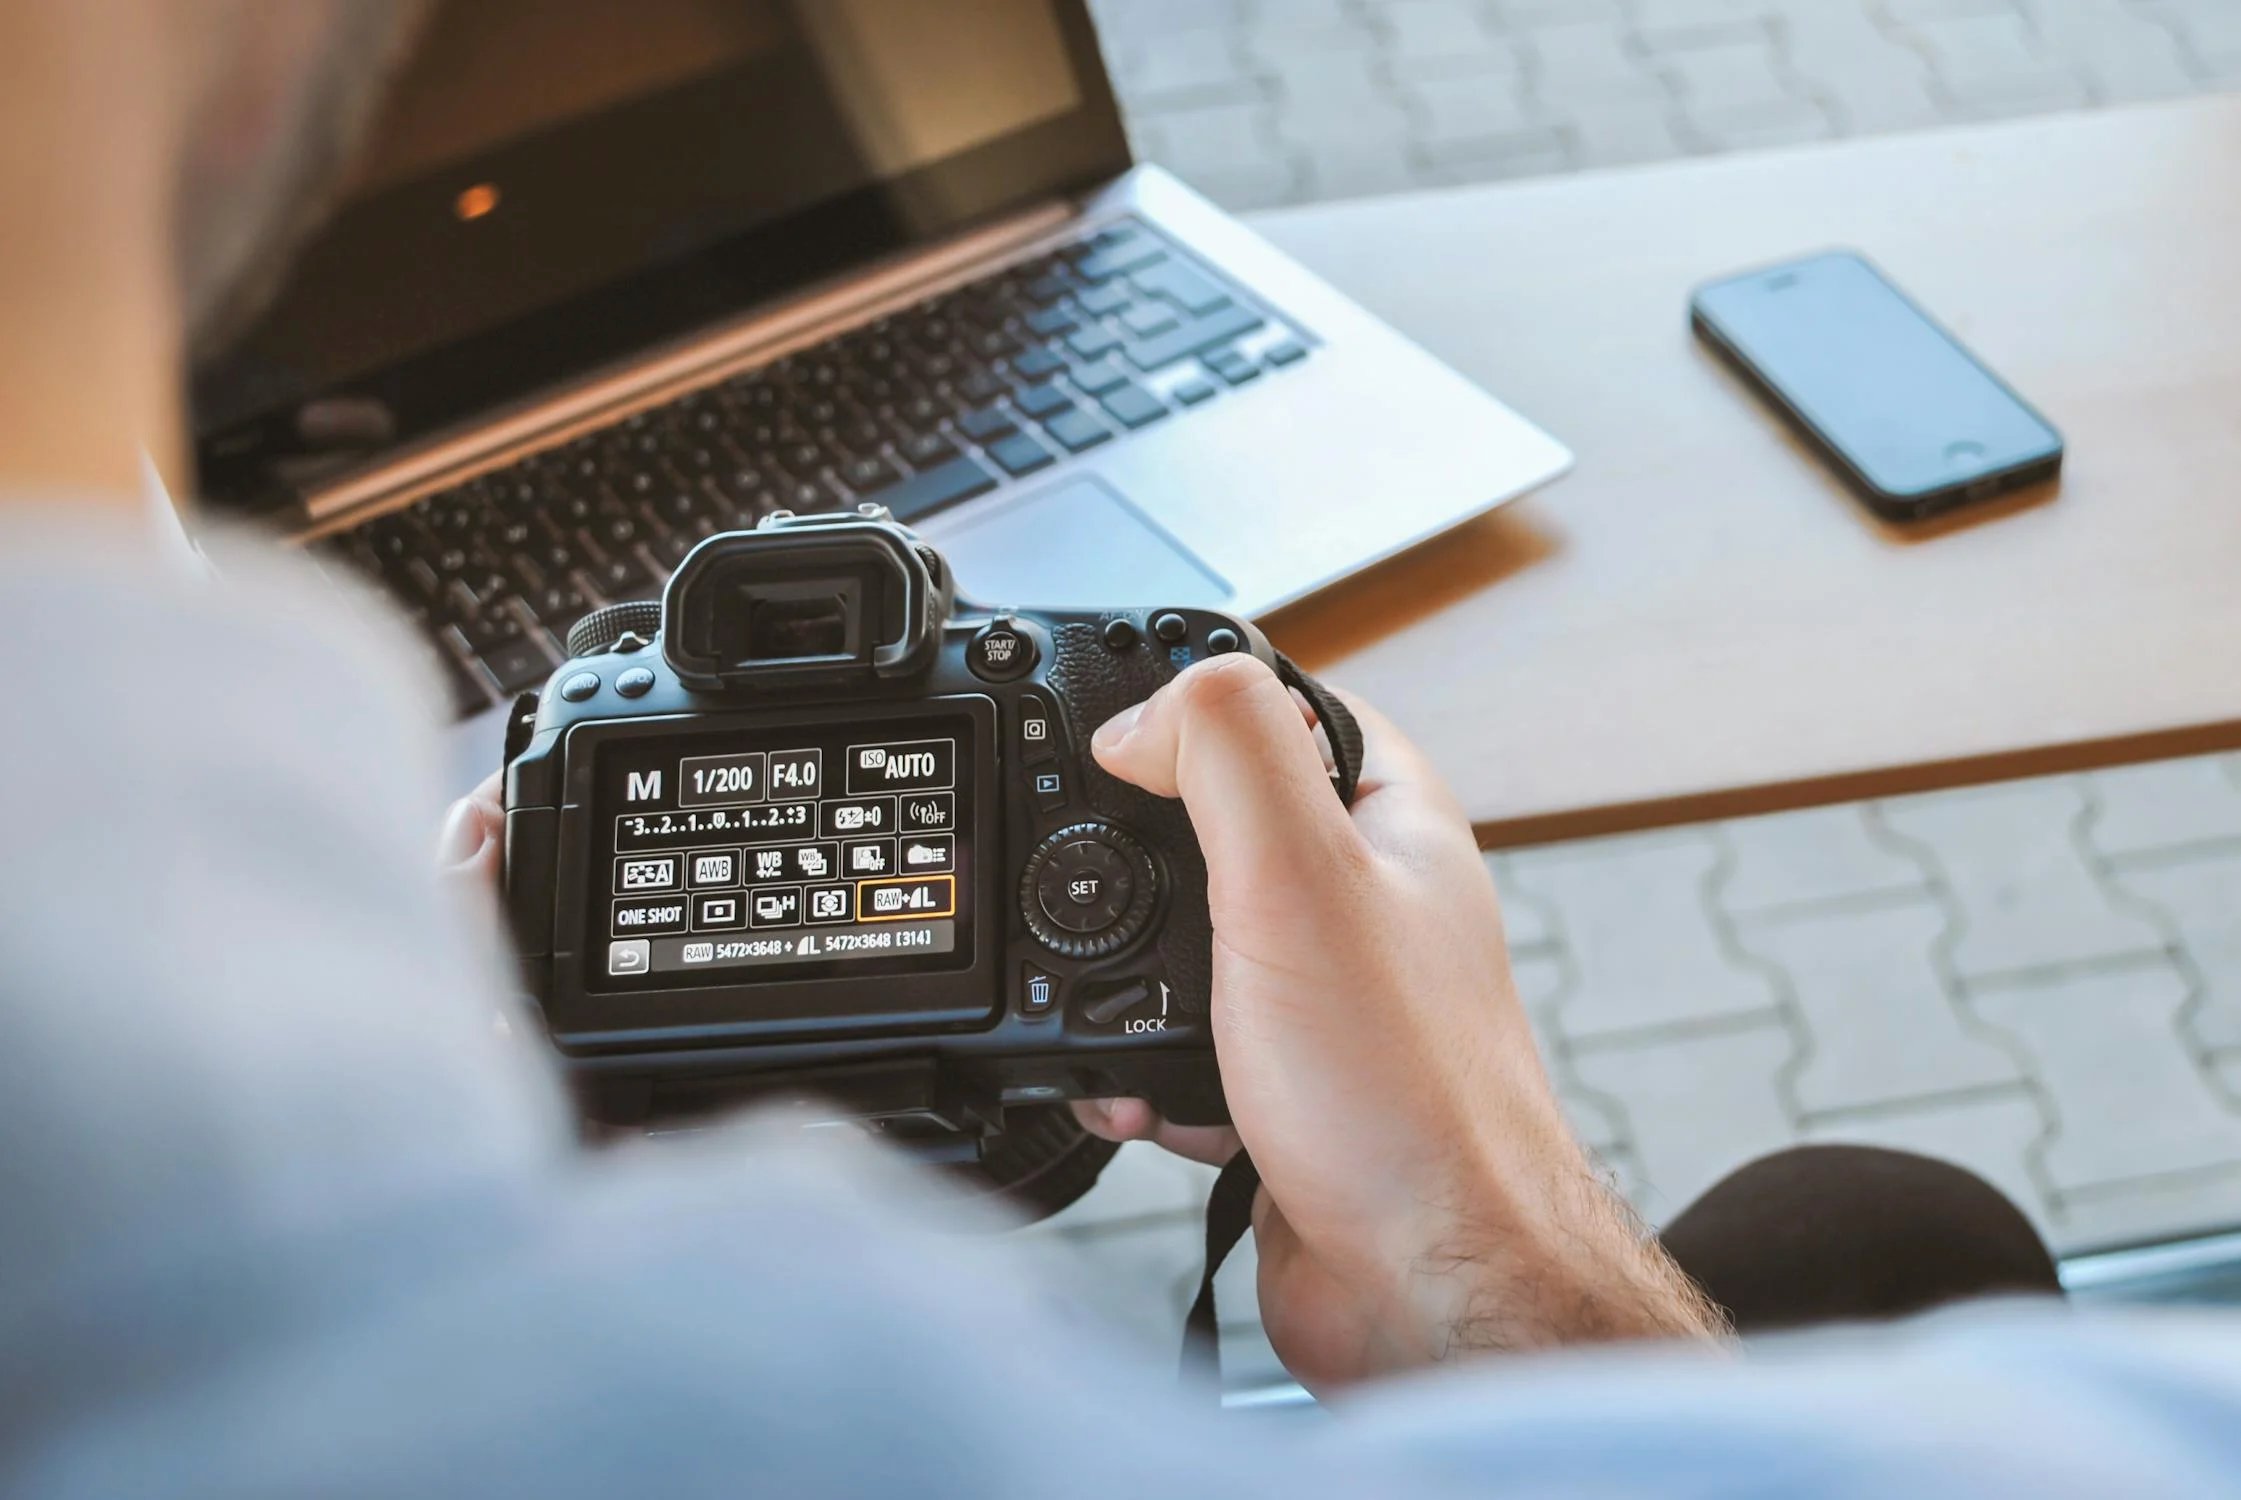
Photography starts with your camera, while this may seem like a simple tool to understand, there is much more that goes behind it. Regardless if you have a professional camera, such as the Canon EOS R7, or a smartphone that has amazing camera quality, like the Google Pixel 8 Pro, familiarizing yourself with whatever gear you may have is crucial.
We’d suggest starting by exploring every option and mode you have at your disposal. Typically, you can find online manuals for every type of tool you may be using that will help guide you. This is crucial, as even something as simple as adjusting the exposure can change how your picture looks.
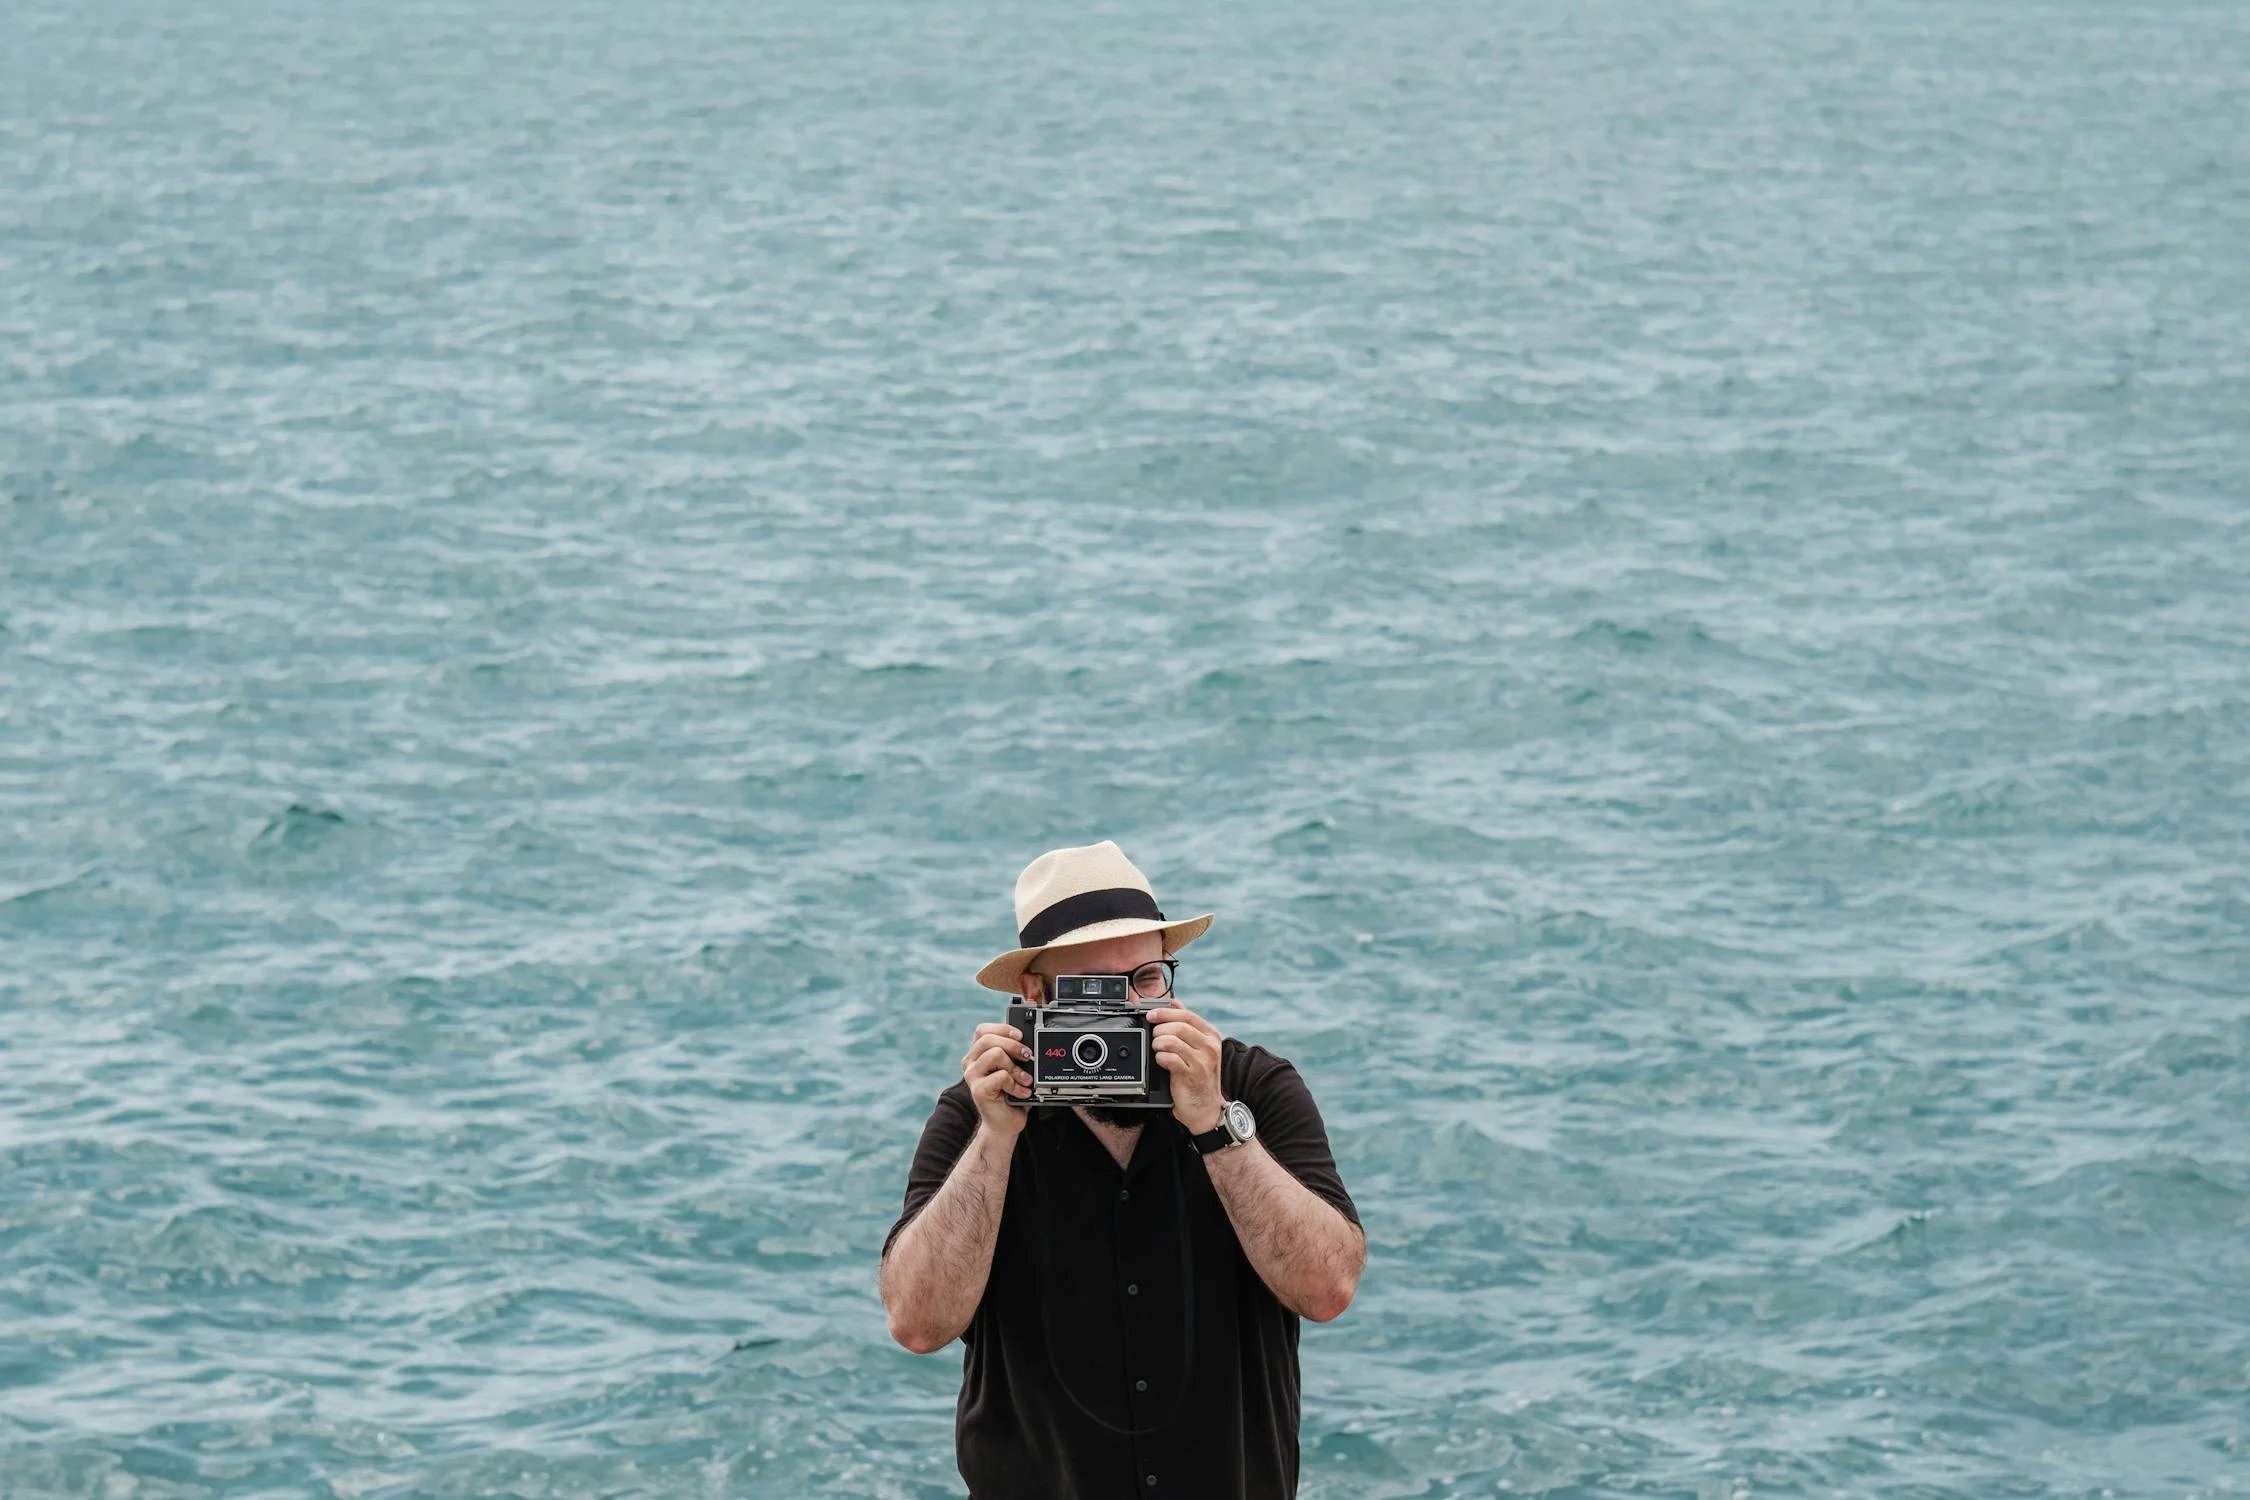
Let’s start this off with an example, let’s say you’re abroad, and you find yourself in sunny Brisbane. While going through the things to do by yourself in Brisbane, you probably will end up at some point at one of its beaches, such as Suttons Beach, Woorim Ocean Beach, and Raby Bay Foreshore Park.
As a beginner, we’d recommend taking pictures during the early morning and late afternoon, as the harsh lighting of the midday sun can be trickier to deal with. In fact, without any adjustments, you will only end up with a poor representation of what you’re actually seeing due to the lighting.
But this is why it’s important to shoot in manual mode, which will allow you to tinker with how much light you’re getting in your image. Depending on your device, you’ll need to also adjust the shutter speed, set your ISO to a lower setting, and your aperture to f/16.
To help you understand this a bit more, shutter speed affects motion blur. The aperture controls the depth of field, allowing you to isolate specific subjects or focus on everything in the frame. While the ISO measures the sensitivity to light, higher settings work best with low-light, and lower settings are ideal for harsher lighting.
Lenses are another important factor to play around with, as they create different effects and perspectives. Practice makes perfect, so make sure to take the time to experiment in various locations and lighting with different camera settings. This will help you notice how different conditions impact the end result.
Basic Photography Compositions
Apart from understanding your camera, you need to have a solid understanding of photography compositions. Composition in photography is the conscious decision you make about what to include or exclude in your frame along with its placement. Basically, it simply means the arrangement of elements in your picture.
While there are a myriad of different compositions, we’ll discuss the basic photography compositions in this section to give you a leg up. A great starting point is using the rule of thirds, which involves dividing the frame in a three-by-three grid. To achieve balance, the elements in your picture should be placed where the lines intersect or segment your image.
You could also opt for a balanced image, which may sound like you’re looking for total symmetry, but it’s not quite that. Here, the various sections of the image should complement each other, and as such not jar or overwhelm the viewer.
Another approach involves working with leading lines, which are visual elements that pull attention. Typically, these are things such as roads and fences, anything that can draw focus to something else.
Of course, there are many other factors you should be experimenting with. Such as using negative space to emphasize something, testing out different angles to change perspective, and framing your subject with other objects. There is plenty you can explore, and through trial and error, you’ll start to understand better how to achieve what you want.
Conclusion
There is more to photography than just pressing a button, it’s about understanding your tools, and your surroundings, along with having great timing. And while timing does have an element of luck, patience is far more crucial in this field.
Ultimately, it’s an art form that can help nurture your creativity and allow people to see the world with your eyes. The aforementioned information will help kickstart your journey, but it is up to you to nurture further growth. There’s nothing left to do but grab your camera and start capturing what’s around you.